
How to Make Reusable Sandwich Wraps
Last Updated on March 21, 2022 by lydiaf1963
Do you make lunches to eat away from home? Try these reusable sandwich wraps for a sustainable meal.

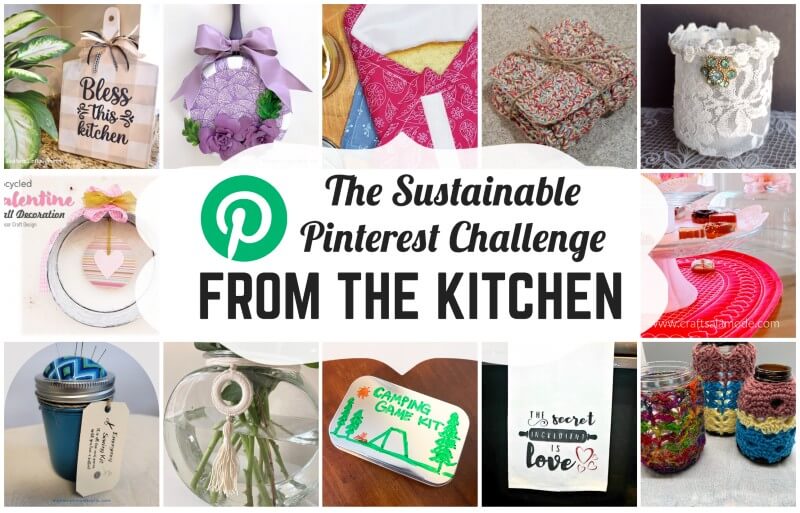
It’s time for the Sustainable Pinterest Challenge. This month we’re following the theme: From the Kitchen.

If you’ve followed me for any length of time, you know I admire upcycled and sustainable crafts. This challenge is right up my alley. Follow along to learn how to make this easy sewing project that helped reduce some of the fabric in my stash.
You are welcome to join in the challenge. Drop a comment below and I’ll contact you.
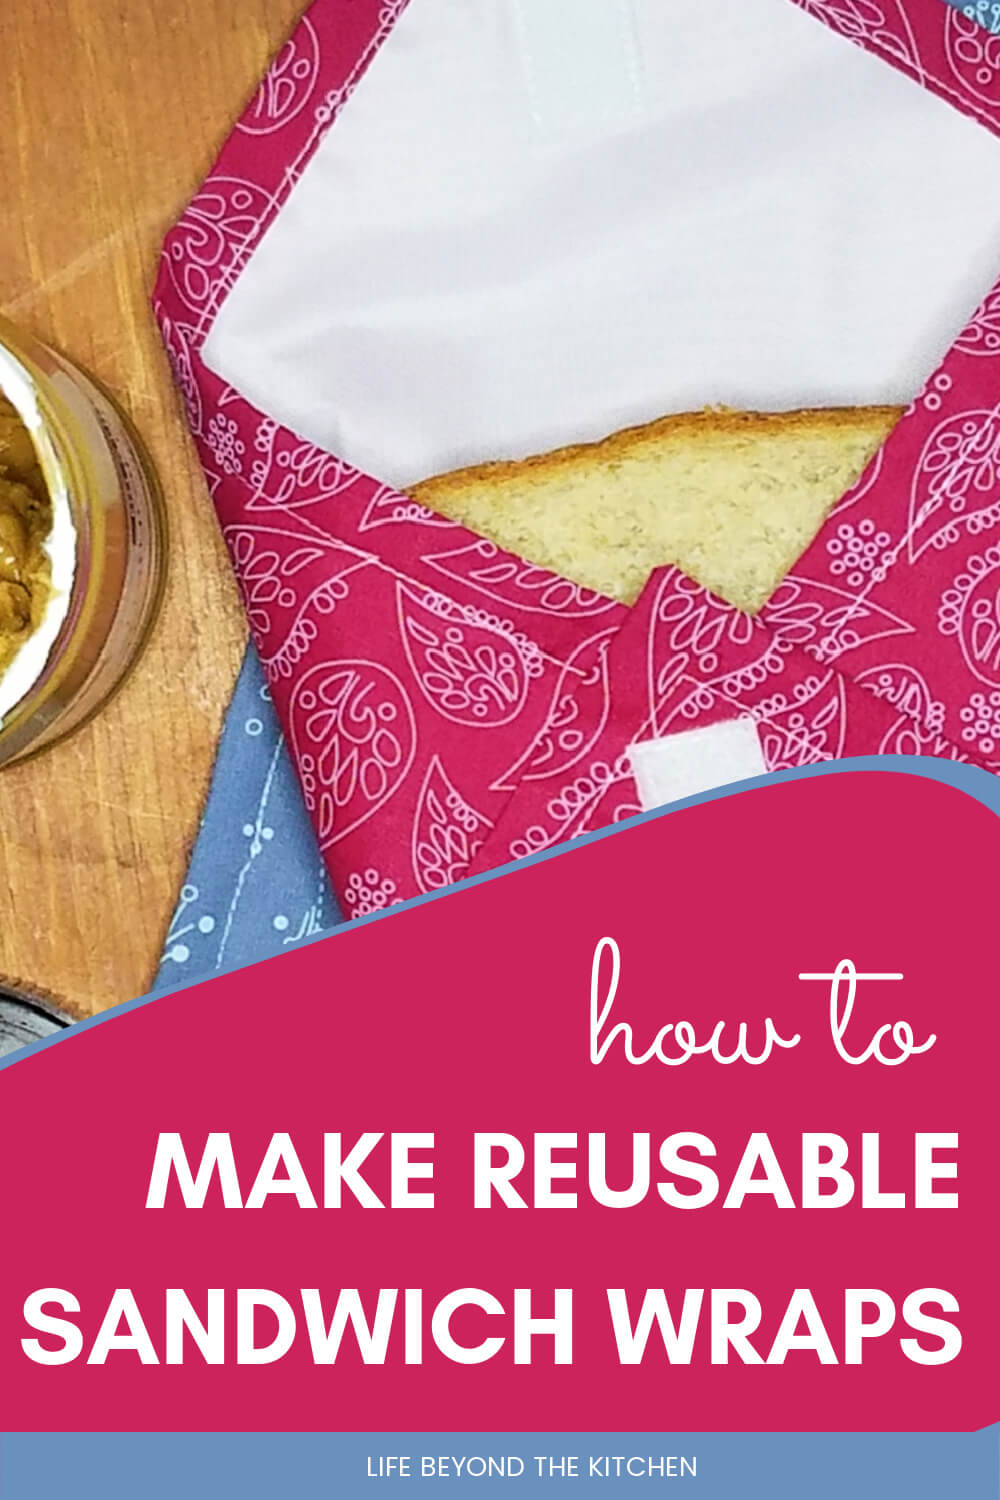
Ditch the plastic with these reusable sandwich wraps
The idea behind the Sustainable Pinterest Challenge is to make something inspired by one or more of our curated pins.
My pieces were motivated by this pin from Better Homes and Gardens. If you follow the link to the original article you’ll also find instructions to make reusable snack bags. Ideally the sandwich wrap will protect your sandwich from drying out and protect your lunch bag from leaky fillings.
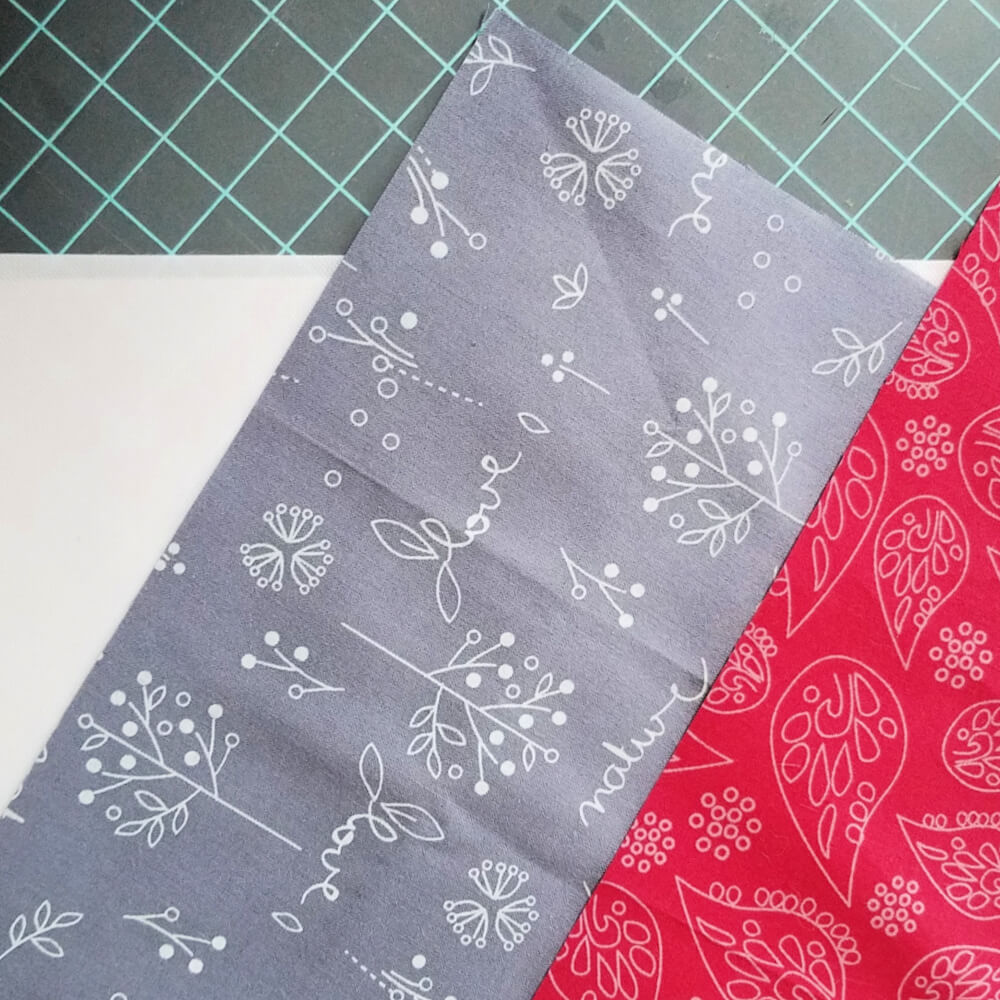
This project is a great way to use fabric from your stash. You’ll need 14.5 inch (37 cm) square pieces but they can be cut from any fabric you have, including quilted pieces.
Ideally, you’ll want a lining fabric that will preserve the moisture in your sandwich, food safe and is easily wiped clean. Something like PUL or ripstop nylon are good choices. However, it could also be a piece of cotton, as long as you don’t mind having to wash every time the wrap is used.
Materials List
For each sandwich wrap you’ll need:
- 14.5 inch square (37 cm) piece of quilting cotton for the outside – I made two from a pack of fat quarters
- 12.25 inch square (31 cm) piece of PUL or ripstop nylon for the lining – I used ripstop nylon leftover from another project
- hook and loop tape – 4.5 inch piece (11 cm) – cut the hard hook side to 1.5 inches (2.5 cm), leave the softer loop side at 4.5 inches.
You’ll also need:
- thread
- quilting clips or bobby pins
- cutting mat and rotary cutters or scissors
- iron
- sewing machine
Instructions
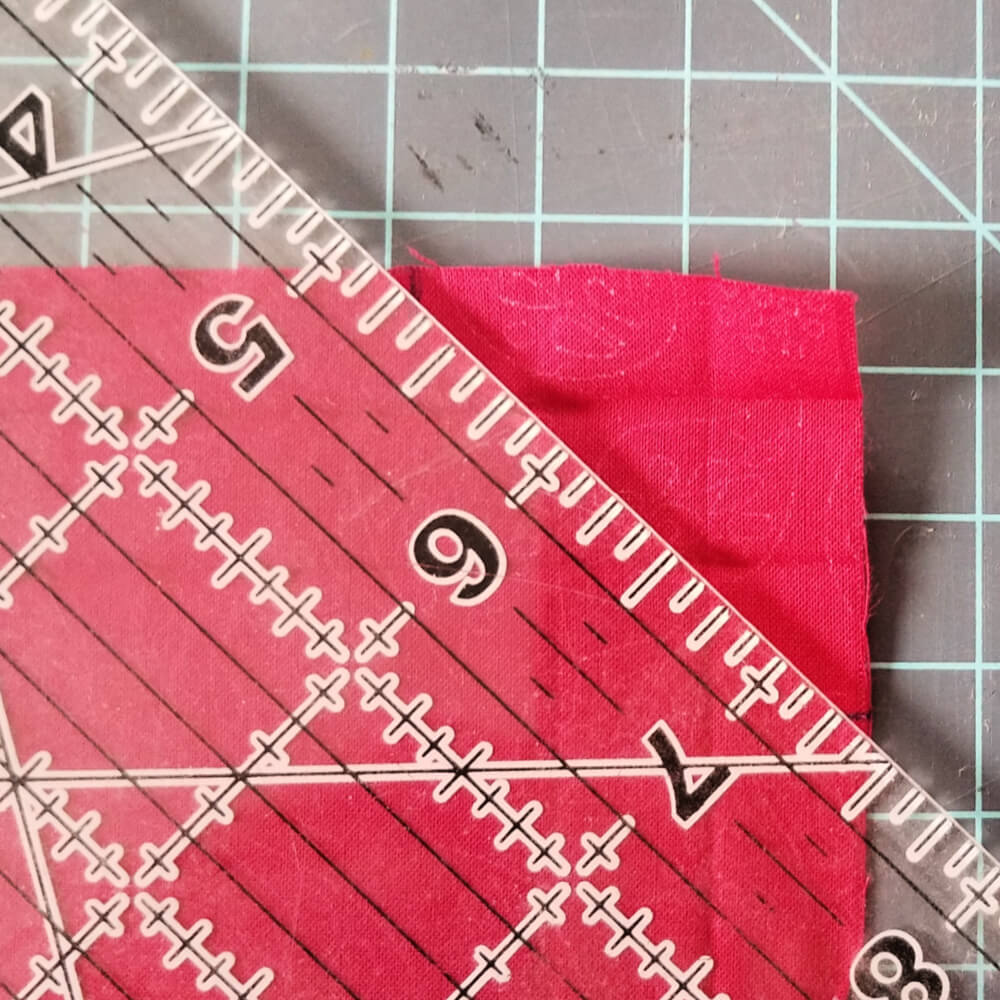
1. Press the seams on the outside piece. With the right side of the fabric facing down, turn and press a half inch (1 cm) seam on each side. Repeat so that the raw edges are enclosed within the seam allowance. You’ll be turning a half inch seam two times, for a total of one inch on each side.
2. Trim the outside piece to make the mitered corners. I followed this video from The Crafty Gemini to make the corners. It’s a bit fiddly, but worth it for great results.
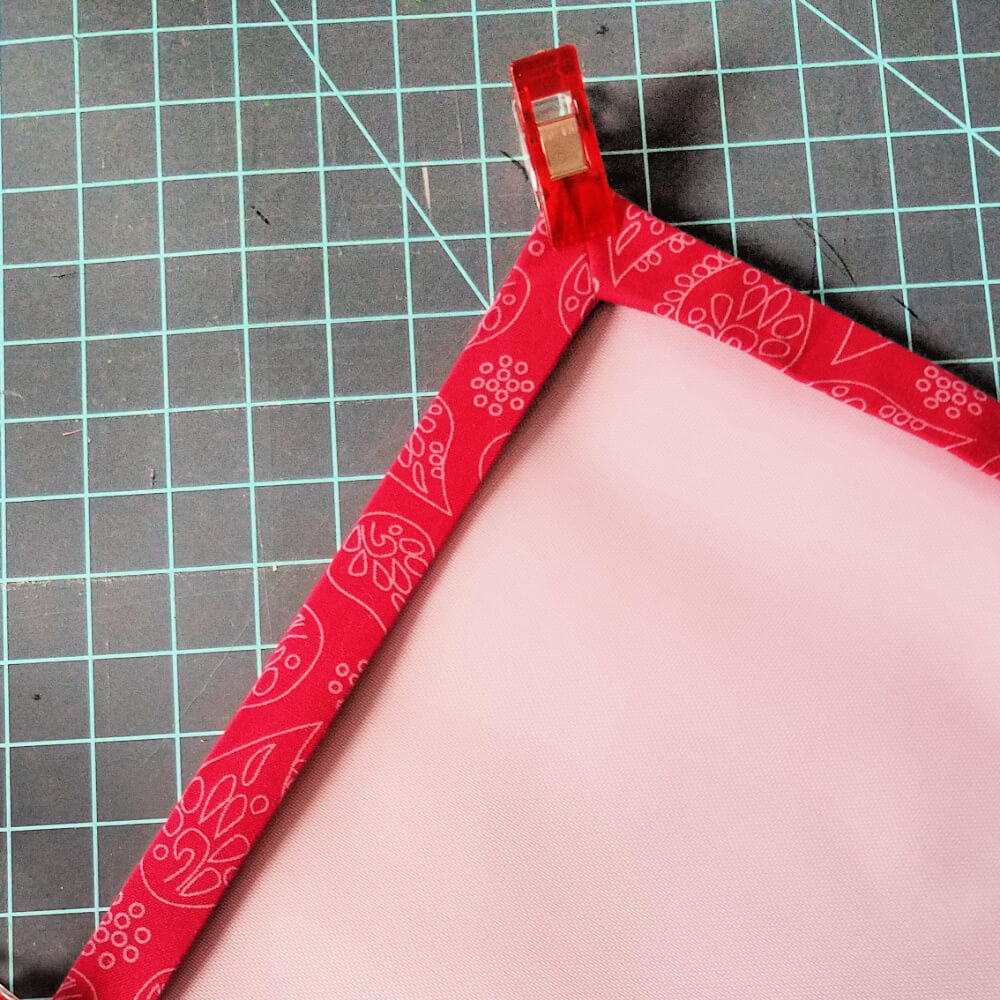
3. Position the outside piece face down. Place the lining piece within the seam allowance. Trim if necessary to make the lining lay flat. Use as many quilting clips or bobby pins as needed to hold everything in place. Avoid using pins as the lining will retain the holes.
4. Sew around the inner most fold of the seam allowance, stitching about an 1/8 inch (3mm) from the edge. Leave long tails of thread for finishing. I’ll explain more in a few more steps.
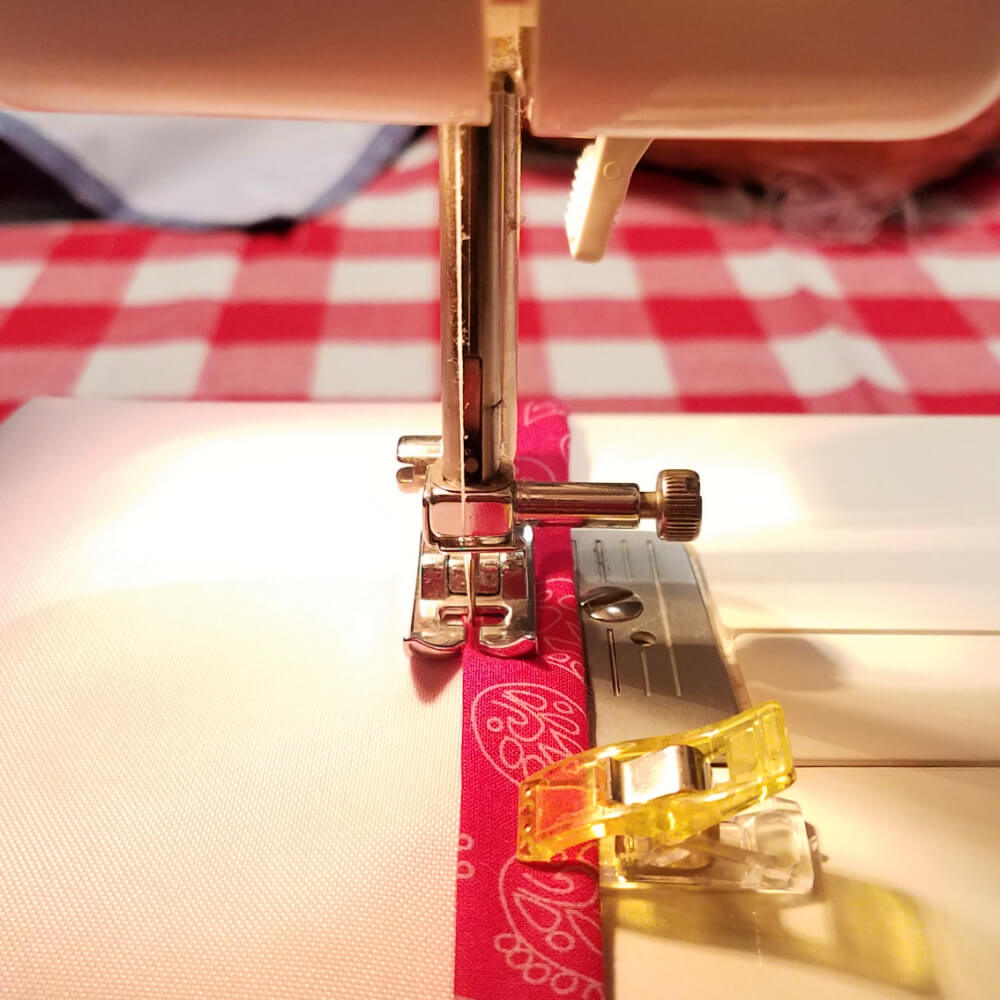
5. Choose one of the corners to be the top of the wrap. Arrange with the lining face up and your chosen corner at the top, like a diamond. Place the shorter piece of hook and loop tape about a half inch (1 cm) from the corner. Sew in place using a 1/8th inch (3 mm) seam, leaving long tails as mentioned above.
6. Turn the wrap over so the outside is face up. Place the long piece of hook and loop tape about a half inch (1 cm) in the corner opposite (and on the other side) of first piece. Sew in place as above.

7. For each pair of thread tails, use a needle to bring one of the tails to the same side of the fabric. Tie small knot and bury the ends between the two pieces of fabric. Repeat for all the tails for a neat finish.
Conclusion and Notes
This was a fun project. The two wraps didn’t take long to make. It would be easy enough to make multiples for gifts.
You don’t have to make mitered corners if you don’t want to. Use any technique you like. I think bias tape would be a way to add a little contrast to the project, too.
To use your wrap, arrange it liner side up, with the piece of hook and loop tape at the top. Place your sandwich more or less in the center. Fold in the two sides, then the bottom piece. The larger piece of hook and loop tape should be visible. Fold down the top corner to fasten.
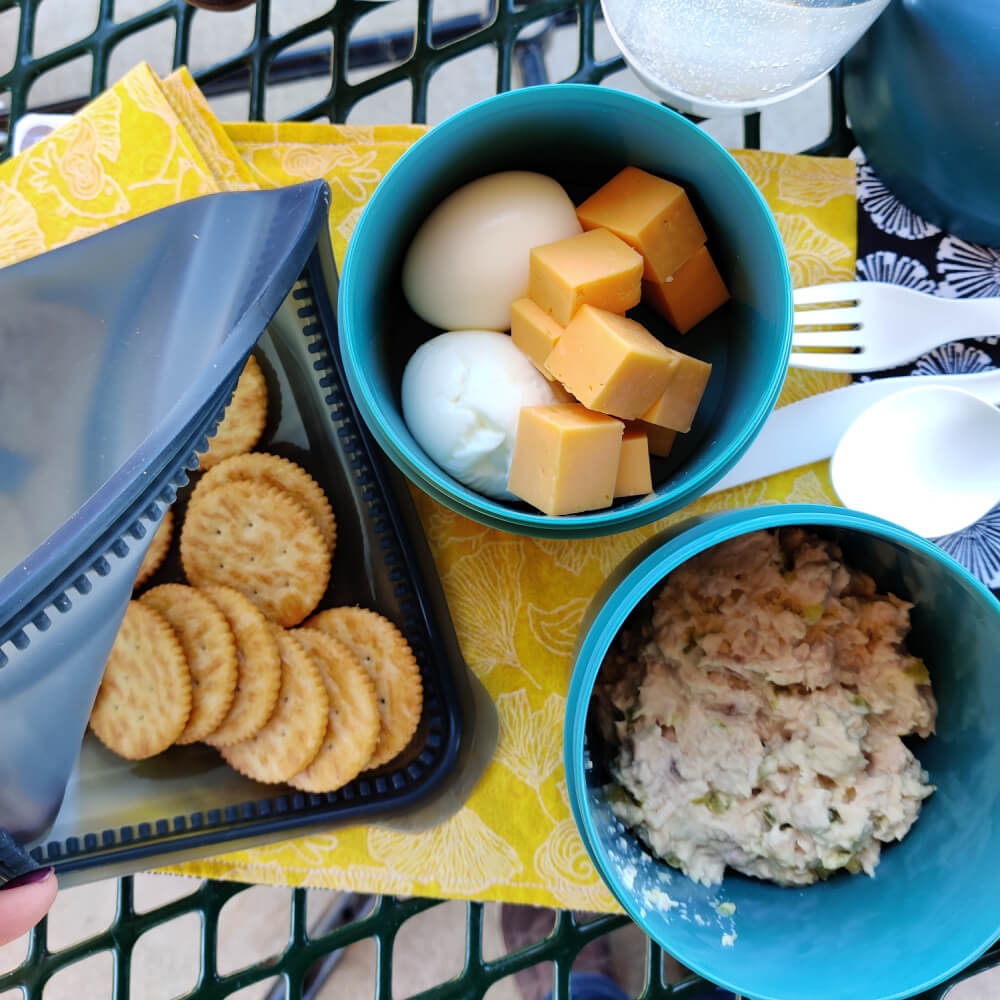
For “wet” fillings like tuna salad you may want to wrap your sandwich in waxed paper before placing in the wrap. Also, if you make your sandwiches far in advance, this type of wrap is not the best way to store them in the fridge (voice of experience here, lol.)
Wash and dry as you would for other cottons, but be cautious if you want to iron. Use a pressing cloth or a cooler iron to avoid scorching the lining.
Now, let’s see what the others have made:
Here’s a list of the other bloggers participating in this month’s challenge, you’ll find links to their projects in the linky below:
Julie | Sum of their Stories
Gail | Purple Hues and Me
Terri | Terri Steffes
Ann | The Apple Street Cottage
T’onna | Sew Crafty Crochet
Julie | Treasures Made From Yarn
Lydia | Life Beyond the Kitchen
Allyson | Southern Sunflowers
Mel | Decor Craft Design
Donna | Modern on Monticello
Linda | Crafts a la mode
Niki | Life as an LEO Wife

Such a good idea. I bought some of the bees wax wraps a few years ago for the family and they work pretty well so we’ve been able to cut our plastic wrap usage right down, but they do crack and need re melting or replacing after a while. A few of these in a fun fabric would be perfect as a gift, especially for picnics and work lunches.
In the olden days people just wrapped their lunches in a handkerchief didn’t they, maybe they were on to something!
I’ve always wondered how to make these. Thanks for the great instructions!
What a great sustainable project, Lydia! I need to learn how to make a few of these real quick! These can be used for other things besides sandwich wraps! They are very versatile! We use too many plastic bags for just about everything – besides lunch or snacks, there’s leftovers and grouping small food items, etc. Thanks for the inspiration!
Anyone would stare at the wrap while eating the sandwich; it’s pretty and go green!
I own a sewing machine, I could try to make these.
I so love these! I wish I still brought my lunch from home! (I work from home, so…)
I love these sandwich wraps! I definitely could use these for my kids’ school lunch.
Now this is something I definitely want to make. I love sewing! I’m pinning so I can get back to this. Thanks for showing how. Best wishes, Linda @Crafts a la mode
This is a very cute way to get rid of all those plastic bags. I can picture using fabrics with food prints, too. Looks easy enough to sew following your tutorial ~ thanks for the instructions!
What a great idea. I’ll have to give it a try!