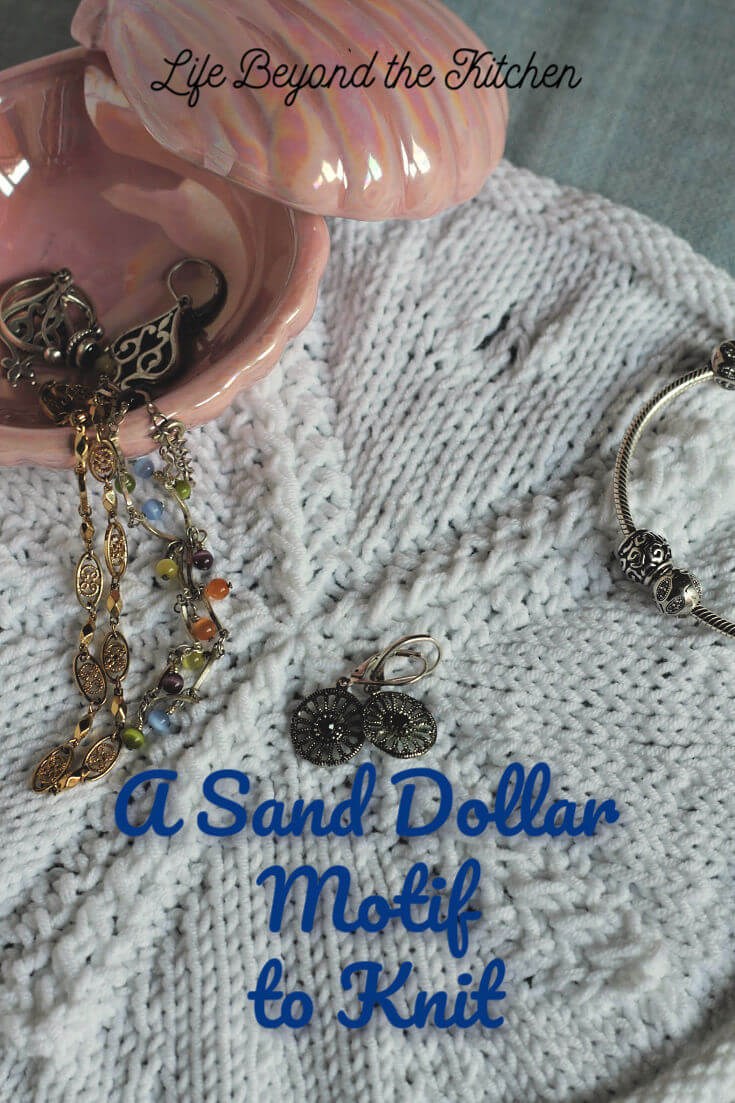
A Sand Dollar Motif To Knit
Last Updated on August 29, 2018 by lydiaf1963
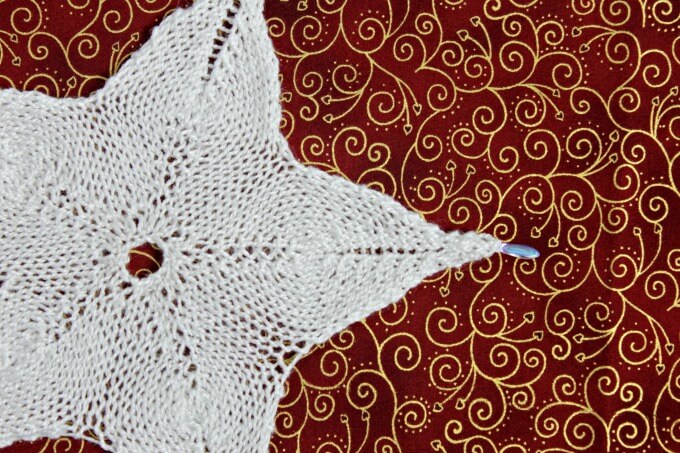
This lovely sand dollar motif will look great on a dresser or side table, especially if you or someone you know is into Coastal Style like my friends at Across the Boulevard. Beverly and Gloria have been inspiring me all summer long with their pretty projects. So with Coastal style in mind, and the perfect white cotton blend in my stash, I search Ravelry for a pattern and chose this one by Maryann Walsh.
This pattern is worked in the round, from the outside to the center with a gorgeous stitch pattern to form the “star” of the sand dollar. There are even a couple of holes, made with yarn overs, to mimic the real keyhole sand dollar.
Materials and Equipment Needed to Make the Sand Dollar Motif
- Free pattern from Maryann Walsh
- Worsted, aran or DK weight yarn (I used a DK weight cotton/acrylic blend leftover from the mandalas I made earlier in the year)
- 4mm (US 6) double pointed and/or circular needles (or a size to fit the yarn you’re working with)
- 3.75mm (US 5) double pointed and/or circular needles (or a size smaller than the one selected to work the main part of the motif)
- stitch markers
- scissors
- tapestry needle
Techniques Needed to Complete this Project
- casting on and joining in the round
- knit, purl
- make 1
- knit two together
- double decrease (described in the pattern)
- yarn over
Pattern Notes
- The yarn size isn’t as important as choosing an appropriate needle size. Your finished piece will vary in size and weight depending on your choice. My finished piece weighed 28 grams and measured 9 1/2 inches across after blocking.
- After casting on, you’ll work a few rounds in purl (aka reverse stockinette). I found that it curled in the most annoying way and interfered with my DPNs so I switched to a circular needle as soon as I finished the edging. As I got closer to the center I switched back to DPNs to finish.
- You’ll want to make use of your stitch markers to help keep track of the sections. I loved how the designer used the decreases to mimic the markings of a live sand dollar, including the keyholes.
- The stitch pattern used to make the “star” in the center of the sand dollar is very attractive, with lots of texture created by the double decrease. It would be pretty in a lacy ribbed project.
- The designer steam blocked her project when finished. I chose to wet block mine and used pins to shape the raised border. Since reverse stockinette curls under, it creates a raised rim that again mimics the shape of a live sand dollar. I was careful not to stretch it out of shape when blocking it.
The sand dollar motif was an enjoyable pattern to knit and it worked up quickly. I really like working with the cotton/acrylic blend. While you need to pay attention to where you are in the pattern, using stitch markers eliminates the need to count every stitch which means it’s a great pattern to knit in front of the TV.