
How to Make an Embroidered Needle Case
Last Updated on October 21, 2020 by lydiaf1963
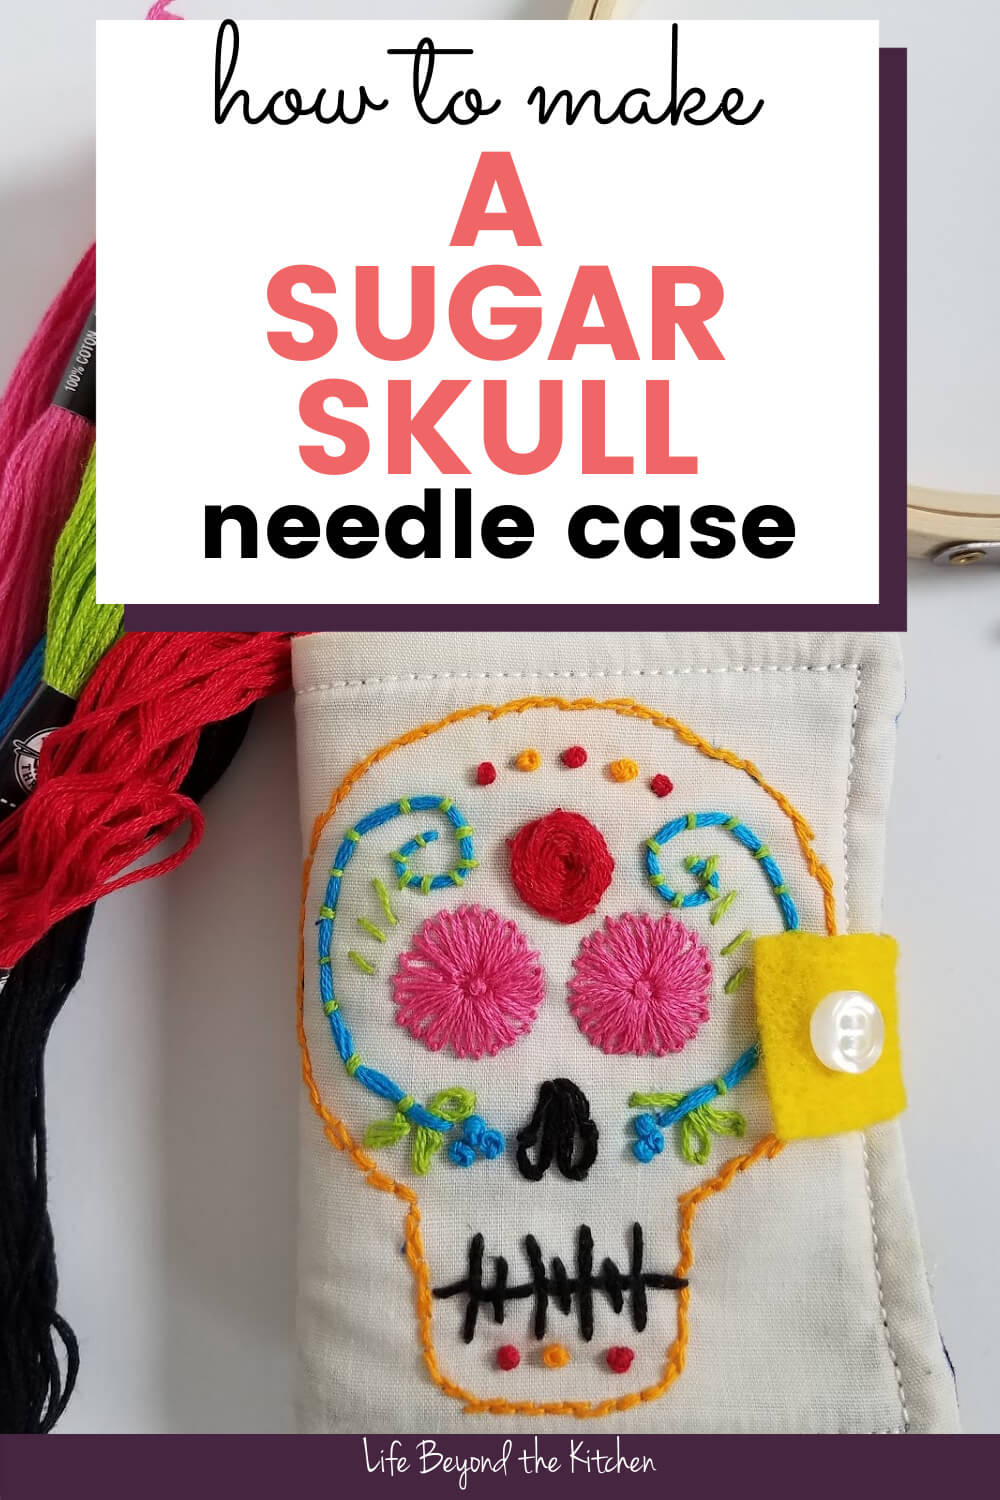
Making an embroidered needle case is a project I’ve had on the back burner for a LONG time! I’ve finally finished one. It was fun to do and a great learning experience.

It’s time for the September Pin Challenge! The purpose of the Pinterest Challenge is to motivate us to not just pin, but to make it happen! This month’s challenge was pumpkins or Halloween. That’s why I chose to embroider a sugar skull for my needle case. The whole project was inspired by this pin on Pinterest.
A brief history of the sugar skull
All Souls Day and All Saints Day are big holidays on the Catholic calendar. In Mexico the feast is called El Dia de los Muertos. The traditions of the holiday are a mix of Catholic and Mesoamerican Native celebrations honoring and remembering ancestors.
The sugar skull is part of the tradition and is used to decorate the family altar, called an ofrenda. The ofrenda features photographs, fancy breads, fall vegetables and other items with meaning to the family. The skulls themselves are actually made of sugar plus a variety of inedible decorations like beads and feathers. They are a form of folk art that is widely admired and used in home decor.
Choosing a design
Sugar skulls can be very elaborate but I wanted one that would be easy to recreate. After some searching, I based my sugar skull embroidery pattern on one I found during a web search.
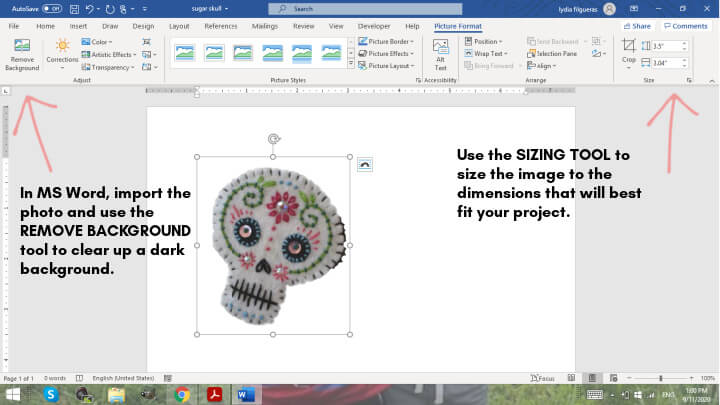
After taking a screenshot, I imported the image into MS Word and used the photo editing tools to remove the background and size the image to 3.5 inches wide. In retrospect this design is a little large, but I’ll know for the next time I make an embroidered needle case.
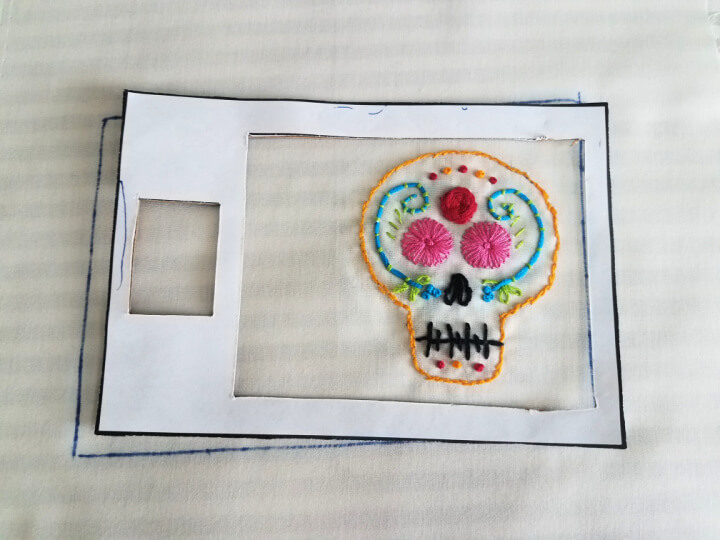
Once the pattern was transferred to the fabric (more on that later), I embroidered it using some fun colors and stitches.
Next, I cut out a piece of fabric to line the inside of my needle case as well as a piece of batting to give it some bulk. The pages were made with felt. The template came in handy for cutting the fabrics.
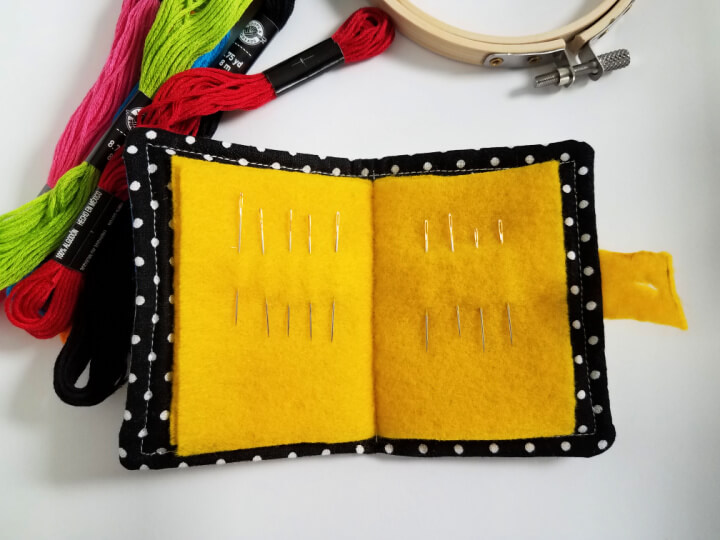
Once sewn, I added a little button to close the case and stored my crewel needles inside.
Materials and Equipment needed to make an embroidered needle case
- Template for the needlecase You can find it here (opens a PDF file you can download)
- fabric for both the inside and outside covers (choose the same or contrasting fabrics, but the outside cover should be suitable for embroidery)
- thin cotton batting
- felt for the interior pages and tab
- embroidery pattern
- stabilizer (optional)
- water or heat soluble transfer pen (I did not have one when I made this, but I do now!)
- embroidery thread (I bought a multipack)
- embroidery hoop (I used a small, 4 inch hoop)
- embroidery needle
- scissors
- small button

Instructions
Cutting Guide
- Once you’ve selected your pattern and transferred it to the outside fabric, go ahead and embroider it, making sure to leave plenty of fabric to cut out the outside cover.
- Download the template or follow the cutting instructions below.
- You’ll need to measure and cut out the two covers and a piece of interior batting 4 1/2 x 6 inches (or 11.43 x 15.24 mm). The template will help center the design on the outside of the case.
- For each interior page, cut a piece of felt 3 1/2 x 4 1/2 inches (or 8.89 x 11.43 mm). My needle case has two pages.
- Cut a tab 1 x 1 1/2 inches (or 25.4 x 38.1 mm)
Assembly
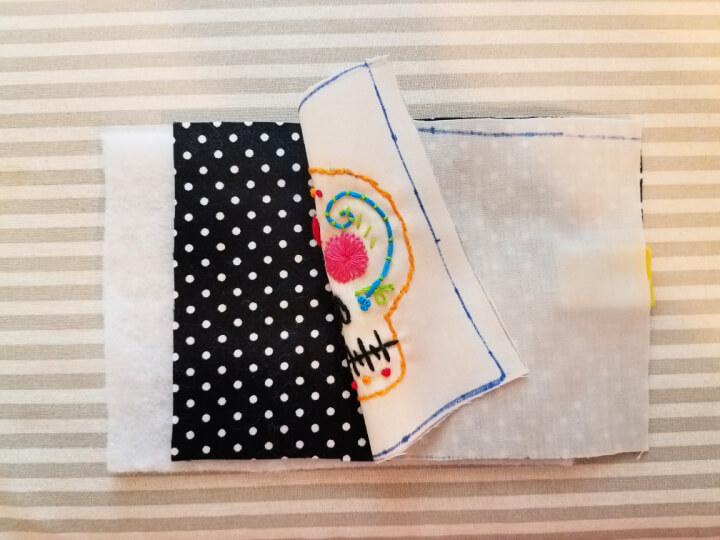
- Place the batting on your work surface.
- Align the inside cover on top, right side up.
- Place the embroidered outside cover on top, face down.
- Center the tab in the middle of what will be the back of the needle case.
- Sew around the outside of the work with a 1/4″ seam, remembering to leave an opening to turn the pieces. Back Stitch at the beginning and end of sewing.
- Carefully clip the corners then turn the cover the right way. Use a chopstick or similar object to push out the corners and open up the seams.
- Place the cover embroidered side down on a fluffy towel and give the seams a good pressing. Be careful not to crush any dimensional stitches. (Also, be careful to avoid the felt tab if not using a wool felt. Mine melted a little bit.)
- Fold the raw edges of the opening inside then top stitch 1/8″ from the edge all the way around.
- Center the felt pages in the middle of the cover and stitch the imaginary line that will form the “spine” of the needle book.
- Finally, sew a small button to the front of the case and cut a slit in the tab for the button to pass through.
- Place your needles inside the case.
Final thoughts and tips
I’m really tickled with how this project turned out. It’s not perfect, but I am sure I’ll enjoy my little “concept piece” for a long time.
If you have an embroiderer or sewist in your life, they’d enjoy a pretty case to store their needles. The pattern and colors can all be customized to suit their personality.
Here are some changes I will make when I make the next case:
- I did not like using the stabilizer. When I stitched the outside it kept lifting from the fabric so I couldn’t see the lines and eventually the stabilizer tore (I decided to live with it, but I can embroider more neatly, hahaha). I ended up removing all of the stabilizer and used a pencil to complete the design. Next time I’m going to trace the pattern onto the fabric with an embroidery pen or use a different type of stabilizer.
- The stabilizer also made it difficult to place the embroidery hoop. As a consequence the pattern was slightly skewed. Fortunately I had enough seam allowance available to straighten it out.
- Next time I will do the embroidery first, then cut out the piece. (This seems very obvious now, lol)
- Trim the inside pages if they don’t fit into the needle case the way you want.
- If I’d used a smaller design, some decorative edge stitches would have been cute. I’ll try that for another project.
- I had a blast trying new stitches like the rose stitch and the couching.
For more Pinterest inspired projects from this month’s Pinterest Challenge hosts, check out the links below ↓

My Pinterventures • Cookies Coffee and Crafts
Farm Girl Reformed • Slices of Life • Sew Crafty Crochet
Decorate and More with Tip • Purple Hues and Me
Life Beyond Kitchen • Mom Home Guide
Our Good Life • Create with Cynthia • Sum of their Stories
Now, let’s see what the other hosts have created ⇓⇓


Looks like you had fun making this sugar skull for your embroidery case cover. You always have great tutorials! It seems like an awesome technique to learn.
Thanks Gail! I’m planning to make more with a simpler pattern for presents.
Thanks so much for sharing your tutorial; including how to resize a screenshot in Word. Sometimes it’s those little “simpler” steps that trip me up. Pinned.
Thanks Joanne. I like using Word for a project like this and many people are already familiar with the interface.
So pretty! The bright colors are gorgeous! Great idea!
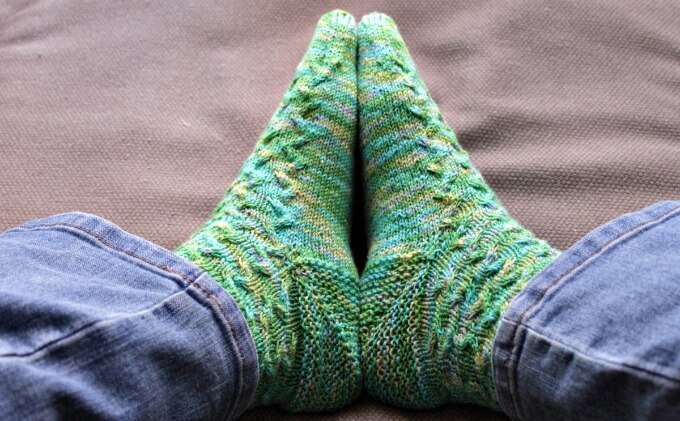
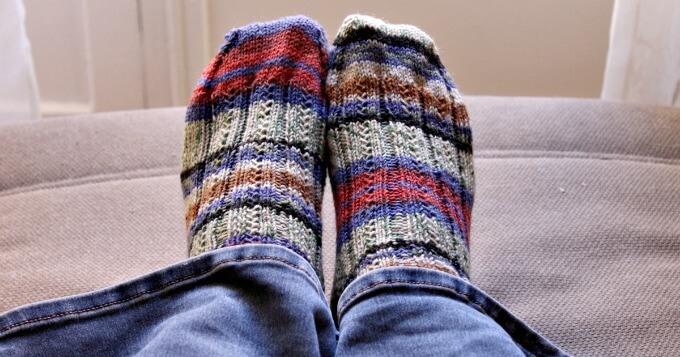
Thanks, T’onna! My knitting projects tend to be more subdued in color so it was fun to work with some brights for a change.
The day of the dead colorful skulls are so cool and this one looks great. So colorful and cute.
Thanks, Jenny! I’m looking forward to playing with fabrics and motifs when I make more.
Lydia I need to make one of those cases. Such a great idea. You created a darling little case for yours.
I’ve pinned a few more pattern ideas to make more cases. Now to find time…
Nice way to keep track of all your sewing needles. I like how you showed the process of getting your design pattern.
Thanks, Erlene. There are plenty of graphics programs out there, but they aren’t needed for a simple project like this and many people already have MS Word.
This turned out beautifully. I love that you took some time to explain the meaning and significance of the sugar skull design too.
Thanks, Julie. It was a fun project.
Love this beautiful craft! That was so smart of you to use Word the way that you did. I wouldn’t have thought of that!
This turned out great! I need to make one of these for my needles!
Thanks, Cherryl. I have ideas for others, now to find the time!