Simple SKYP Socks Pattern Review
Last Updated on May 30, 2020 by lydiaf1963
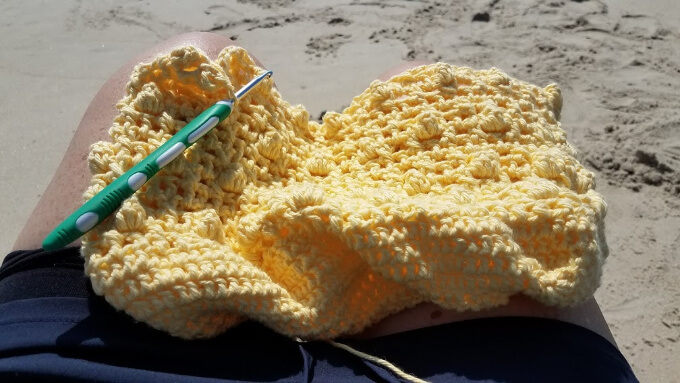
Have you tried knitting socks yet? They are a fun way to spread your knitting wings. You can explore the multitude of pattern stitches, cables and other techniques without committing to a large project. I love sock yarn, especially the self patterning yarns (see this teddy for an example). Recently I came across of skein of Schachenmayr sock yarn that really appealed to me so I decided to try a free cuff down pattern called the Simple SKYP Socks by Adrienne Ku of Mushroom Knits. Let me tell you about my experience and explain how you can make your own pair.
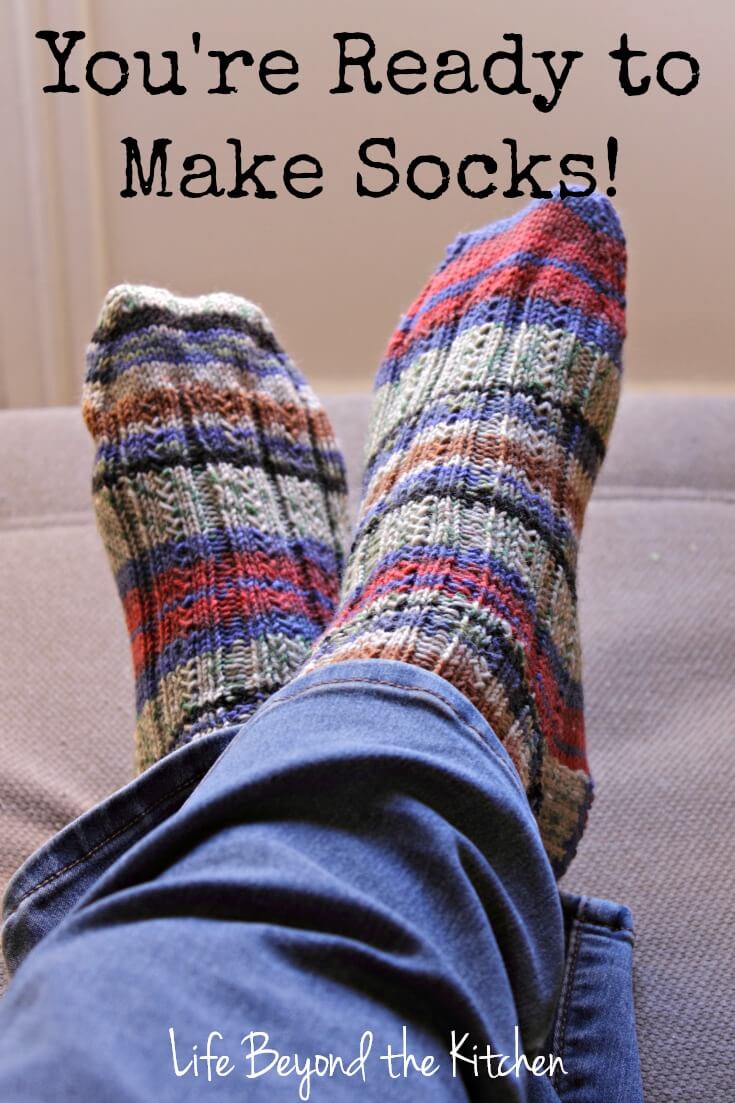
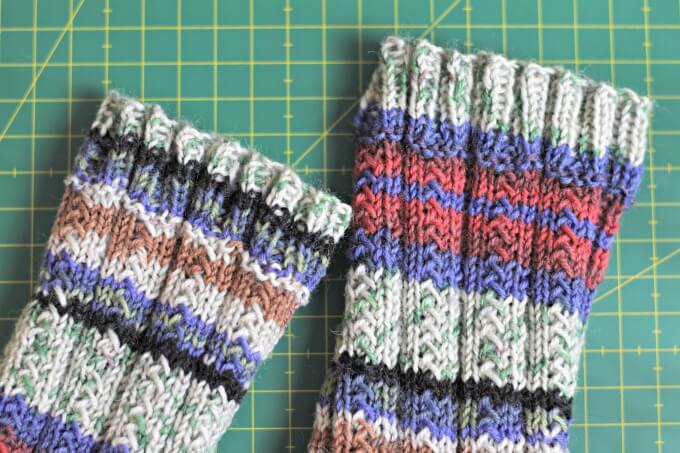
The SKYP referred to in the pattern name is actually a fairly common stitch. It adds a nice bit of diagonal texture to the socks, helping to create a patterned rib. SKYP describes the action of the stitch. To make it you Slip a stitch purlwise, Knit the next one, Yarn over and Pass the slipped stitch over both the knitted stitch and and the yarn over. When combined with some simple ribbing the result is an attractive sock with an appealing texture. The pattern works well with both solids and multicolor yarns.
The pattern is organized so you move through the construction in stages; starting with the cuffs, moving to the leg, then the heel, the foot and finally the toes. I found that having to pay attention to the pattern made knitting the sock more interesting to me. I enthusiastically cast on the second sock as soon as I’d completed the first! Before trying this pattern, I’d knit a simple stockinette sock that was sooooo boring I only made one. No second sock syndrome with this pattern!
You’ll need these knitting skills:
Cast on a stretchy cast on (I used a knitted cast on) and knit in the round.
Knit, purl, slip, SKYP stitch, knit 2 together, slip slip knit, heel stitch and turning the work without finishing the row. All of these stitches are described in the pattern.
These socks shouldn’t be difficult for someone who has made hats, or tried their hand a making lace.
To make the Simple SKYP Socks you’ll need:
- the free pattern available on Ravelry and elsewhere
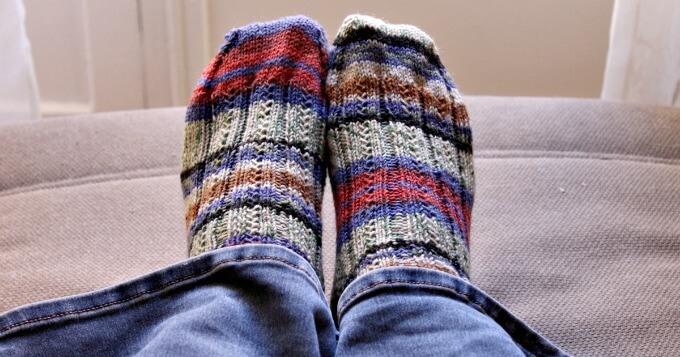
- sock yarn, enough for 2 socks (if you download the pattern from Love Knitting you can order your yarn at the same time) I used Schachenmayr Regia to make the pair shown.
- A set of 2.75mm double pointed needles (US Size 2). You will use all 5 needles.
- stitch markers
- tapestry needle
- scissors
- measuring tape
How to make Simple SKYP Socks:
- Print out the pattern front and back on the same sheet of paper and fold it in half like a pamphlet.
- Measure the feet that will wear the socks by having the person stand normally on a tape measure. You’ll want to record the diameter of the ball of the foot and the length from the back of the heel to the tip of the longest toe.
- Use the measurements to determine which size sock to make. The pattern has instructions for four sizes. If you’re in between, choose the lower size because the ribbing makes the socks nice and stretchy.
- I worked from the printed pattern and went ahead and made notes of which instructions to follow for my size.
- Cast on and have at it!
- You’ll have several pattern repeats to make. To keep track use a row counter, make tick marks on the printed pattern or use a note taking app to check off the repeats as they are completed.
- When making the heel flap the designer recommends holding the stitches on a holder or waste yarn. The heel flap is worked back and forth so I put all the heel stitches on one needle and left the foot stitches on the other needles.
- Pay attention when working the heel turn as the instructions are specific for the size sock you’re making.
- The gusset is where all the fun begins. You’ll be picking up stitches along the heel flap and at the same time continuing the pattern from the leg onto the top of the sock AND getting rid of the extra stitches created when turning the heel. The designer gives clear instructions on how to set up the needles to accomplish this.
- Eventually you’ll be back to the same number of cast on stitches and you’ll continue to work the pattern stitches on the top of the foot and stockinette stitches on the sole until it’s time to make the toe.
- Again, the designer has written easy to follow instructions to make the toe. You graft the remaining stitches together using the Kitchener stitch. See the video here if you’re not familiar with it.
- When finished, give your socks a hand wash and lay them flat to dry. With this pattern I didn’t need a set of sock blockers, but they are available if you want to use them.