Pay It Forward Sock Pattern Review
Last Updated on September 19, 2018 by lydiaf1963
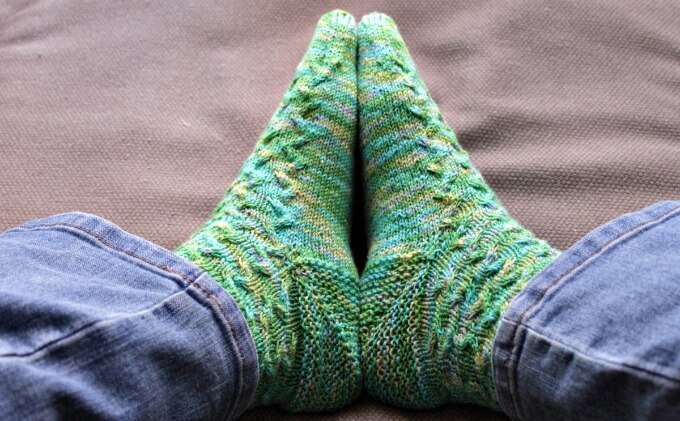
It has been nice to be knitting again after my injury. I’ve been working on a couple of small projects to get back into the groove, including this sock pattern called Pay It Forward by Tobi Beck. It’s available for free on Ravelry and features an afterthought heel and a spiral or star toe. The directions are clear and easy to follow, if you’ve knit socks before you won’t have a problem adapting it to DPNs or Magic Loop. I wasn’t sure about walking around on cable bumps so I knit the sole of the foot in stockinette. I also adapted the pattern to knit the socks two at a time with two cable needles.
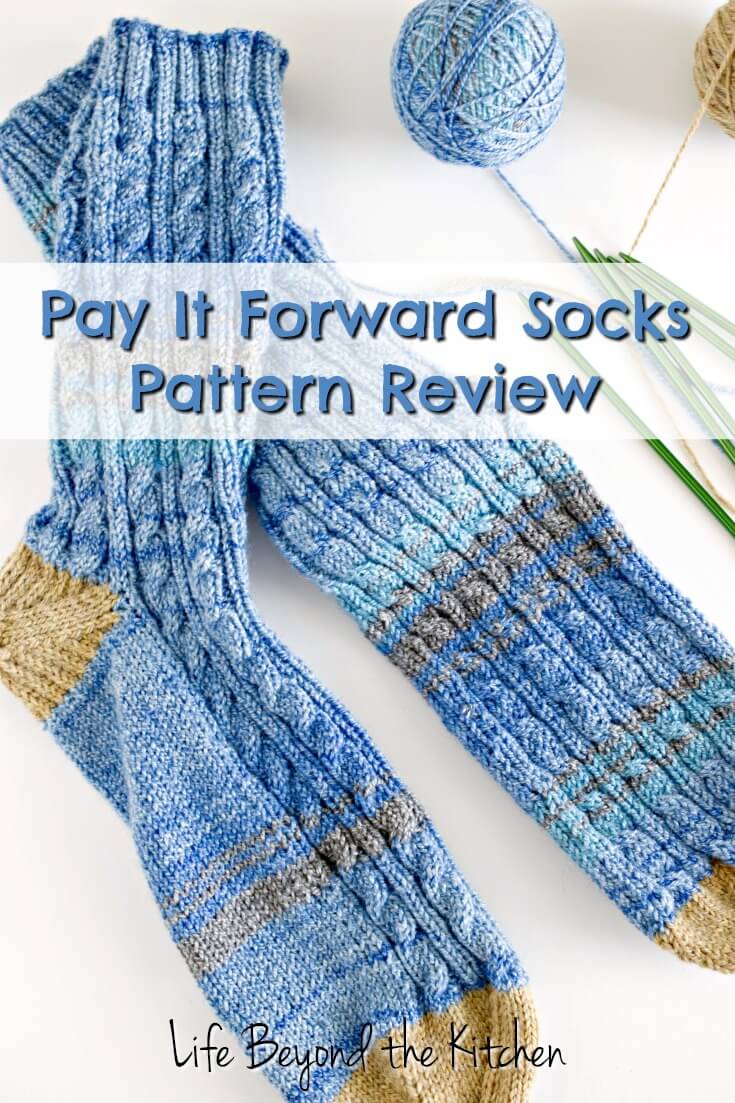
The idea behind the socks is fun. The intent is to make them to be given to our friends. There are 7 repeats for luck. The cables on one sock twist to the left and the others twist to the right, mimicking our feet. The star toe represents our friends who are stars. As with the SKYP socks and the Wave Cable Socks, my purpose in making this particular pair was to learn a couple new skills: 1) create an afterthought heel and 2) learn how to cable without a cable needle. Both of these techniques can be used on a variety of projects.
Materials Needed to Make the Pay It Forward Socks
- Toni Beck’s pattern from Ravelry
- 100 grams sock weight yarn, you’ll want another 50 grams if using a contrast toe and heel like I did
- 2 cable needles with Size 2 (2.75 mm) tips or size recommended for your particular sock yarn
- Set of DPNs the same size
- cable needle
- yarn needle
- snips

Setting Up For Two at a Time Socks
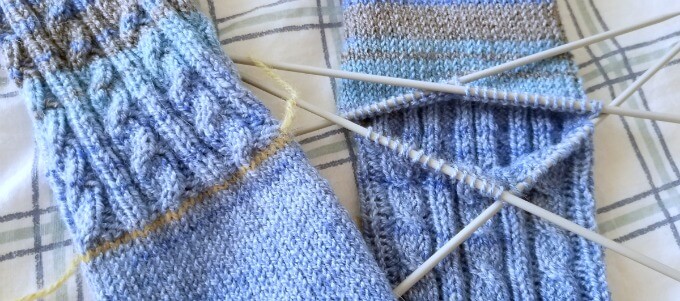
I knit the cuffs separately on double pointed needles, then after an increase round that increased the leg to 70 stitches, I transferred the cuffs to my cable needles with 30 stitches on one and 40 stitches on the other. This helped me avoid having to transfer stitches from one set of cable needles to the other. The section with 30 stitches became the bottom of the foot. I worked the leg pattern as written until putting in the waste yarn to mark the heel, then switched to plain stockinette for the bottom of the foot.
For me, it was easier to use DPNs to work the toes of each sock separately.
Creating the Afterthought Heel
The afterthought heel involves putting the desired number of heel stitches on a piece of waste yarn, finishing the sock, then coming back and picking up the stitches to create the heel. It’s a great technique that allows you to continue knitting without disturbing the pattern. Another advantage is you can easily replace the heel should a hole develop.
This video shows how to pick up the stitches with a double pointed needle. The afterthought heel allowed her to maintain a color work pattern that continued to the other side of the heel.
Your sock doesn’t have to have a cable, color work or lace pattern to take advantage of the afterthought heel. In fact you don’t even have to use waste yarn as demonstrated in this video.
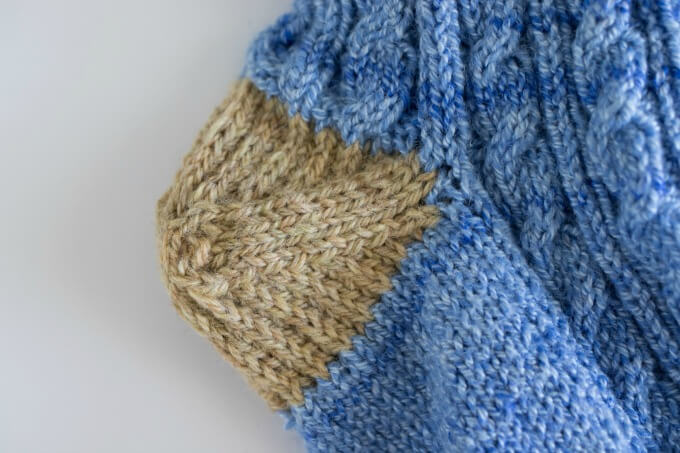
In the photo above the beige colored yarn acted as the waste yarn. The cable side of the heel presented some challenges when picking up the stitches, I ended up removing the waste yarn a stitch at a time to pick them up. Afterwards, I made sure to count and check that my pattern repeats remained intact.
Then I followed the pattern for making the heel, being sure to pick up two stitches on each side which made a 34 stitch heel that fits nicely.
Pattern Notes
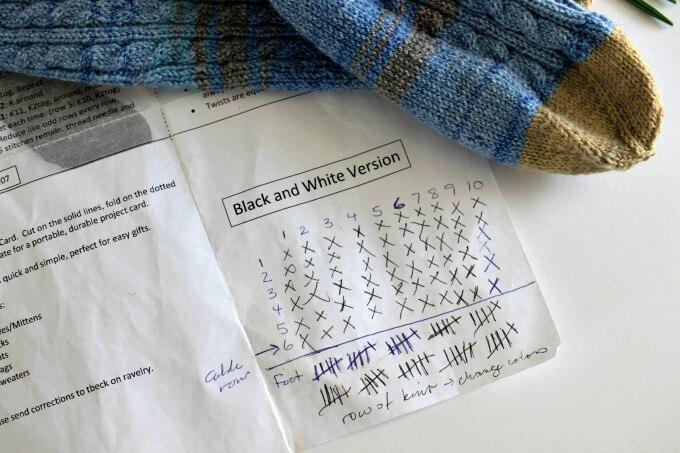
The leg calls for 10 rounds of a 6 row cable pattern. I set up a grid to help keep track of my progress. Looking at my socks I can see a couple rounds where I’ve added a row, but since I knit them Two at a Time at least it’s even.
It took a couple rounds before I was comfortable making my cables without transferring the stitches to a cable needle but I’m so happy I persisted with it. I have an even better idea of the way cables are constructed now. Look for a post on this topic coming soon.
Making changes to the pattern and my inexperience caused me some trouble. As mentioned above, picking up the cable stitches without dropping them was a pain. Now that I have more experience I’ll know to add a row of plain knitting before and after the waste yarn unless there’s an esthetic reason for avoiding it. I had lots of practice picking up stitches as after I finished the first heel I was very unhappy with the holes at the corners. Picking up two stitches at that point instead of one made a difference.
The other part that presented a challenge was the instruction to “continue knitting in Cable pattern until length from waste yarn is 4 inches less than desired foot length.” As I was knitting I was sure that this would be too short for my foot, but I didn’t know how much length would be added with the toe and the heel. Long story short, the toe and the heel combined didn’t add enough length to accommodate my big feet. I ended up frogging the toe and adding more length to the foot before creating the new toe. I would be happier with a longer contrast toe, but if I’d finished the socks with the main color it would have been fine.
Finally, because I changed to pattern to use a stockinette sole the sock lost some of its stretchiness since there was less cable ribbing. The socks fit fine, it’s just that I feel my foot pulls the cables too wide and they aren’t as attractive as they could be. I think using needles a half size larger would have solved a lot of the problem.
The Pay It Forward socks have helped me build my knitting skill set. I’ve learned how to make cables without a cable needle, how to make an afterthought heel and have lots of practice in confidently ripping out and picking up stitches.