
Making a Quilted Laptop Case with A Little Help From The Internet
Last Updated on March 21, 2022 by lydiaf1963
For the longest time I’ve had an itch to make a quilted laptop case. I had a set of gorgeous fat quarters and an idea of what I wanted the end result to look like. However, I wasn’t quite sure how to proceed. In the end, I relied on a pair of bloggers/YouTubers to get the job done!
Happy Endings are the Best!
Read more to find out how I did it and who helped me complete my project.
The Cover
A while back I came across a video from Teresa Down Under which demonstrated tube quilting.
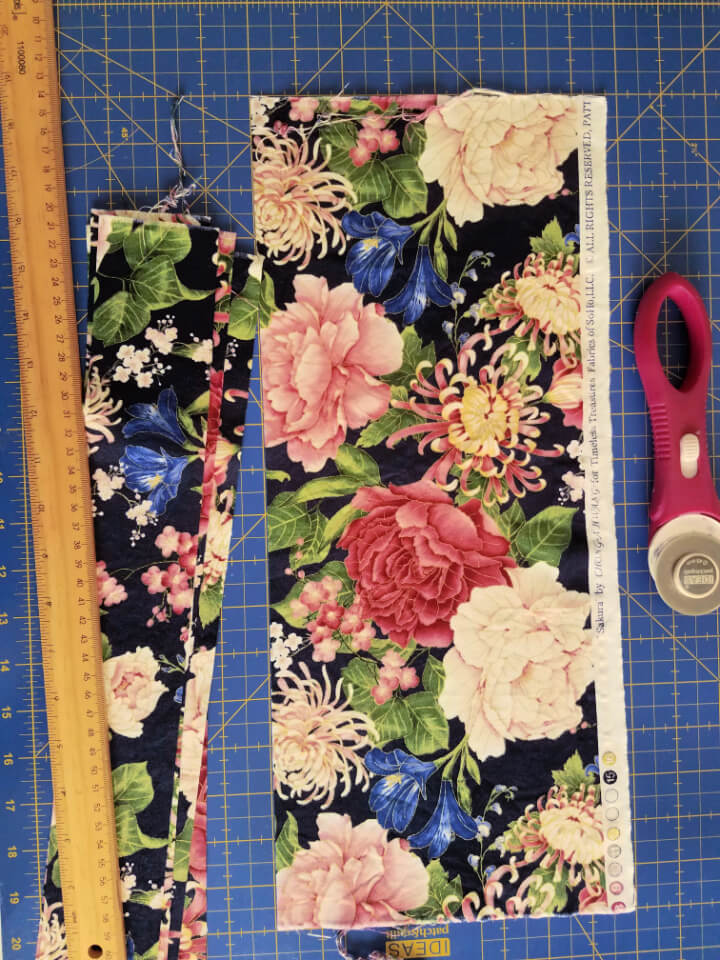
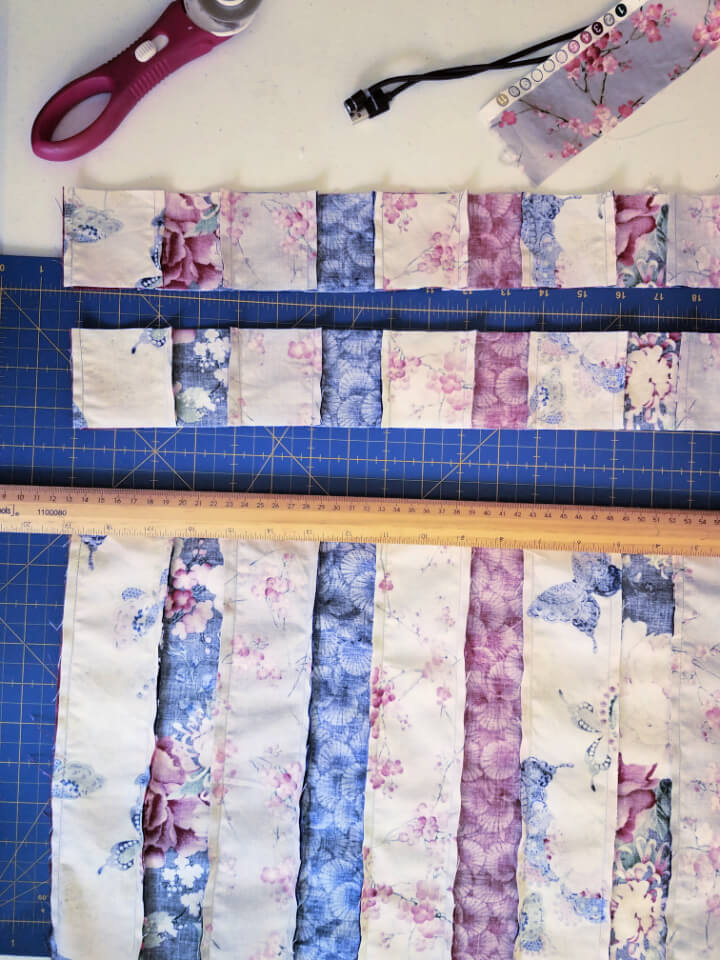
The process involves cutting strips of coordinating fabrics, then sewing them together along the long edges. Next, sew the top and bottom together to make a tube.
Then, you cut across the strips to make new strips of blocks which are still joined in a ring.
Now comes the fun part.
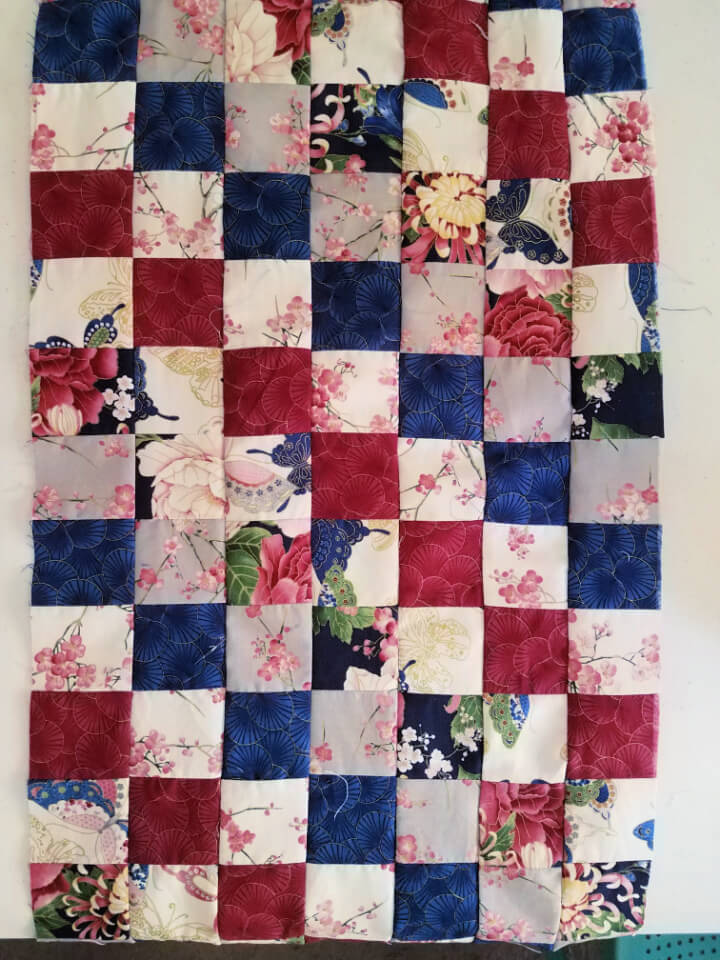
Remove the stitching between any pair of blocks and lay it on the work surface. Now remove the stitching between the next pair of blocks. When you lay the new strip next to the first, you can see the beginnings of a new pattern forming. Sew those strips together to create a patchwork of blocks.
Mind BLOWN!
I cut my strips a uniform 2 1/2 inches wide but there’s no reason you couldn’t vary the widths to create a fun pattern. At the end of Teresa’s video she demonstrates how to combine the blocks to create diamonds and other forms. I opted to make one large piece of fabric for my laptop case cover.
It took 6 fat quarters to make a piece of fabric large enough to make my sleeve.
How did I know how large to make my quilted cover? That’s where Helen’s clutch style laptop sleeve tutorial on Hello Sewing comes in.
The Case
Helen is a regular contributor to the Creatively Crafty Link Party. She shares lots of great sewing projects suitable for beginning and intermediate sewists. Not too long ago I featured her DIY Laptop Sleeve. I loved the little details that make this a great pattern; from the customizable size to the flap to the hidden seams. The only problem was that the vision I had for my case was something more like an inter-office envelope, with the opening on the short side.
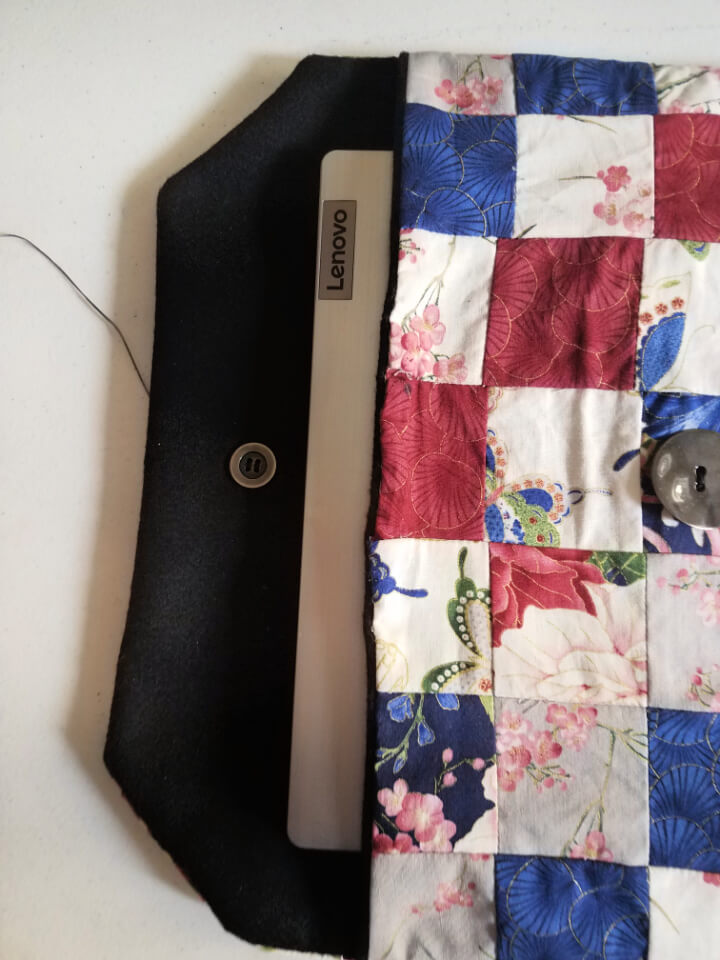
No worries, I just switched the measurements for width and height in Helen’s formula to determine the amount of material needed. Once I made my quilted cover it was just a matter of cutting everything to size and following the detailed tutorial to put it all together. The assembly technique is fairly simple, but complicated to describe. It was so nice to have the seams hidden between the cover and the lining. I recommend bookmarking Helen’s post (linked above) and watching the video within. It makes all the difference.
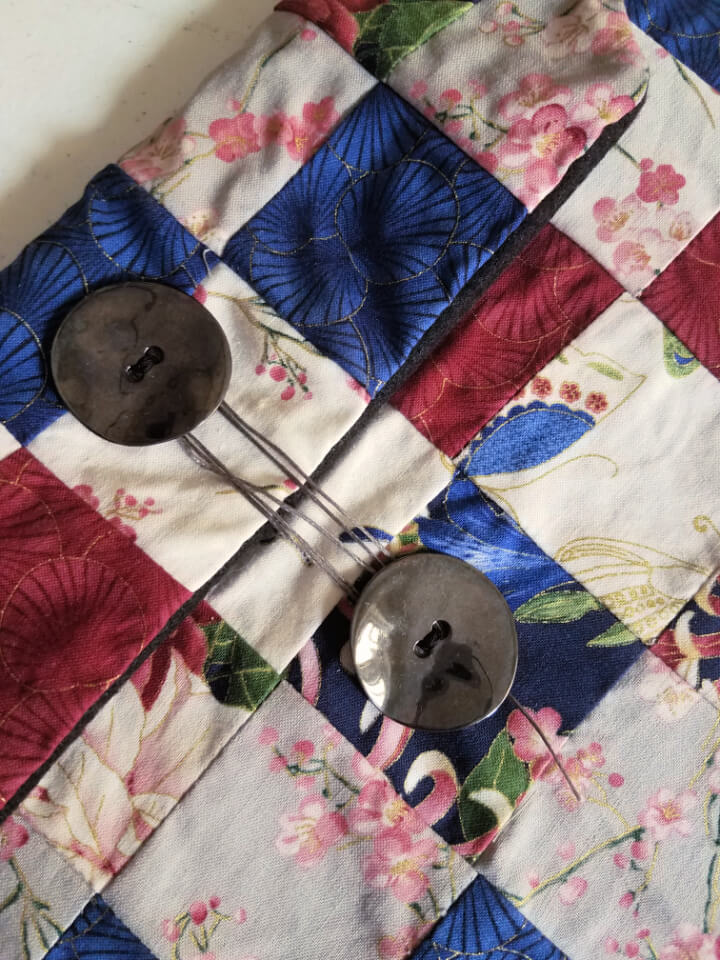
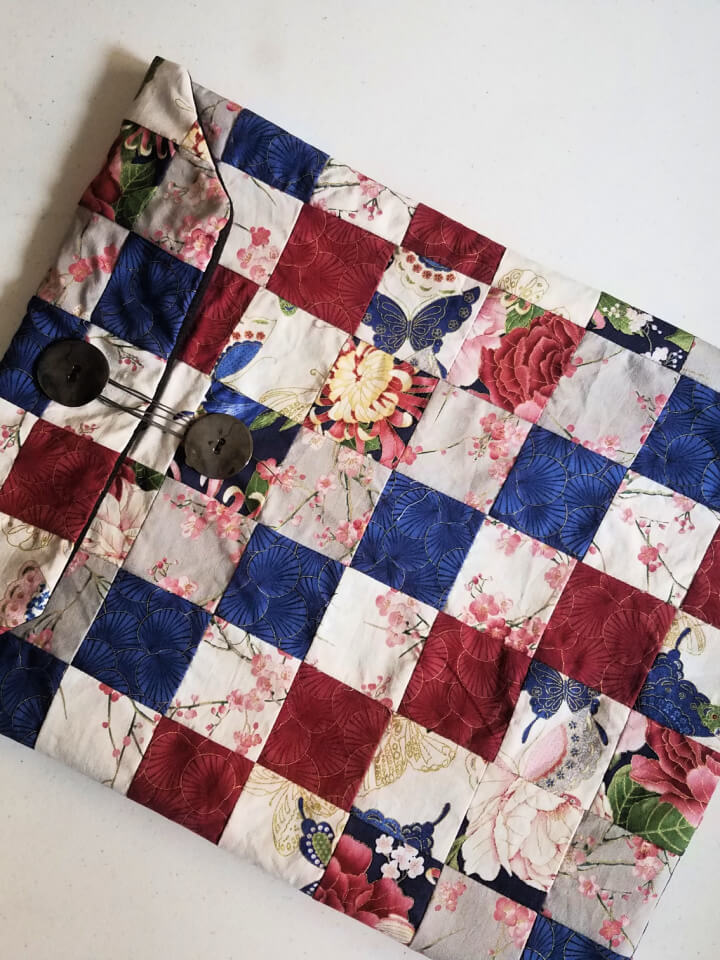
As mentioned, I wanted a case reminiscent of an interoffice envelope so velcro closures weren’t what I had in mind. After some searching around town, I found a pair of silver colored buttons that worked perfectly. I sewed them in place and used some waxed cord from my stash to wrap around the pair to hold them closed.
Final Thoughts
This was a really fun project! I used several fat quarters and a large piece of felt from my stash, had to do a little “sewing math,” and challenged my hand sewing abilities.
I’m so grateful to the many people on the internet who share their skills everyday.

It looks fabulous! I love the fabric you’ve used for it!
Thanks! I was really pleased with how it’s turned out 🙂