Have You Tried Embossing?
Last Updated on August 14, 2018 by lydiaf1963
Embossing is a technique used to create a raised impression on malleable material like paper or metal. If you’ve ever used one of those plastic tape label makers where you had to spin a dial and squeeze the handle to spell a word, you’ve embossed something. A metal die or stamp is often used to create the raised design, but it can also be done by hand. While researching this project for this month’s Creative Craft Bloggers Metal Challenge I came across some incredible work done with commercial embossing sheets, aluminum cans and aluminum trays. Although I chose to make something simple, I’m amazed at what can be done with the proper materials and tools.
At first I thought I’d recycle an aluminum can (as demonstrated by this Drink Can Tinwork Box), but I really had difficulty getting a raised design with the tools I had on hand. However, Suzy’s Artsy Crafty Sitcom has several gorgeous examples of embossed work (and free patterns) using aluminum cookie trays, so I set out to find something I could use.
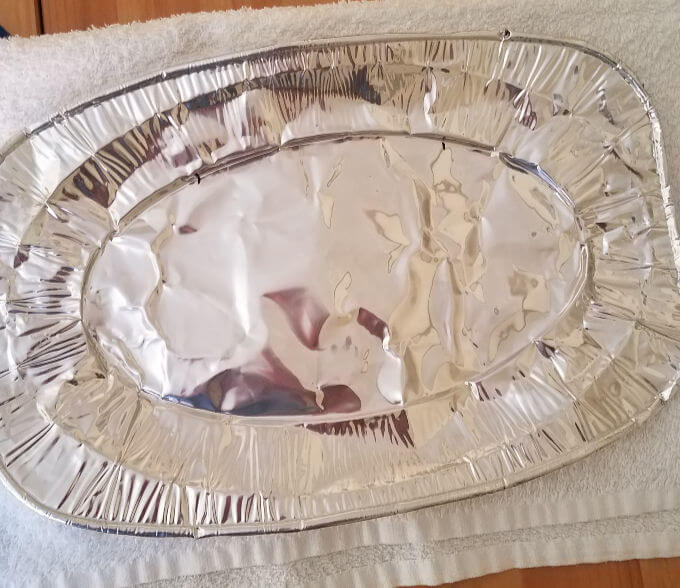
You’d think it would be easy to find a smooth bottom disposable cookie sheet or other pan but everything I came across had a reinforced bottom. Everything except this single, sad little tray I found in one of the local mercantiles. It worked great for a little project, though.

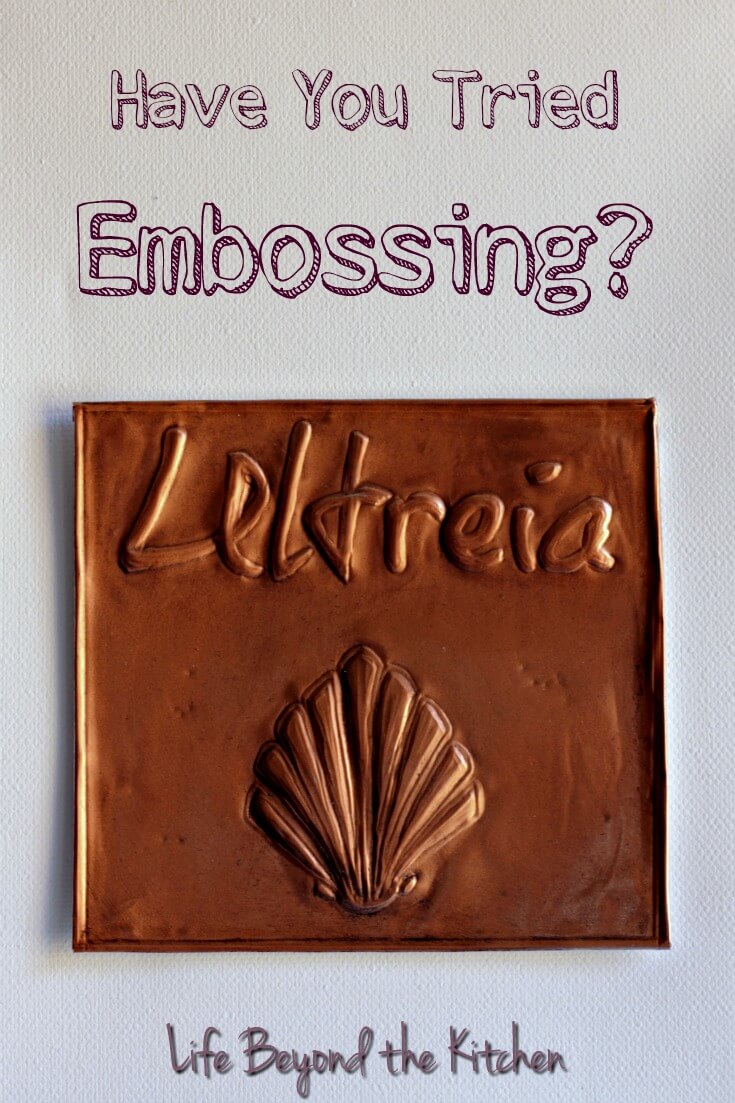
I marked out the useable area and used the measurements to come up with a design to fit the space. There are all sorts of possibilities here. You could work free hand, use an appropriate sized stencil, clip art, or print out a design and trace it. I chose to use symbols from the Camino de Santiago. The scallop is used to blaze the way for pilgrims on the trail while the word “Ultreia” comes from a common phrase, “Ultreia et Suseia” (You can read more about it in this post.)
After I marked out the working area on my tray I added about a quarter inch to each side so I could fold the sharp edges under at the end (not shown above).
To make the design I used a font called One Trick Tony and mirrored the text, since the design is worked from the back. Then I imported the images of “Ultreia” and the scallop into Google Slides where I could control the exact size I wanted, printed it out and then cut it to fit my tray.
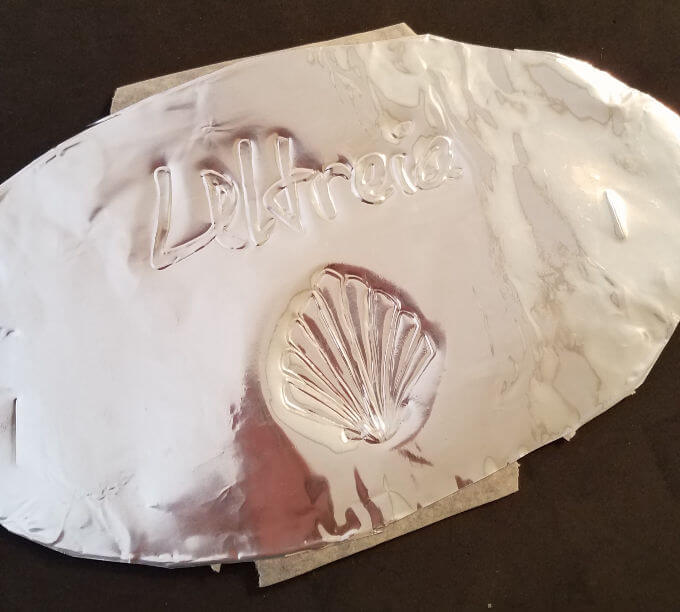
When you emboss the design you’ll want to work on a surface that gives. The man who made the box above used cork, while Suzy did her work on a towel. I used a piece of craft foam with a towel underneath.
There are special tools for embossing but for just trying out the craft I used a ball point pen and a couple of knitting needles with round tips. First, I traced the design from the back, then flipped the work over and used a fine tip to outline the design from the other side. Then I flipped it back over and used a larger knitting needle to push the aluminum out even farther, being careful not to puncture my work.
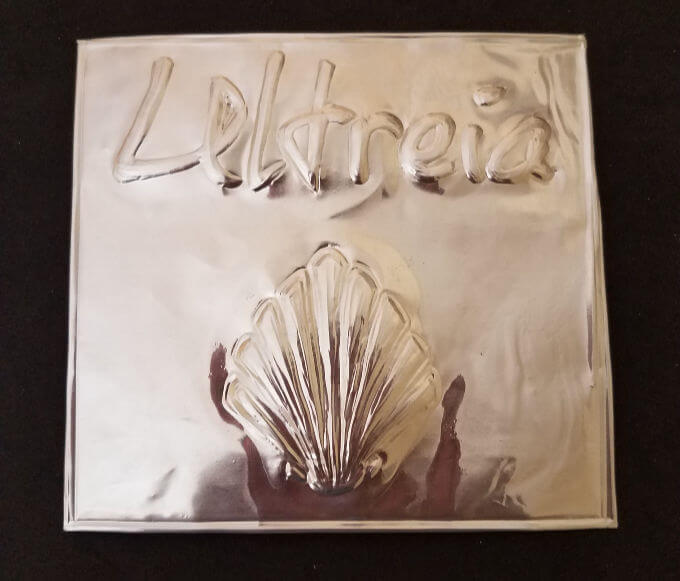
When finished, I cut out the design with an old pair of scissors and folded the sharp edges to the back. Then I painted it using copper spray paint we had on hand. For a finishing touch, I applied black shoe polish to the design and wiped most of it off. The polish clung to the crevices and added a bit more dimension. One of the videos I watched used black acrylic paint in the same way, but she used a sturdy metal tape on card stock and ran it through an embossing machine. I was worried about damaging my design and decided the shoe polish would be easier to remove.
You’ll find all sorts of ideas and inspiration for embossing your own design via web search. I used the terms “metal embossing,” “aluminum foil embossing,” and “embossing aluminum cans.”
All in all, I am pleased with how this turned out and intrigued by the possibilities for future projects. I had a ton of fun with this project from researching and deciding on a pattern to actually doing the embossing. For the cost of an aluminum cookie sheet and a little time, it’s definitely a craft worth trying.

This post is hosted by the Creative Craft Bloggers Facebook Group. In addition to sponsoring the Creatively Crafty Link Party every Thursday, we also have a monthly challenge where we pick a topic and create. Right now we’re working with various materials. If you think you’d like to join us, drop me a line in the comments and I’ll help you get started.