How to Make a Fashion Inspired Applique T Shirt
Last Updated on December 9, 2018 by lydiaf1963
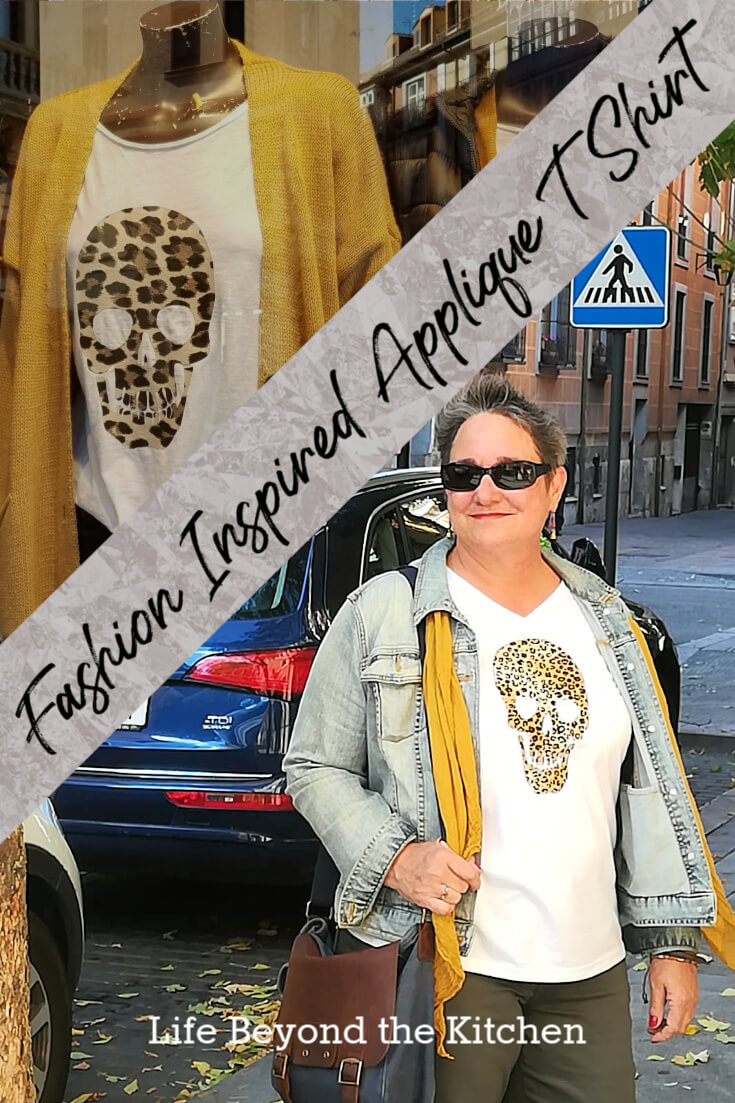
My new favorite top is a fashion inspired applique t shirt. I’m going to show you how I made it. Here’s my inspiration:
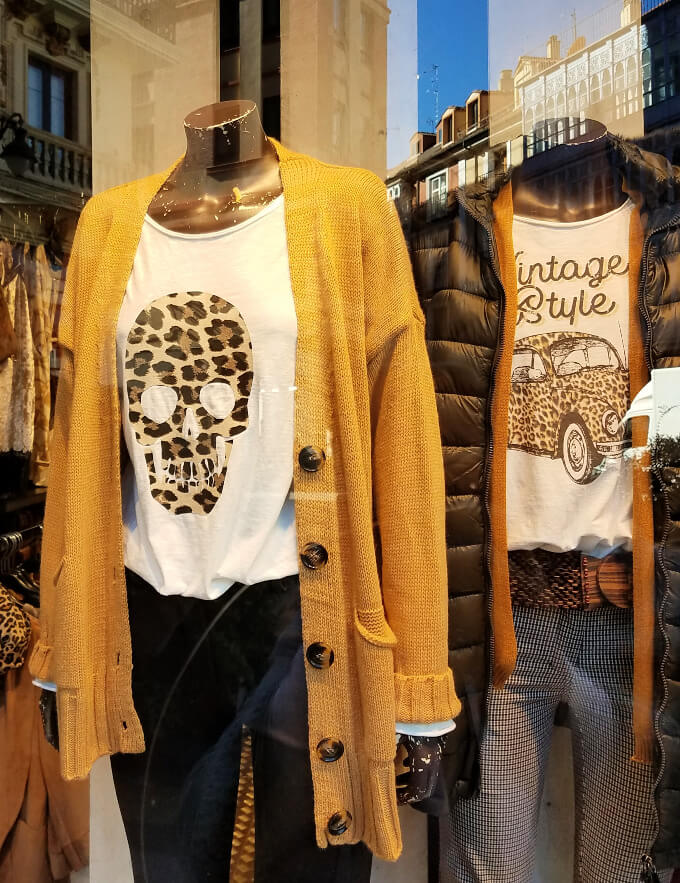
Animal prints are all the rage this fall. Every shop has something displayed and I see a lot of women walking around sporting a jacket, shoes or other item of clothing with some sort of animal print. I like animal prints, but I don’t have anything in my wardrobe except for a pair of scruffy leopard print slippers I’ve worn forever. I didn’t think this trend would be for me. That is until one day when I saw the cute t shirt with an animal print skull in the window of a shop. I fell in love and snapped a photo.
My original thought was to persuade my daughter to make the shirt using the Cricut and vinyl. She reminded me it could be done with fabric so I decided to go that route instead.
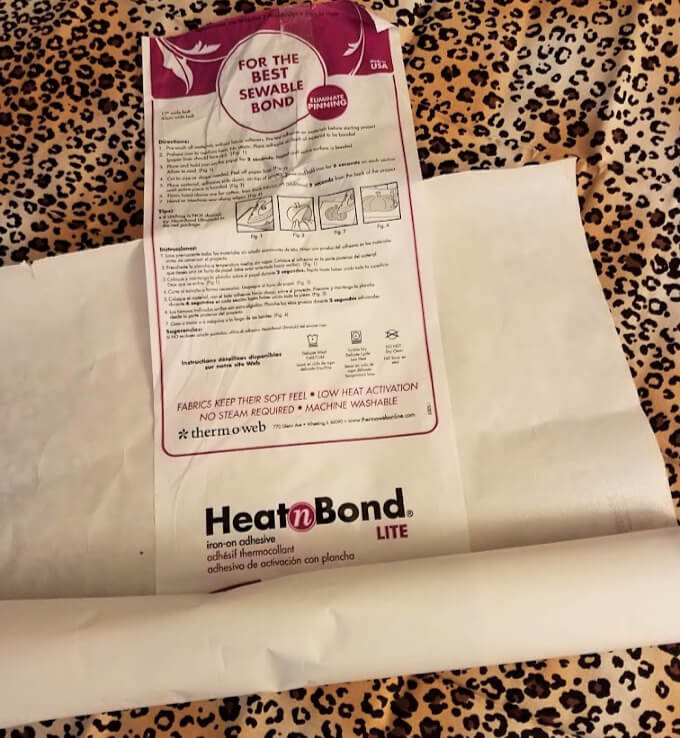
Materials and equipment needed:
- animal print fabric, pre washed and pressed (I bought a fat quarter and have plenty left for another project)
- t shirt (mine was a cotton/nylon blend)
- heat n bond lite or similar double sided iron on fusible (you want the kind with a paper backing)
- pattern for applique
- thread for finishing the applique
- sewing machine
- iron
- scissors
How to make a fashion inspired applique t shirt
Determine the size you want for the applique. I held a sheet of copy paper up to my chest…very low tech!
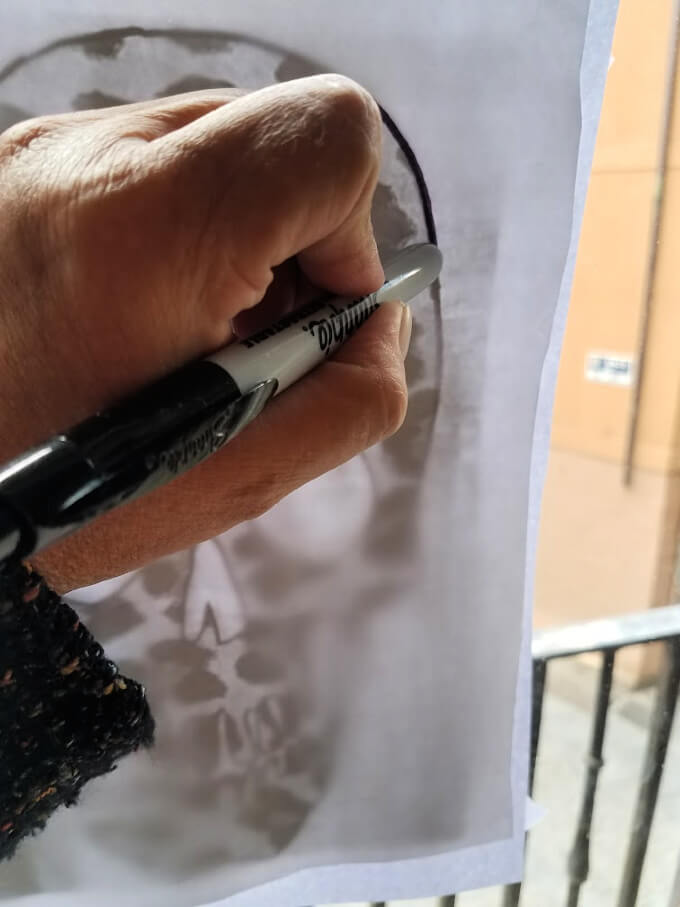
Make a pattern. I imported my photo into MS Word, cropped it to just the skull, sized it, printed it out. There are other software programs that will also work. After printing I traced the outline of the skull to emphasize it.
Trace the pattern onto the paper side of the heat n bond. I did this by taping my printed pattern to the window and tracing onto the heat n bond. Again, low tech rules!
Iron the heat n bond to the wrong side of the applique fabric according to the directions.
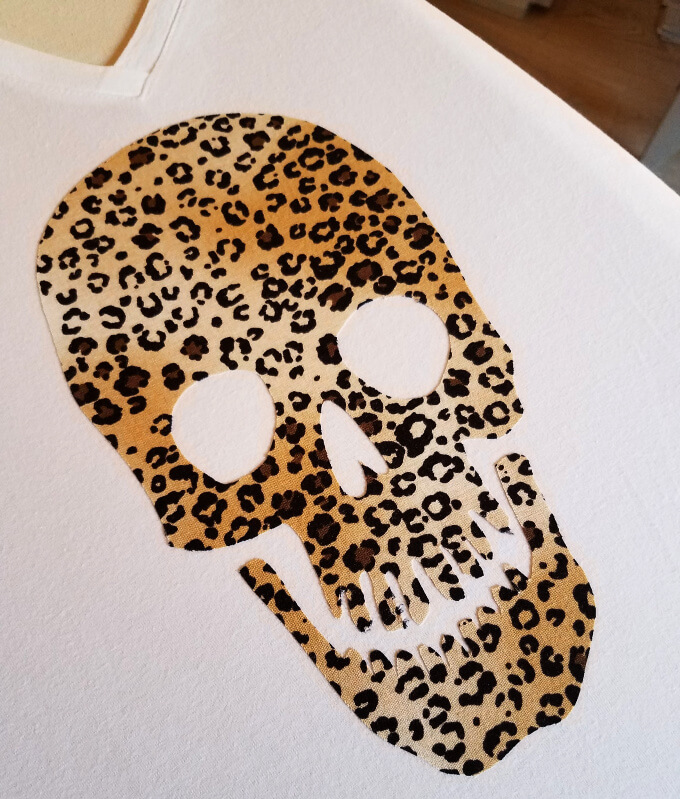
Cut out the applique.
Remove the paper backing and arrange the applique on the shirt then iron it as directed.
Sew around the outline of the applique to finish. This step is optional but my experience with heat n bond suggests the raw edges will peel up or fray after a while.
Wear your shirt with pride and strut your stuff!
Other considerations
The image I chose doesn’t really have a specific orientation. But there are some (letters for instance) that do. Keep that in mind when tracing your pattern onto the heat n bond. You may have to reverse or mirror your pattern before printing so your applique is oriented the way you intend.
You’ll also want to take the direction of the fabric you’ve chosen for your applique into account if it has a pattern.
Heat n bond makes sheets that are sized for a printer which saves having to trace.
This video from Made to Sew’s YouTube channel was very helpful. Love her accent and she has some great tips.

My sewing machine is pretty basic. It took some fiddling with the zig zag stitch length and width settings to figure out which worked best for my project. While experimenting with the settings I used scrap fabric to practice stitching around tight curves and small circles. The skull’s teeth were challenging! I tried putting my applique in an embroidery hoop to help keep it taut while sewing, but my presser foot didn’t rise high enough to arrange my fabric under the needle.
In the end I took my time, made sure the bulk of the shirt was out of the way when I was sewing, and got over the idea that I could perfectly stitch around the teeth. I’m the only one who’d notice the imperfections anyway.
I’m so happy with how this project turned out. I don’t think a large garment with an animal print would suit me, but I am very comfortable wearing a small amount. Now I’m inspired to rock some of the cute accessories available, like the ones below.

