Log Cabin Placemats with a Patriotic Flair
Last Updated on June 16, 2019 by lydiaf1963
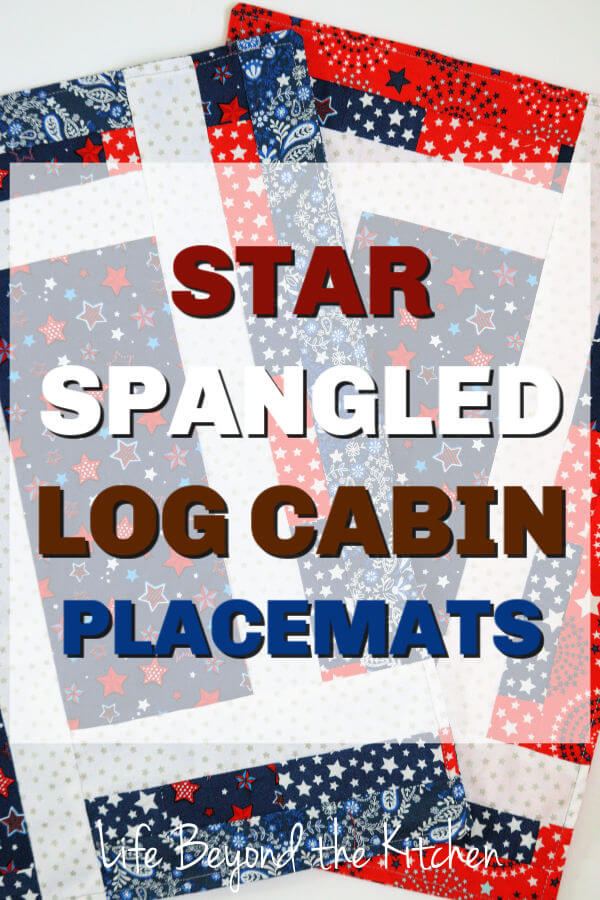
Wow, you guys! It’s craft challenge time again. This month we’re making something patriotic for upcoming Fourth of July celebrations. I found some really cute fat quarters and precuts and decided to make star spangled log cabin placemats.
Recently a pin for log cabin placemats came across my Pinterest feed. The pin leads to this article on modern log cabin blocks. The website is called Quilt Social and it’s just loaded with tutorials, patterns and projects. Drop by for some inspiration.
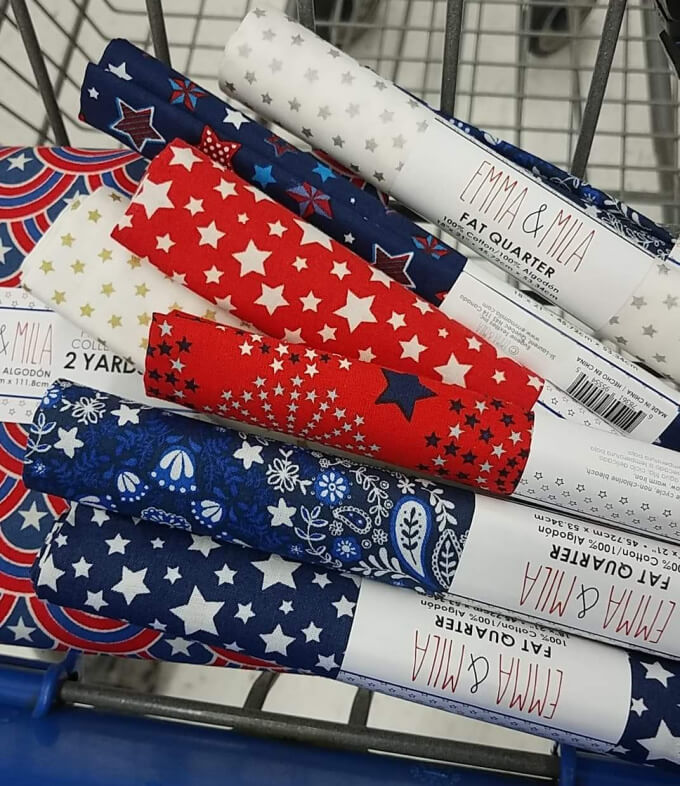
The fabrics are from Emma and Mila’s collection at Walmart. I chose star patterns and a couple of bandana patterns to go with them. (I went back and bought more of the small gold and silver stars…thinking ahead to Christmas.)
The dimensions for the cuts came from the blog post on Quilt Social. The placemats feature a center with a pieced border which is then attached log cabin style around the edges of the center. I chose not to add batting or binding. Instead, after piecing the tops, I sewed them to the backs, turned them right side out, and added a line of top stitching around the edges.
The borders feature a strip set that is sandwiched between two other complementary pieces of fabric. Let’s talk about that first.
What’s a strip set in quilting?
A strip set is regular lengths of fabric that have been sewn together. They can be pieced the long way or on the short edge, depending on the project. The strip set can then be cut in a variety of ways and used to create new quilt blocks. Check out this video from Teresa Down Under for an example of how to use a strip set.
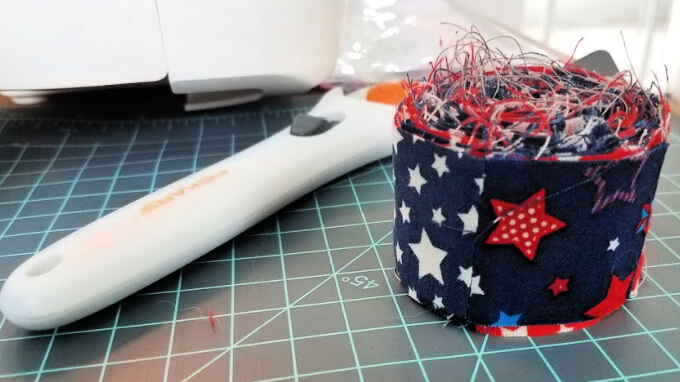
The strip set for the placemats is pretty basic. I cut three of my fat quarters into 1 1/2″ strips and then cut them down into rectangles 3, 4 and 5 inches wide. Then I sat down at the sewing machine and stitched the pieces together, end to end. The only thing I worried about was not placing two pieces of the same fabric next to each other.
When my strip set was the required length, I gave it a good pressing, making sure to iron the seams open.
Assembling the border pieces
As mentioned, the borders are rectangular blocks consisting of lengths from the strip set between two complementary fabrics. There’s no reason you couldn’t use the same fabric on both sides of the strip set, it just depends on the look you’re going for. I got fat quarter fever at Walmart so I had lots of fabrics to choose from…they were 97 cents each…what can I say? Once the blocks are assembled they will be trimmed to the final size, so while you’ll want to be careful when sewing them together, you’ll be able to trim any uneven ends.
Chain piecing eliminates some of the tedium
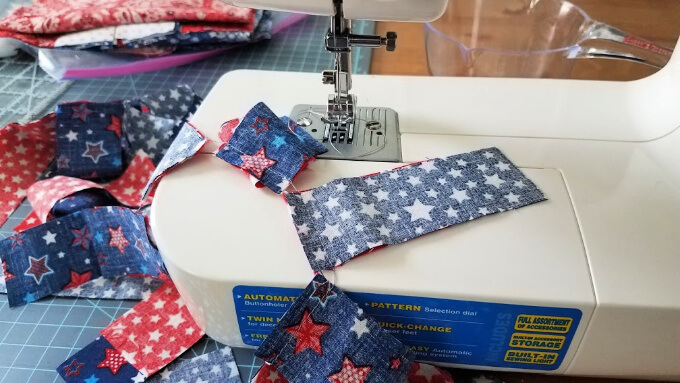
Chain piecing is just what it sounds like. You sew one seam and then, without cutting the thread, place the next two pieces under the feed dogs to be sewn. I chain pieced the strip set and the border units. Once finished, it’s easy to nip the couple of stitches between pieces before heading to the ironing board to press the seams open.
Using a partial seam for ease of construction
To assemble the log cabin, you start in the center and work your way around. But the first seam doesn’t get sewn completely. You sew about half of it, then move on to the next piece. This will allow you to move the work out of the way while you sew the last piece on to complete the block. Then you can finish the partial seam and sew the top border to the side piece. This video from So Very Easy demonstrates how a partial seam works. If you’re confused, don’t worry. It makes a lot more sense when you try it for the first time.
Cut list to make the log cabin placemats
To make a set of four placemats you’ll need:
Center: 4 1/2″ x 10 1/2″ (cut 4)
Long Border Pieces Fabric 1: 2″ x 15″ (cut 8)
Long Border Pieces Fabric 2: 2″ x 15″ (cut 8)
Short Border Pieces Fabric 1: 2″ x 10″ (cut 8)
Short Border Pieces Fabric 2: 2″ x 10″ (cut 8)
Note, I suspect 9″ will work for the short pieces since they’ll be trimmed to 8 1/2″
Strip set for center of border: Using a 1/4″ seam allowance, piece together enough 1 1/2″ strips to yield 210″ of fabric. This gives extra fabric in case a cut line ends too close to a seam, etc. Cut the strip set into (8) 15″ pieces and (8) 10″ pieces.
Back: 12″ x 18″ (cut 4)
Putting the Placemats Together
Use a 1/4″ seam allowance throughout and press each unit before sewing to another unit.
First, sew the strip set together as described, then press the seams open. Then cut the set into smaller pieces as detailed in the cut list. Avoid making a cut within an inch or so of a seam. If necessary, trim an end so you can get the lengths you need.
Next, assemble the rest of the border pieces by sewing the strip set to a piece of same length fabric 1. Press the seams open or towards the darker fabric. Now sew the third strip (from Fabric 2) onto the other side of the strip set. Don’t forget to press.
Trim the border pieces to 4 1/2″ x 14 1/2″ and 4 1/2″ x 8 1/2″
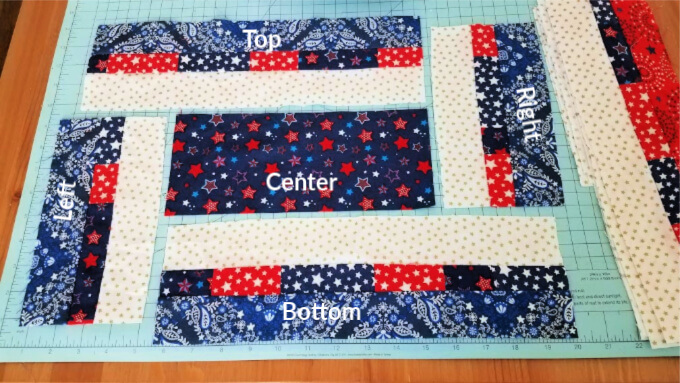
Lay the pieces out to get an idea of how you want each unit oriented.
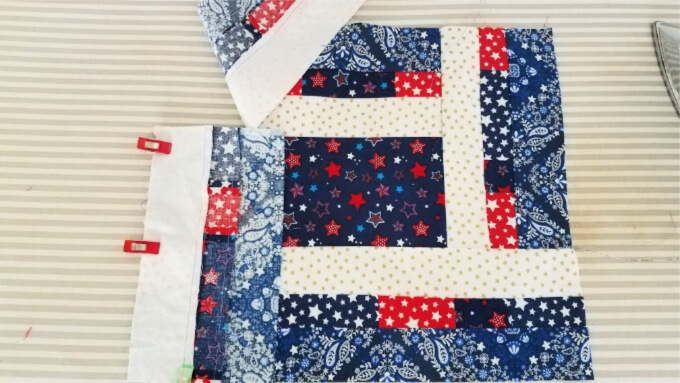
Sew the center to the top (long) border piece, leaving about half of the center unsewn. The left side of the border piece won’t be sewn until later.
Next, sew the right (short) border piece to the edge of the top and the side of the center.
Now the bottom (long) border piece is sewn to the bottom edge of the right border piece and the bottom of the center.
Fold back the top border piece and sew the left (short) border piece to the bottom and the center.
Finally, fold down the top border piece and complete the partial seam all the way to the side border.
Trim the placemat tops evenly to 12″ x 18″
Place the top and bottom together (right sides facing) and pin together, leaving an opening for turning. Sew together with a 1/4″ seam allowance.
Turn right side out, press and top stitch. Be sure to poke out the corners and work the side seams so they lay flat. Top stitch 1/4″ from the edge around each placemat. Make sure to close the opening used for turning.
I think my placemats turned out great! They’re perfect for a summer table but the basic pattern could be used with any fabrics for any occasion. I’d like to make another set with batting and quilting.
As mentioned, this project is part of a larger challenge. Be sure to check out the link up below for more Star Spangled projects!
Next month we’re doing Christmas in July. Would you like to join us? Drop me a line in the comments and I’ll help you get started!