
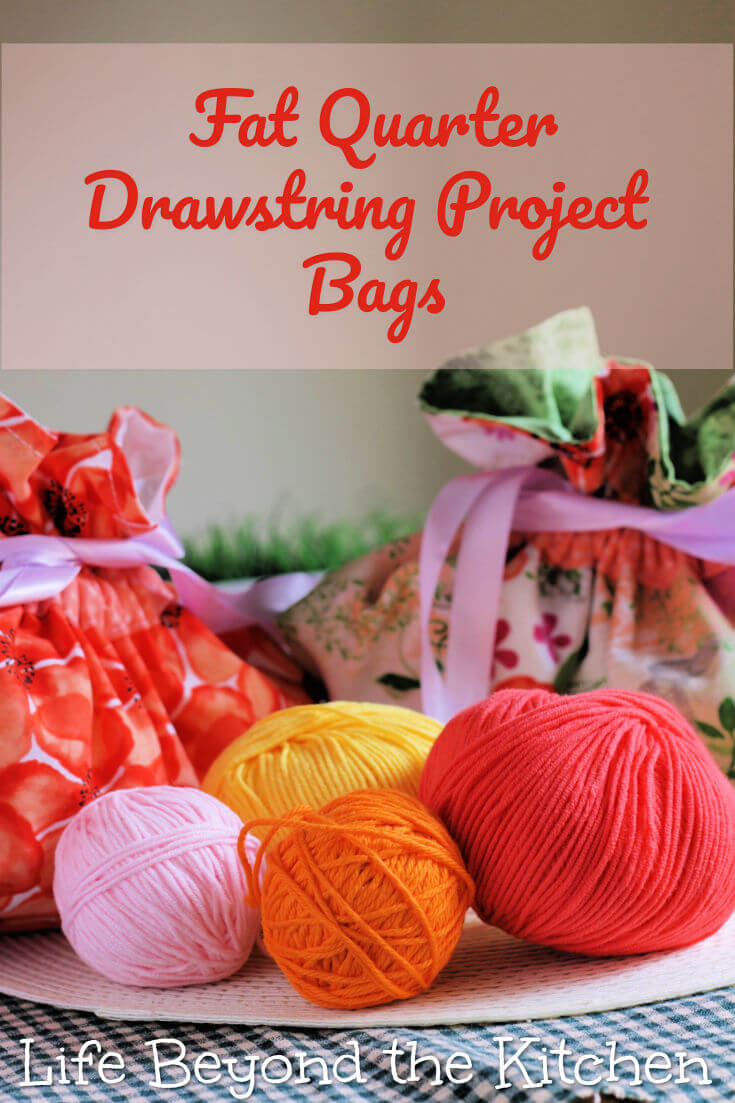
Fun Drawstring Bags from Fat Quarters
Last Updated on September 12, 2018 by lydiaf1963
I haven’t used my sewing machine since Christmas when I made these folded fabric ornaments. So I was happy when this month’s Creative Crafters Craft Challenge was to use fabric. You see, even though I don’t sew as much as I’d like, I’ve somehow managed to accumulate a stash of fat quarters and odd lengths of fabric. I’m also at the point in my knitting where I have several projects going at the same time. Those WIPs (works in progress) need homes when I’m not working on them. A few simple drawstring bags will help me keep my projects clean and organized when I’m not working on them.
Drawstring bags can be made any size, from small pouches suitable for holding jewelry to large bags large enough to store quilts and blankets. The only limit is the amount of fabric you need and how much you want to spend on your project.
The advantage to using fat quarters is you can purchase them in coordinated bundles. Not that my WIPs will care, but I like the idea of pretty bags to hold them.
I tried to get away with not washing the fat quarters, but I found they’d been folded for so long the creases didn’t want to iron out. To be honest, I don’t remember when I bought the fabric, but I suspect it was at the same time I made these easy napkins and placemats. So at least two years.
While the pieces were washing and drying I checked out a few YouTube videos to refresh my memory on how to make drawstring bags. It turns out there are several ways.
Vanessa the Crafty Gemini demonstrates how to make a basic unlined bag.
Sannari made lined bags with boxed corners and coordinating casings.
And Laura of SewVeryEasy shared her “formula” for making a reversible drawstring bag in any size.
As much as I was psyched to try Laura’s patchwork bags, I liked the look of the contrasting fabric casings, so I chose Sannari’s method to work from. Here’s how I did it:
Gather fabric and notions:
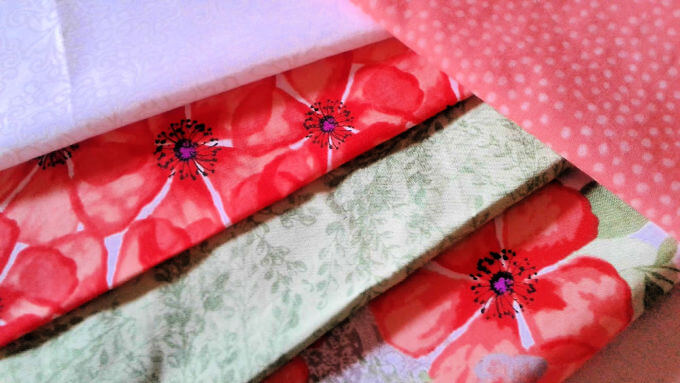
- two fat quarters that have been washed, dried, ironed and cut into a rectangular shape (mine were about 17 1/2 inches wide by 20 1/2 inches tall) The height and width of the bag are up to you. I wanted to use as much of the fat quarters as I could so I determined my size after trimming the loose threads from washing.
- contrast fabric for the casing (2 strips 13 inches wide by 2 1/2 inches tall) The width of the casing depends on the width of your bag. I made mine about 4 inches narrower and centered the casings on the outside of the bag. The height can also vary, but needs to be tall enough to accommodate the drawstring.
- ribbon for the drawstring (mine was about 1/2 inch wide)
- thread
- scissors or rotary cutter and mat
- pins
- iron and ironing board
- a sewing machine (mine’s pretty basic, I figure I’ll upgrade if and when I need to)
Get Ready to Sew
First fold the fabric pieces for the outside and lining of the bag in half the long way, being careful to match the sides and top. Then give them a good press. The folds become the bottom of the bag.
Next, form the casings by folding them in half the long way, then press the edges in towards the center. It will look a lot like bias tape. Create a hem on the short sides by turning the fabric towards the inside. Then press and sew the short ends as close to the fold as you can.
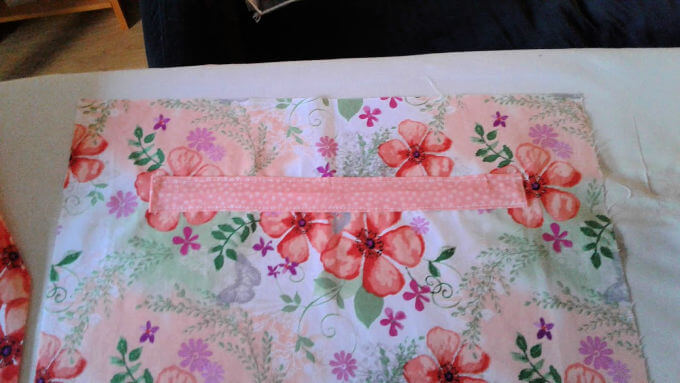
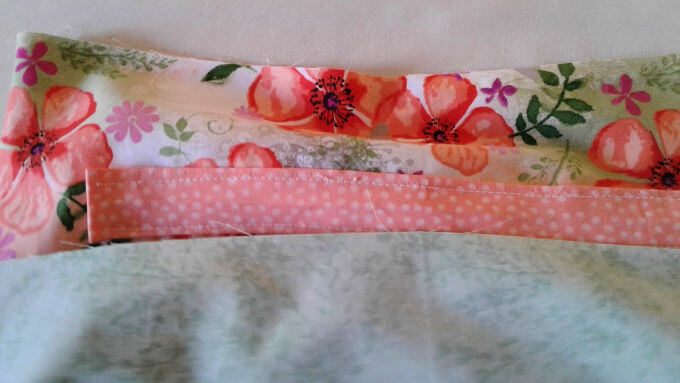
Now unfold the fabric for the outside of the bag and measure between 1 to 2 inches down from the top and bottom of the fabric. I put mine at two inches from the top and wish I’d chosen an inch instead as I forgot to take the depth of the boxed corner into account. My finished bag is squat looking as a result. Whichever distance you choose, center the casing on the fabric and top stitch the two long sides of the strips, leaving the short ends open to form the casing. You’ll need to do this on the top and the bottom of outside piece.
Make sure both the outside and the lining of the bag have been folded in half the long way with right sides together. Sew the sides closed.
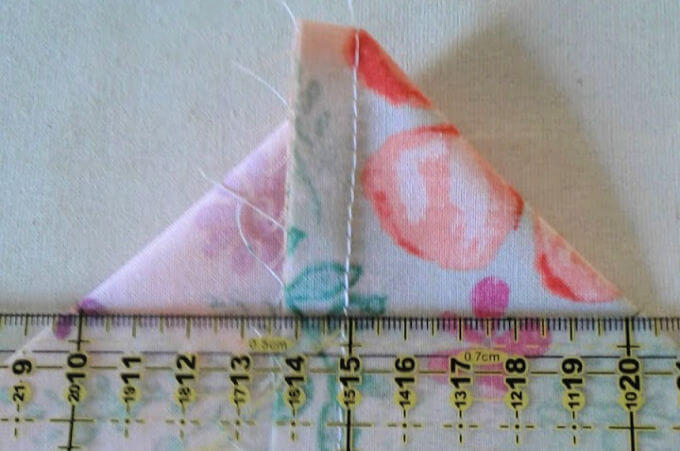
To box the corners put your hand inside the bag and fold the corner so the side seam lines up with the crease at the bottom to form a triangle. The better you’re able to match the two the neater your corner will look. Measure 1 1/2 to 2 inches down on each side of the corner and make a mark. Then draw a line across. Repeat for the other corner. Now sew across the lines you’ve drawn and trim away the excess.
To assemble the bag, turn the outside of the bag so the right side is out. Leave the lining inside out. Slip the outside of the bag into the lining. The right sides will be facing each other. Pin together making sure to match the side seams. Sew around the top of the bag making sure to leave an opening about 3 inches wide so you can turn the bag.
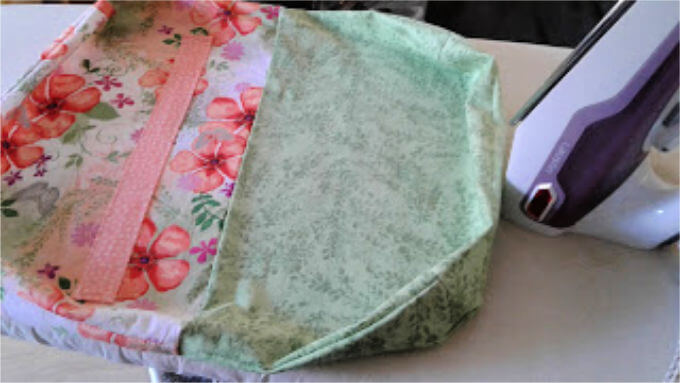
Turn the bag through the opening you’ve left. Give the bag a good press, then tuck the lining into the outside of the bag. Use your fingers to roll the top seam evenly around the opening and pin the turning hole closed by giving the piece a tug on either side. The raw edge should roll towards the inside. Give it another good press.
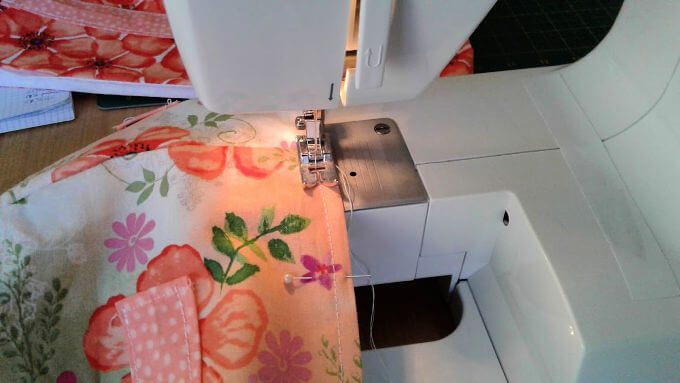
To finish the body of the bag, top stitch around the opening. Give yourself sufficient seam allowance to catch the turning hole to sew it completely closed.
The final step is to add the drawstrings. Measure the width of your bag and multiply by two. Then add another couple of inches. Cut two pieces of ribbon to this measurement. Thread one piece of ribbon from left to right all the way around the bag and tie the ends together. Now thread the other piece of ribbon from right to left all the way around the bag and tie those ends. You should have a tied end on each side of the bag. To close, tug on the knotted ends to cinch the bag tight. To open, place your fingers inside the top of the bag and pull.
My finished bags measure 16 inches from seam to seam and 10 inches from top to bottom. Thanks to the boxed corners they’re also about 4 1/2 inches deep. They easily hold three 100 gram balls of yarn plus a set of circular needles and a project like socks, hats, mittens or a small shawl.
I still have some Christmas fabric left. I think it would be fun to make a patchwork style reversible bag or two (as demonstrated in Laura’s video above) to use as gift bags.

As mentioned, this post is part of a monthly challenge sponsored by members of the Creative Craft Bloggers Group. We’re challenging ourselves to work with different materials at the moment. Next month we’ll be working with clay. If you’d like to join in, drop me a line in the comments and I’ll help you get set up.
I love making drawstring bags, they are so versatile aren’t they?
I love the idea of Christmassy ones for gift giving.