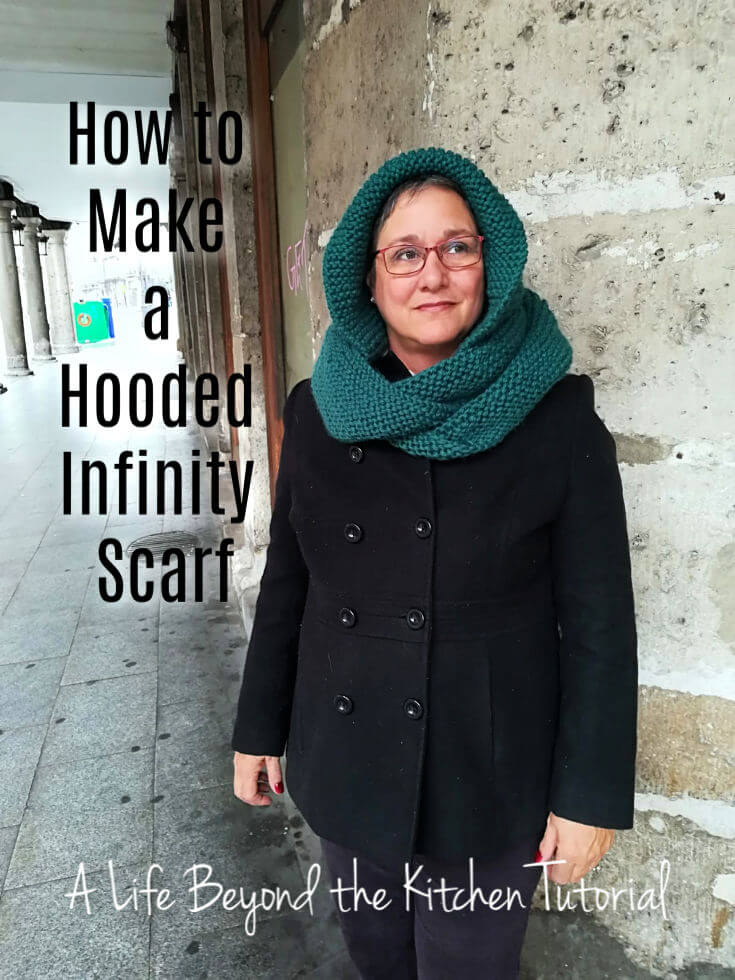
How to Make an Easy Hooded Garter Stitch Infinity Scarf For Anyone With Any Yarn
Last Updated on November 26, 2020 by lydiaf1963
This hooded garter stitch infinity scarf is the perfect project for beginners. You only need to know a few skills. In this free tutorial I’m going to show you how to make a seamless scarf for anyone (maybe you?) with any yarn.
Skills Needed to Make a Hooded Infinity Scarf
- Making a gauge swatch and determining the number of stitches per inch
- Taking measurements
- Casting on
- Joining in the round
- Knit and purl (we will work in garter stitch both in the round as well as back and forth)
- Bind off
- Picking up stitches
- Grafting garter stitch
Materials and Equipment
- fabric tape measure or yarn gauge
- Yarn (I used 400 yds chunky weight yarn)
- Circular needles in a size to fit the yarn (Mine were 10mm/US Size 15 and about 24” long)
- Stitch markers
- Pompom of your choice
- Scissors
- Tapestry needle
Making the Gauge Swatch
You need to know your gauge in order to determine the number of stitches to cast on. Making a gauge swatch is simple.
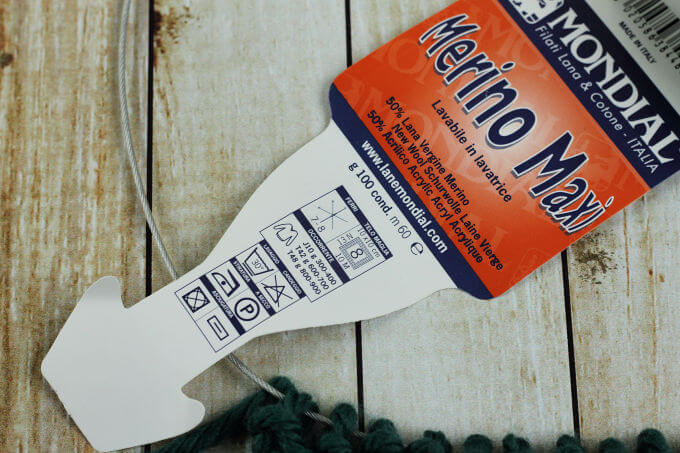
Look on your label. There should be a section that tells you the recommended size needles and gives the measurements for a 4”x4” (10cm x 10cm) swatch worked in stockinette stitch.
In the photo above the manufacturer recommends 7- 8mm needles which should yield 2 stitches per inch (8 stitches divided by 4 inches). If your yarn doesn’t have this information you can refer to this chart to give you an idea of how many to cast on.
Multiply the number of stitches per inch for your weight of yarn by 5. This should give you a nice swatch large enough to measure a section 4 inches wide without running into the edge stitches.
Once you know the number of stitches, cast them on and knit in garter stitch (knit each row) until your piece measures about 4 inches tall. You don’t have to bind off, especially if you want to reuse the yarn in your project.
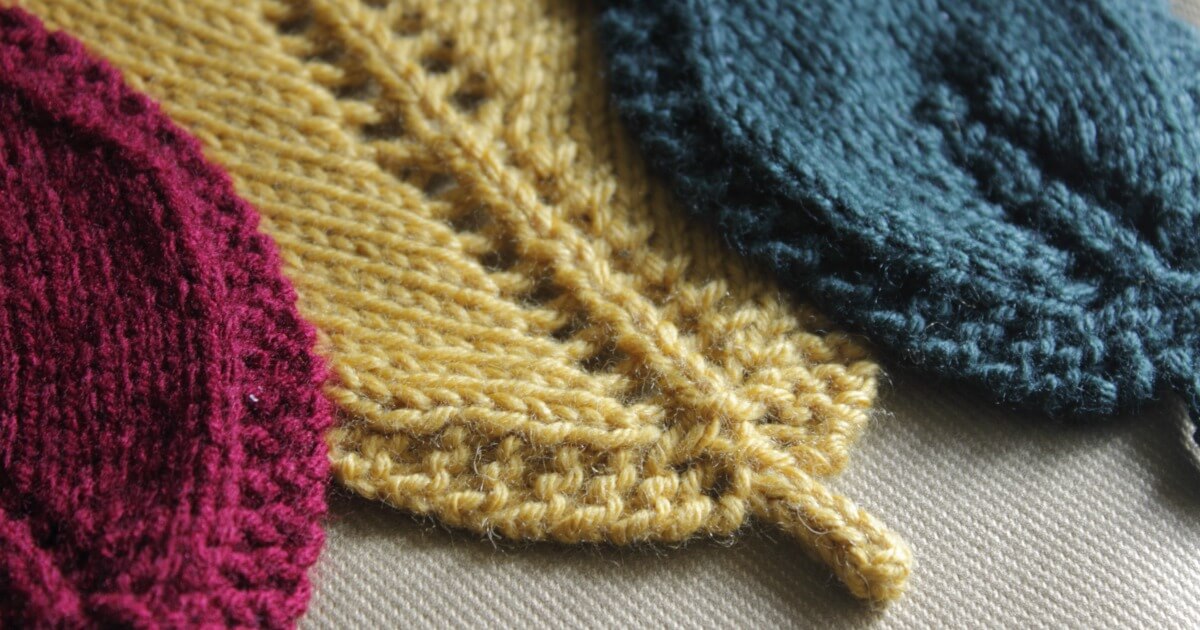
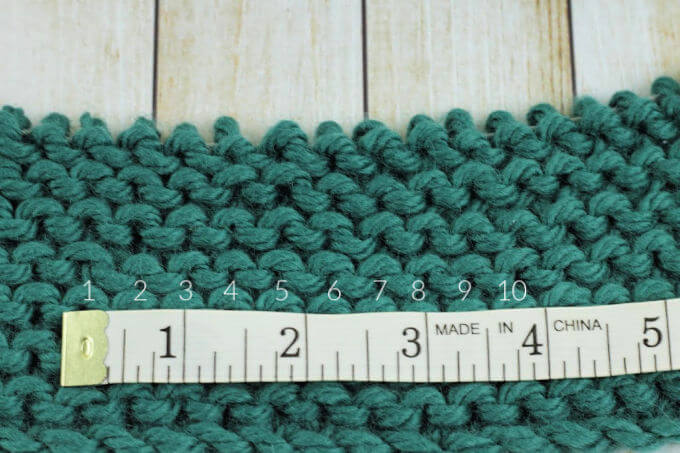
There are lots of handy tools for measuring gauge but the simplest is a fabric tape measure. Choose an area in the center of your swatch and line up the end underneath a stitch. Now count the number of stitches needed to cover 4 inches. In my case it was 10.
My stitch gauge is 2.5 stitches per inch (10 stitches/4 inches).
Ordinarily you wouldn’t need to make a gauge swatch for a simple hooded scarf but since we’re going to work it in the round, you’ll want to make sure the scarf is long enough to comfortably loop around the neck of the wearer.
When the size is important to the fit of the garment you’re wearing, you must make a gauge swatch and only use the yarn label to make an educated guess. You’d be surprised how inaccurate they can be.
Take the Measurements
Using a tape measure, take the following measurements. Round up to the nearest inch:
- Center neck to crotch x 2 = length around the infinity scarf
- Shoulder to shoulder = width of hood
- Center neck over back of head to the eyebrows = height of hood
With this information we can determine how many stitches we’ll need to cast on. Here’s how to do the math using my measurements:
- Center neck to crotch = 32 inches x 2 = 64 inches x 2.5 stitches per inch = 160 stitches
- Shoulder to shoulder = 20 inches x 2.5 stitches per inch = 50 stitches (this needs to be an even number for the graft at the end, round up if necessary.)
- Center neck to eyebrows = 16 inches
The hood is sized extra large to allow it to have a beautiful drape as well as to fit comfortably over the head without being pulled when the scarf is looped around the neck. You can adjust these measurements to suit the type of yarn you’ve chosen and the wearer.
Easy right? It takes a lot longer to explain than to do.
Now we’re ready to start knitting.
Let’s Knit the Hooded Garter Stitch Infinity Scarf Pattern!
1) Using your measurements, cast on the stitches and join in the round. In my case this is 160 stitches.
Tip: I used a knitted cast on and placed a marker every 50 stitches so I didn’t have to keep recounting from the beginning. Use a different marker to indicate the beginning of the round. You can remove the other markers once you begin knitting.
2) Knit in garter stitch until your work measures 6 inches wide. Garter stitch in the round is knit a round, purl a round. End with a round of knit stitch.
3) Bind off and weave in any ends.
4) The area where the rounds began will become the center back. Turn your work so the center back is facing you and the bind off edge is facing up.
Make the Hood
5) Using the measurement for the hood width, center the hood on the scarf by counting half the number of stitches on each side of the center back. Place a marker on each end.
In my case I want a hood that’s 50 stitches wide, so I placed a marker 25 stitches from each side of the center back.
6) Pick up and knit from marker to marker. You can do this on the same circular needles used for the rest of the project. Begin to work garter stitch back and forth on your needles until the hood measures the height you determined earlier. In my case that’s 16 inches. Garter stitch worked flat is knit every row.
7) When your hood has been worked to the desired height it’s time to join the two halves to form the hood. This requires grafting in garter stitch which is much easier to demonstrate via video than to explain. This one from Roxanne Richardson is very thorough. I’ve queued the video to the scenario that applies for our hooded scarf.
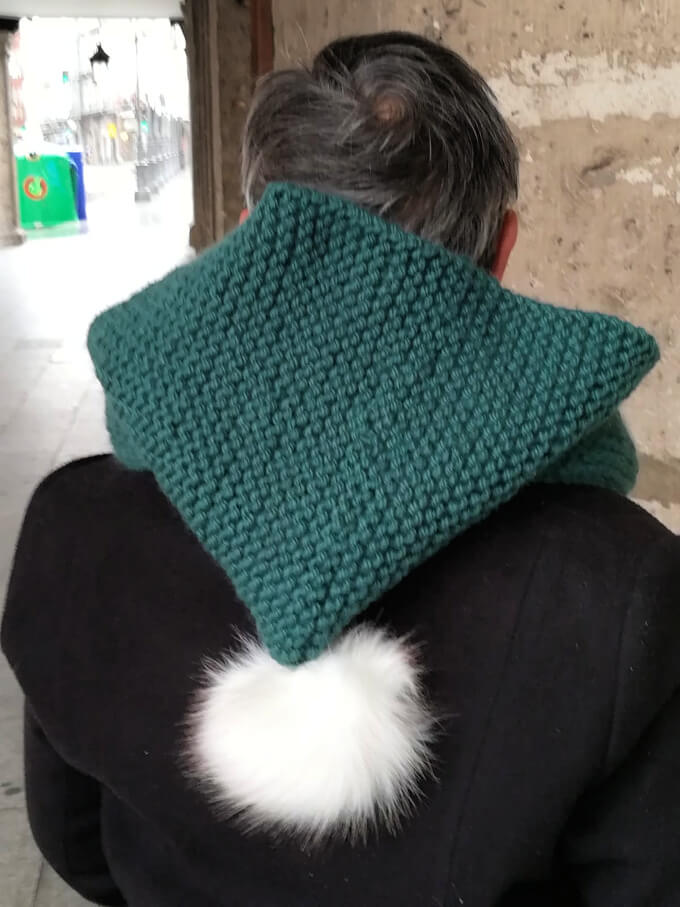
8) Attach a pompom to the hood.
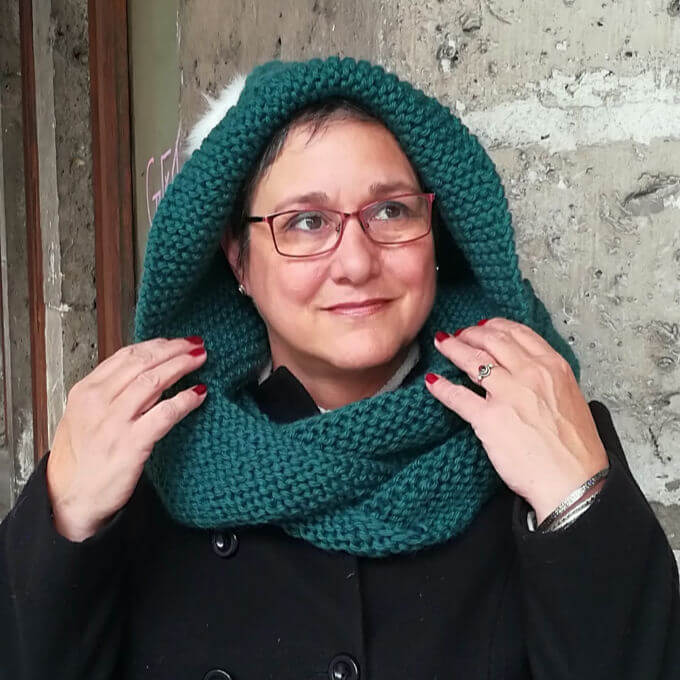
To wear, place the hood on with the scarf hanging down in front. Loop the scarf around the neck and drape as desired. Fold the edge of the hood back if desired (tack it down with a few stitches if you want to make if permanent).
Notes about the yarn and the garter stitch infinity scarf pattern
The yarn I used is a from an Italian brand called Mondial and is bulky merino/acrylic blend that is kind of heavy. It’s perfect for the cold days of winter where I live but may be too hot for more moderate climates. An all wool or all acrylic yarn may be a lighter option that still provides plenty of wind protection.
Once you understand the basic construction of the a garter stitch infinity scarf, it should be easy to adapt to other stitch patterns.
Keep in mind that a lighter weight yarn will require more stitches and rows to make up the same circumference and width as the chunky yarn. You could try holding two strands together to make up the bulk.
Just don’t forget to make a gauge swatch!
More fun projects!