Wave Cable Sock Pattern Review
Last Updated on March 9, 2018 by lydiaf1963
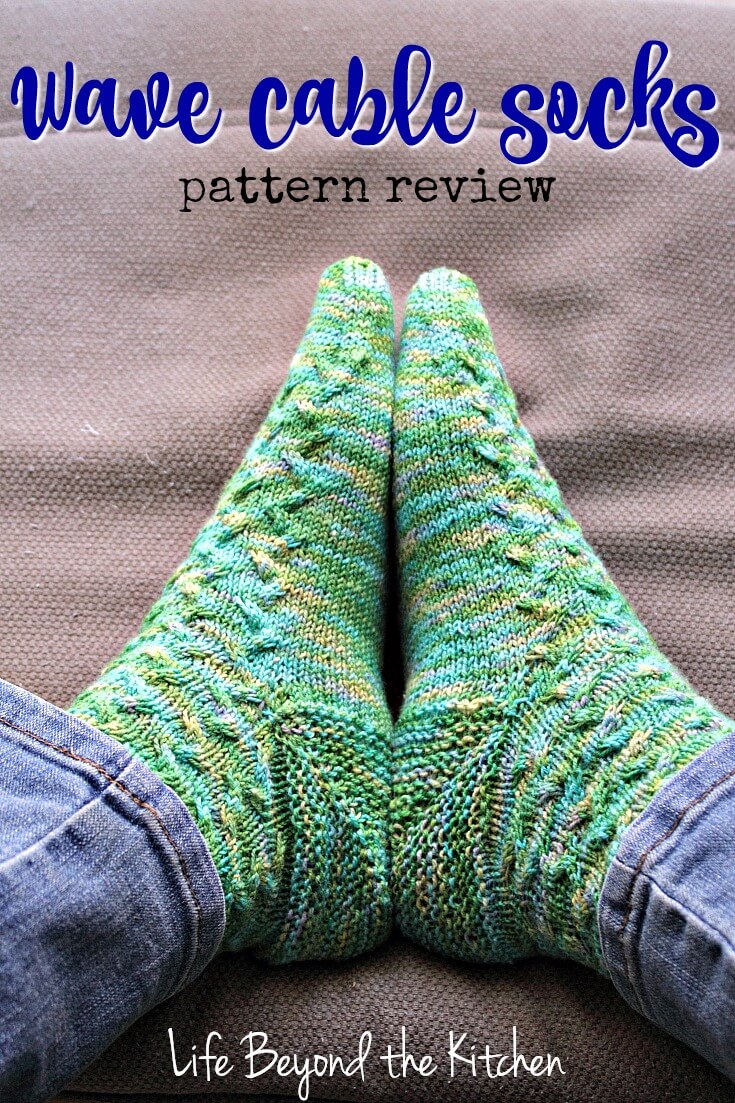
Like many people I set goals for the New Year. In addition to addressing my ever expanding stash of yarn, I want to explore the possibilities of knitting by learning new skills. Small projects like socks are great ways to keep myself occupied while trying out new stitches, construction techniques and working my way through my stash. The wave cable sock pattern by Erica Downs is a fun project that yields a pair of pretty socks with a zig zag cable detail.
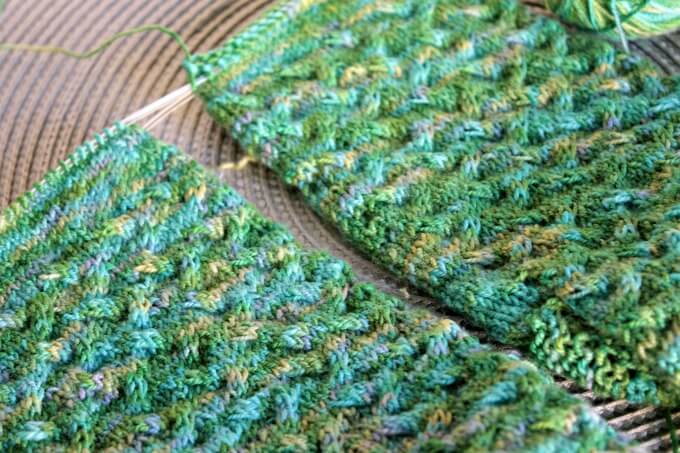
This pattern uses two circular needles to make the socks but if you prefer another method you won’t have any trouble making an adjustment. When using two circulars you put the top stitches on one needle and the heel and sole stitches on the other. If you find magic loop to be frustrating you may prefer this method.
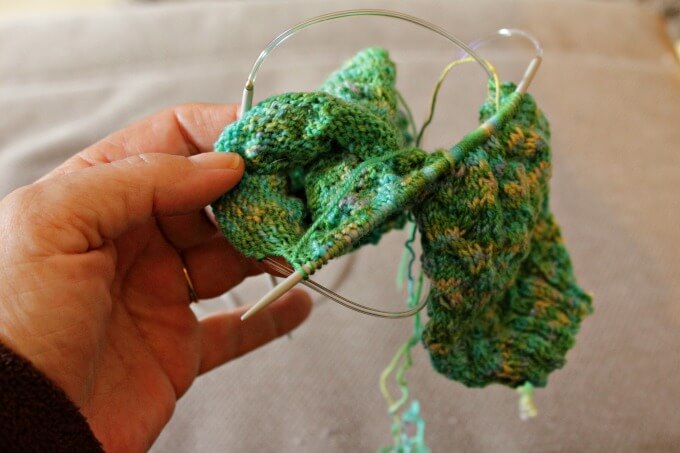
I figured since I was going to use two needles, I might as well make both socks at the same time. It’s kind of weird at first because you work on half of the first sock, then both sides of the second and finish off the other half of the first.
You’ll have to figure out how to manage two balls of yarn but overall you save time and avoid the second sock syndrome. The important thing about this method of construction is to make sure to match needles and to change the working yarn when moving from one sock to the other. You’ll end up with a pretzel if you choose the wrong needle as seen in the photo above. And if you forget to change yarn you’ll knit the two socks together. You’ll figure out right away if you do this. At worst you’ll have to undo some work or rearrange things to get back on track. Either way, you probably won’t do it more than once (or twice!)
Managing the Yarn and Needles
I’ve come to prefer using DPNs over cable needles for small projects. The cables can be annoying and you always have to shift the stitches around to the tips in order to work them. However, for me, the benefits of making both socks at the same time outweigh the annoyances of dealing with the cables. The needle tips on my cables are long enough to hold both sets of stitches so as I moved from one side of the socks to the other I made sure to move all the stitches as if they were one unit.
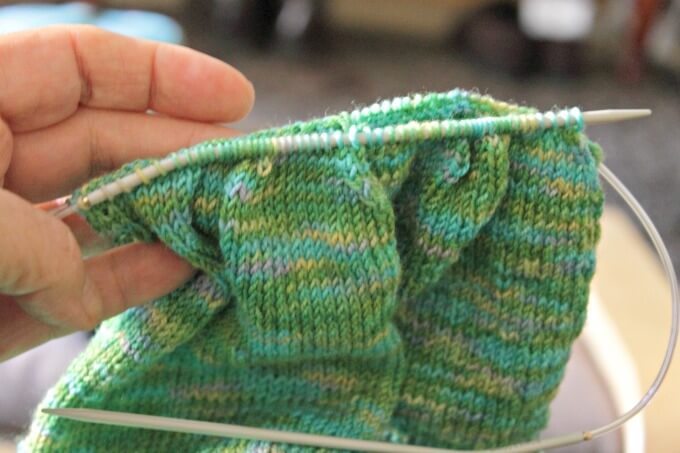
The most frustrating part of this method is dealing with the yarn as the two working strands will twist around each other. My solution was to put both balls in a small crate and feed the yarn from the crate between my legs. Then I periodically untwisted things. Some people turn the work in one direction and then back the other way as they’re working but I couldn’t remember to do that consistently.
What you’ll need to make the Wave Cable Socks
- The downloadable wave cable sock pattern by Erica Downs, available from her Ravelry store.
- Sock or fingering weight yarn (I used merino yarn leftover from this shawl I made for my sister and this Buff I made while walking the Camino. I also used it to make cording with my knitting mill…I’m starting to wonder if I’ll ever use it all!) You’ll want 2 balls that weigh about 50 grams. Check out these beautiful hand dyed yarns available on Etsy.
- Two circular needles to fit the yarn (Mine are 3mm or US Size 2.5)
- Cable needle
- Optional Double Pointed Needles in the same size
- Stitch markers
- Row counter (I used my phone. See this post for more information.)
- tapestry needles
- scissors
- Container for the yarn. This can be a pouch, yarn bowl or small crate.
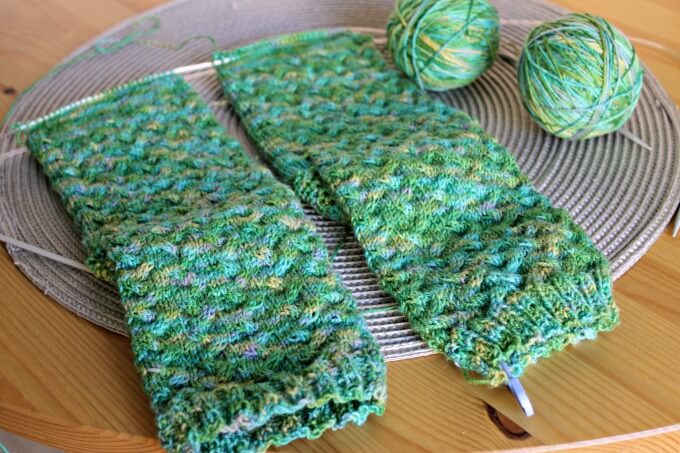
The cable wave sock pattern is sized for a smaller foot and the directions are written with that in mind. I chose the larger size sock with 70 stitches for the body. The pattern calls for a K2P2 rib and since 70 isn’t divisible by 4 I dropped to 68 stitches to make it even. Each cuff was worked separately on DPNs then an increase round of plain knitting brought the count back up to 70. While working the increase round I transferred my socks to the two circular needles with 35 stitches per sock on each needle. (This video will demonstrate how to cast on to two circulars if you want to give it a try.)
My ankles have not yet gone the way of my thighs so I could have reduced the cuff stitches even more. That’s the best part about knitting socks for yourself or a loved one. You can easily adjust the stitch count for the cuffs to get a custom fit especially when you use a stretchy rib stitch.
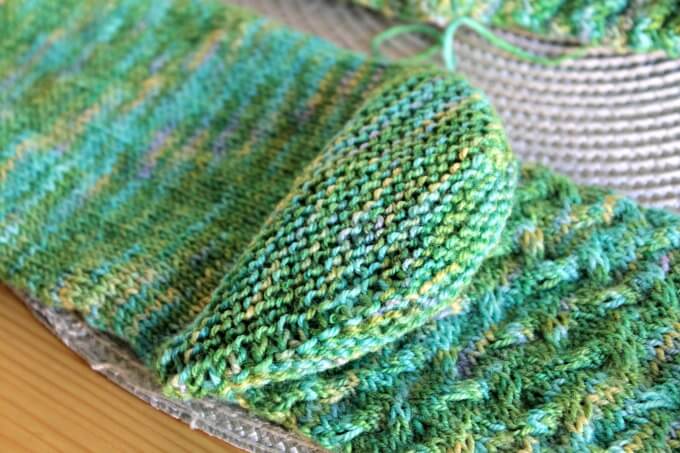
When I made the Simple SKYP socks I worked on DPNs and made a gusset heel, which I enjoyed. These socks use a short row garter stitch heel which is less complicated and made a nice textural contrast to the cable pattern on the socks. I found this two part video from Knit Purl Hunter to be very helpful in learning how to form this style heel. I worked the heels of each sock separately with DPNs and working back and forth. Everything else was held secure on the cables. When the heels were finished I knit them back on to the circular needle.
The toe is a wedge shape with paired decreases on either side. When you’ve finished decreasing, cut the working yarn leaving a long enough tail to graft the toe together using a kitchener stitch.
The wave cable sock pattern was fairly straightforward to follow. Anyone who’s worked in the round should be able to make these socks. I’m glad I chose to make two at a time socks because most of the time you’re just knitting and it can get tedious after a while.
The two at a time technique can also be used for gloves and mittens and sweater sleeves. Have you tried it? What’s your favorite way to make socks? Tell me about it in the comments.







This looks like a great pattern 🙂 I make socks with magic loop and 2 at a time, I love how they are done at the same time :D. :))
It’s gratifying to watch the socks form on the needles, isn’t it? Thanks for stopping by 🙂