Upcycled Pencil Box {#CCBG Challenge}
Last Updated on August 2, 2017 by lydiaf1963
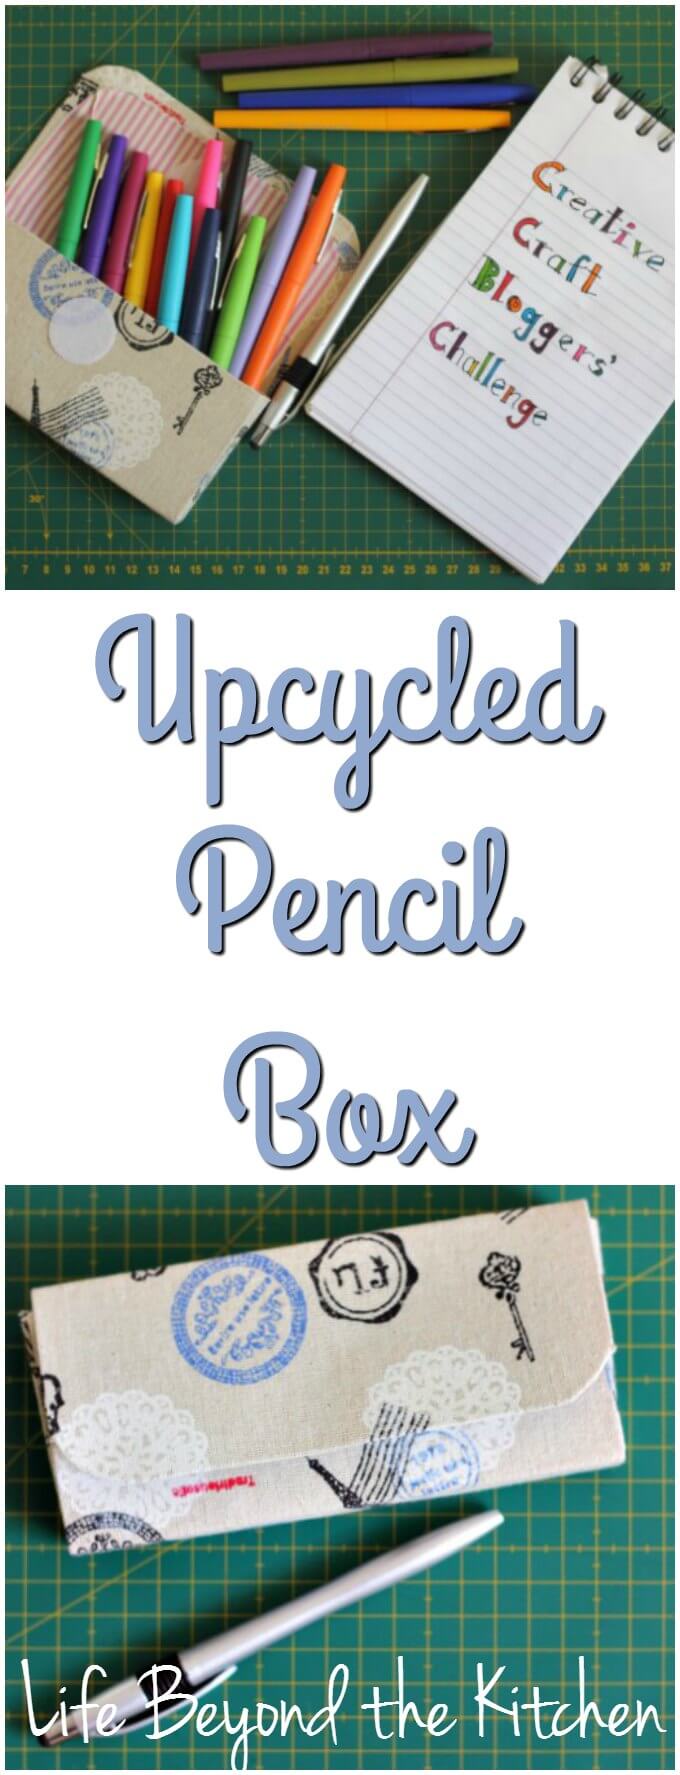
When I found out the Creative Craft Bloggers Challenge for August was “Back to School” I had to laugh. It’s been almost 10 years since I’ve had to buy school supplies for anyone in my family. But it turns out there’s a surprising amount of overlap between the stuff a student uses and the stuff a crafting person keeps on hand. Take this upcycled pencil box for example. Like students, I need something to hold my collection of colored pens. A rubber band just isn’t the most elegant solution.
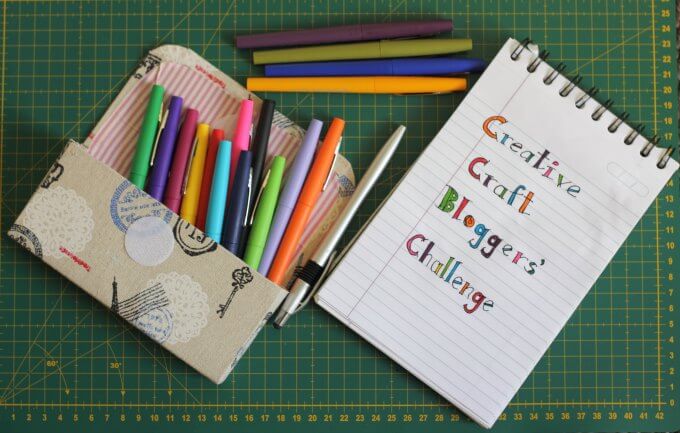
My inspiration came from a post I found on Pinterest. Sahanah over at Vikalpah demonstrated how to assemble a pencil box using a cereal box as the base. Using her directions as a guide, I was able to construct my own pencil box with a foldover top using materials available to me.
At first I wanted to use an old milk carton but ended up using an old manila folder. The fabric I used had an adhesive backing. I found out rather quickly that I had to be careful when handling it and placing the cardboard base in place.
Here’s what you’ll need:
- thin cardboard or heavy paper; like from a cereal box or manila folder
- two pieces of fabric
- fabric adhesive and some means to apply it
- white glue for assembly
- velcro or other closure
- scissors, rulers
The first step is to decide the dimensions of your pencil box. Height, width and depth. Once you have those measurements it’s fairly easy to create the template for your box.
Using Sahanah’s tutorial as a guide, I measured one of my pens and added a little more to make sure I could get the pens out of the box easily. That gave me a width of 16 cm.
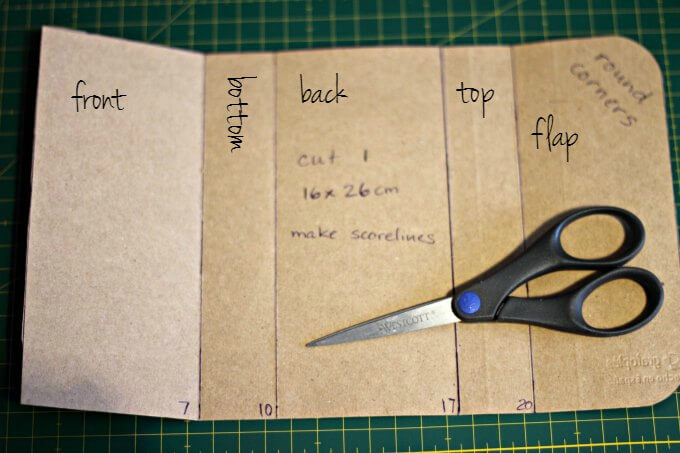
Planning the score lines was a little bit trickier. The first measurement is the height of the front of box. I choose 7 cm. The next measurement will make up the bottom and should be equal to the depth of the box. I chose 3 cm. The third measurement is the back of the box and is equal to the front. The last two measurements will make the fold over top. You’ll want a piece to cover the top (3 cm) and another to form the flap (6 cm). 7 + 3 + 7 + 3 + 6 = 26 cm
For my project, I started with a rectangle measuring 16 x 26 cm, and made score lines at 7, 10, 17 and 20 cm from the left most edge as shown in the photo. My cutting mat (affiliate link) was very useful in making these lines and, after going over them a couple times with a ballpoint pen, the cardboard folded easily. I used a small glass to help round the edges of the top.
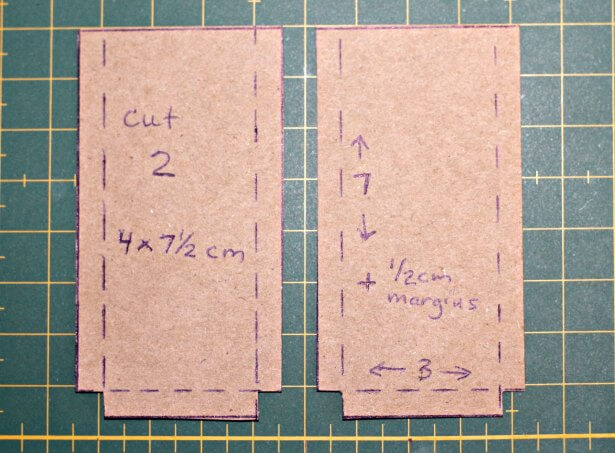
To make the sides cut them to the same height and depth of the box and add some flaps to help hold the sides together as shown.
Once the pieces are cut out, use the templates to cut out the fabric. The outside should be about 1 cm larger and the lining about 1 cm smaller. I used my cutting mat to help me draw the pieces but you could also use a compass as a gauge if you want to be more precise.
Glue the fabric in place, clipping the curves and corners as necessary. Bend at all the fold marks to crease the fabric. Apply glue to the tabs of the side pieces and set into place. Use clamps to hold the box together until the glue is dried. Glue the velcro closures in place and your box is ready for service!
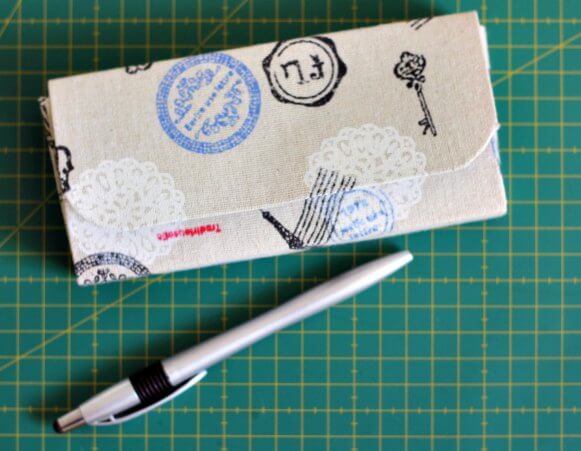
Now that you know how to build your own pencil box what will you put in it? Crochet hooks? Double Pointed Needles? Embroidery Thread? Drawing supplies?
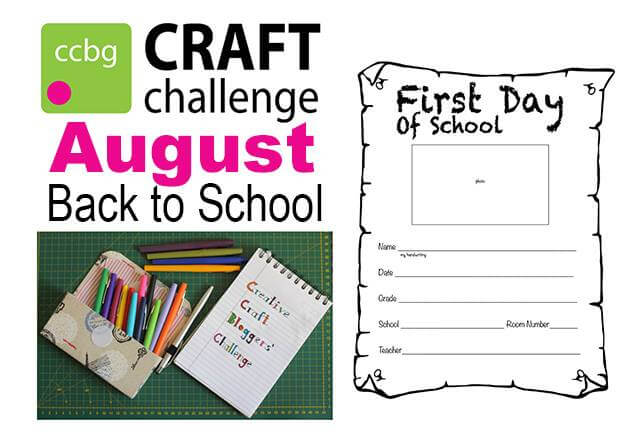
Janet from Try It – Like It made a fun First Day of School Printable be sure to drop by and check it out!
Most of our group was on vacation this month (or getting ready to go Back to School, ha!). We’d like to add some more bloggers to our group so even when life happens we’ll have participation in our monthly challenges and link party. The size of your blog isn’t as important as your willingness to participate and have fun! If you’re interested fill out this form and join us!


This is sad to admit but, I don’t think I have owned a pencil in about 6 years!
I had to fill out some paperwork recently and it felt really weird to write in cursive, hahaha.