Knitter’s Kit
Last Updated on June 19, 2018 by lydiaf1963
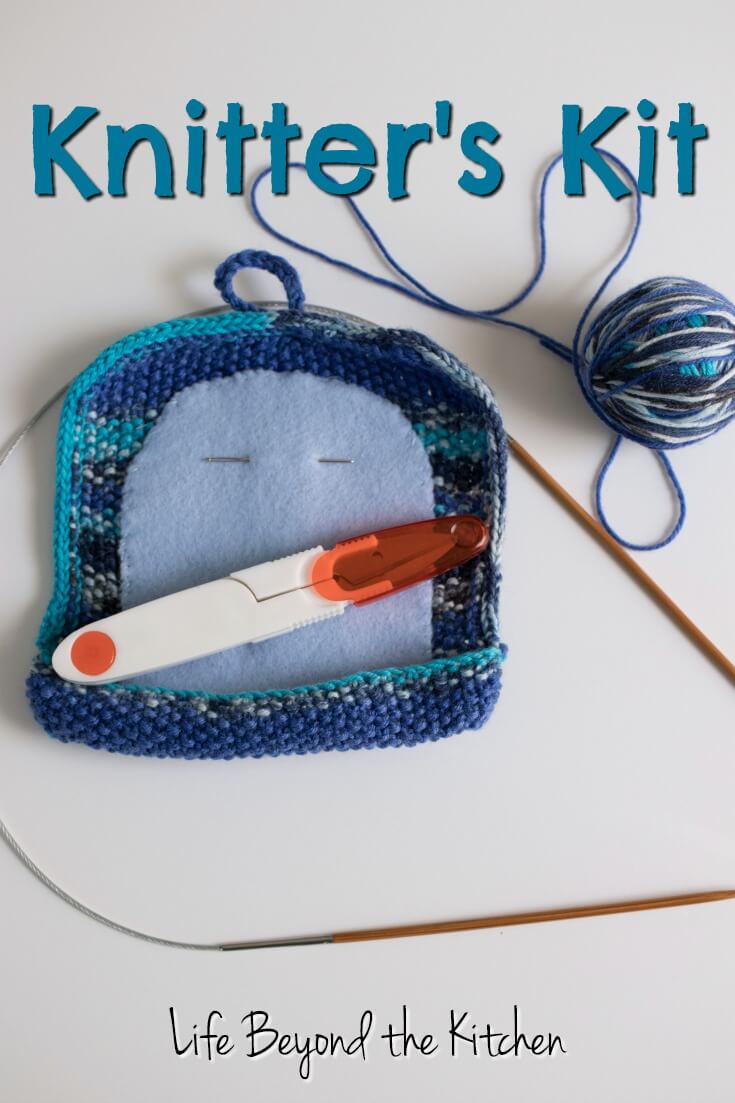
This knitter’s kit is a fun way to use up your leftover sock yarn. It holds a set of yarn snips and a blunt needle for weaving in the ends. It’s perfect for tossing into a project bag for knitting on the go. Not only will it make a useful gift for yourself or a friend, it’s also a great project to challenge yourself to either improve your overall tension or try a different style of knitting.
I am most comfortable when I hold my yarn in my right hand and flick it over the needle to form a stitch. I’m not particularly fast at it, though, and sometimes my right hand will go painfully numb. My friends who hold the yarn in their left hand in the continental style have assured me that both my speed and discomfort will improve if I change my style.
Before trying this project I was frustrated trying to keep proper tension when switching between knits and purls when holding the yarn in my left hand. Knits are easy enough to do, but making the purls confounded me! By the time I finished I (finally) had it figured out. I can now knit and purl without fuss in the continental style. While I could tell where I’d switched styles in my work I’m pretty sure most people won’t notice.
The knitter’s kit, designed by Frankie Brown and available on Ravelry, uses seed stitch to create a dense, nubby fabric. Since you constantly switch between knit and purl there is plenty of opportunity to teach yourself how to make it work in any style. And if you make a mistake the piece is small enough to fix it without too much hassle.
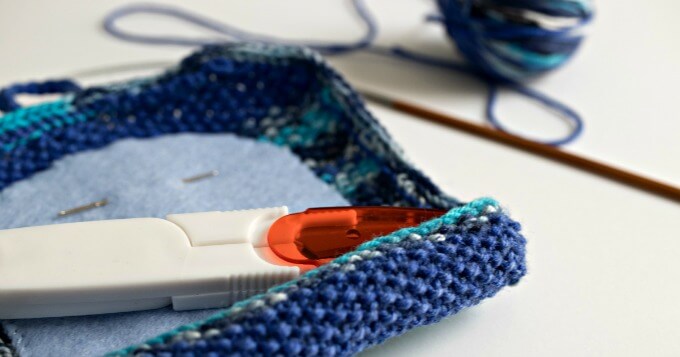
Here’s what you’ll need to make the Knitter’s Kit:
- free pattern from Frankie Brown (Frankie asks those who are inclined to donate to the Children’s Liver Disease Foundation. You’ll find links on the pattern page)
- sock yarn (I used some leftover from the Teddie I made my grandson)
- double pointed needles to fit the yarn (you can use circulars but the work is just about 5 inches wide plus you’ll still need DPNs to make the i-cord edging
- scissors or snips
- tapestry needle
- felt to match the work
- sewing thread and needle
- buttons
Pattern Notes
Seed stitch (also called moss stitch) is alternating knits and purls which create a nice texture. If you have an odd number of stitches the pattern is K1, P1 until the end on both sides of the fabric. If you have an even number of stitches the pattern is K1, P1 to the end on one side and P1, K1 to the end on the other. It doesn’t roll like stockinette stitch and doesn’t create ridges like garter stitch.
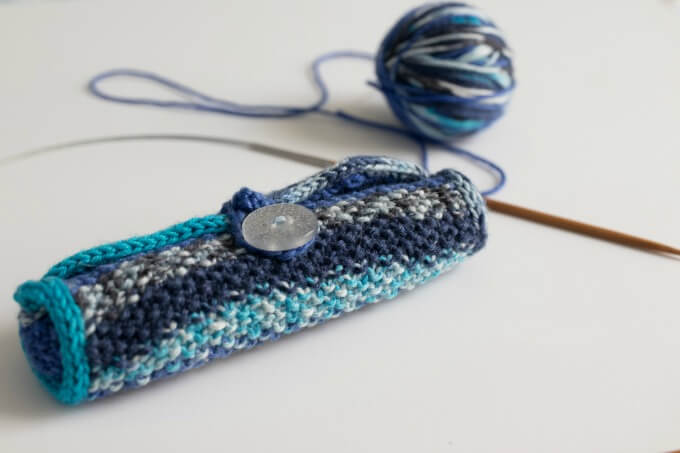
You form a small pocket for the snips and roll the remaining fabric around the pocket to close. A small piece of felt is whip stitched to the inside and is a useful place to store a needle. I think a small safety pin could also be used to hold a couple stitch markers, too.
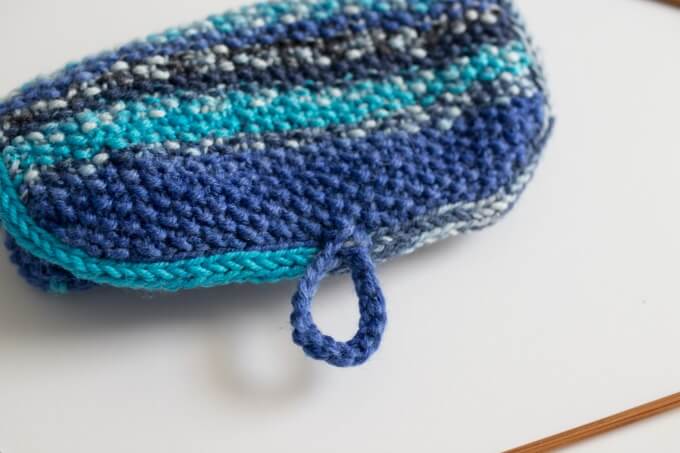
I followed the pattern fairly close except I chose to crochet a loop closure instead of buttons and button holes.
Depending on the size of the snips and your gauge you may have to adjust the number of stitches.
You may find these videos to be helpful
Seed stitch English style (yarn in right hand)
Seed stitch Continental style (yarn in left hand)
Norwegian Purling (yarn in left hand but kept towards the back)
This post is part of the monthly Craft Room De-Stash challenge where we’re tasked with using up our craft supplies to make something new. We’re allowed $10 for incidental supplies needed to complete the project. This month I spent less than $2 to buy a piece of felt. I had everything else on hand. Be sure to browse the other posts to see what everyone else has come up with for this month.
Meet Your Hosts
Shoppe No. 5 | Purple Hues and Me
Craftify My Love | My Family Thyme | Modern on Monticello
The Inspiration Vault | C’mon Get Crafty | Sew Crafty Crochet | This Autoimmune Life
Life Beyond the Kitchen | Domestic Deadline | Winter and Sparrow
If you’d like to join in the Craft Room De-Stash Challenge, you can request to join our Facebook group here!



Very cute! I’m going to learn how to knit (or crochet) one of these days.
When you’re ready, there are many beginner’s crochet and knitting groups on Facebook that can point you to videos and projects to get you started.
Beautiful colors! I’m not very fast as knitting or crocheting for that matter but I do love to take a project along when we go on road trips. This could hold my crochet needles as well! Pinning!
It would definitely be useful for crocheters as well and you could adapt the pattern to fit your crochet hooks if you want a place to store them.
I’m always amazed at the creativity of knitters and those who do needle work! And I’m sure this lovely knitter’s kit will come in quite handy ! Well done!
I imagine the pattern could be adapted for other purposes, too.
How pretty and practical. I like the idea of crocheting the loop closure.
The buttons I had available were kind of large for this project, so I felt it was a better solution than making a pair of buttonholes.
That Sound like a darling little project for inbetween. I think it can’t take Long, right? I am known to bring my crocheting projects with me on the train and I always throw the tapestry needle and scissors in my plastic bag. That needs to change and as of now I know how. Thank you for sharing.
It’s a pretty quick project if you’ve been knitting a while. It should be easy enough to adapt to a crochet pattern, too.