A Knitted Wine Bottle Bag to Give to Your Hosts
Last Updated on February 29, 2020 by lydiaf1963
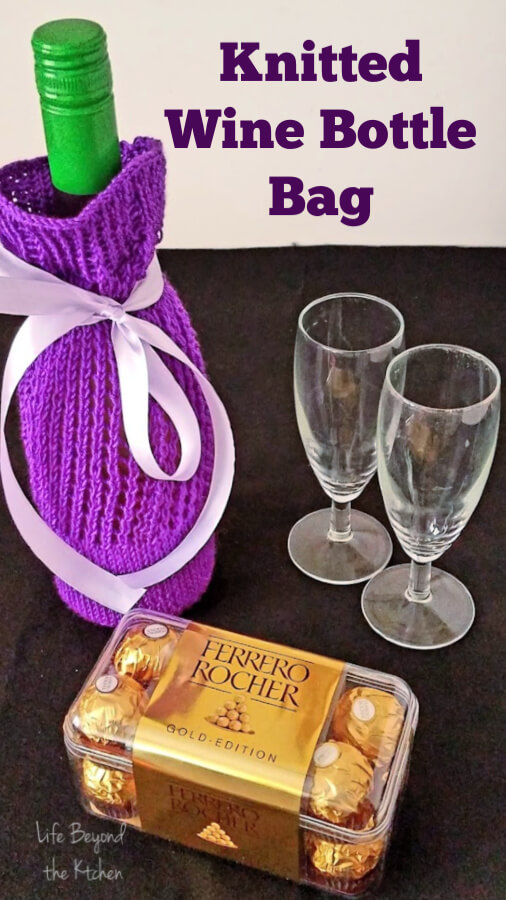
I always love when a guest shows up with a bottle of wine. Even if I’ve already selected one for the evening. There’s no rule that says we can’t open it later, should the occasion arise. Next time you bring a bottle of wine to your hosts, why not make a little knitted bag to wrap it in? It’s a quick project and perfect for using stash yarn.
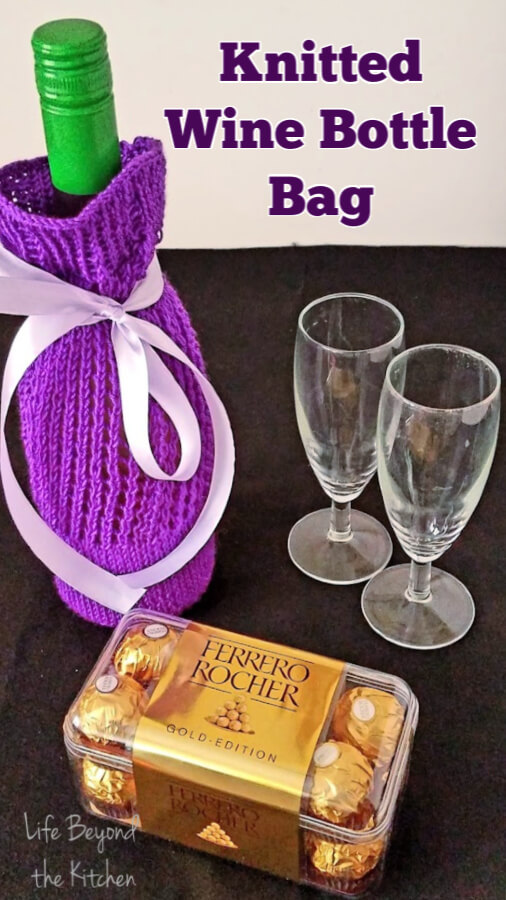
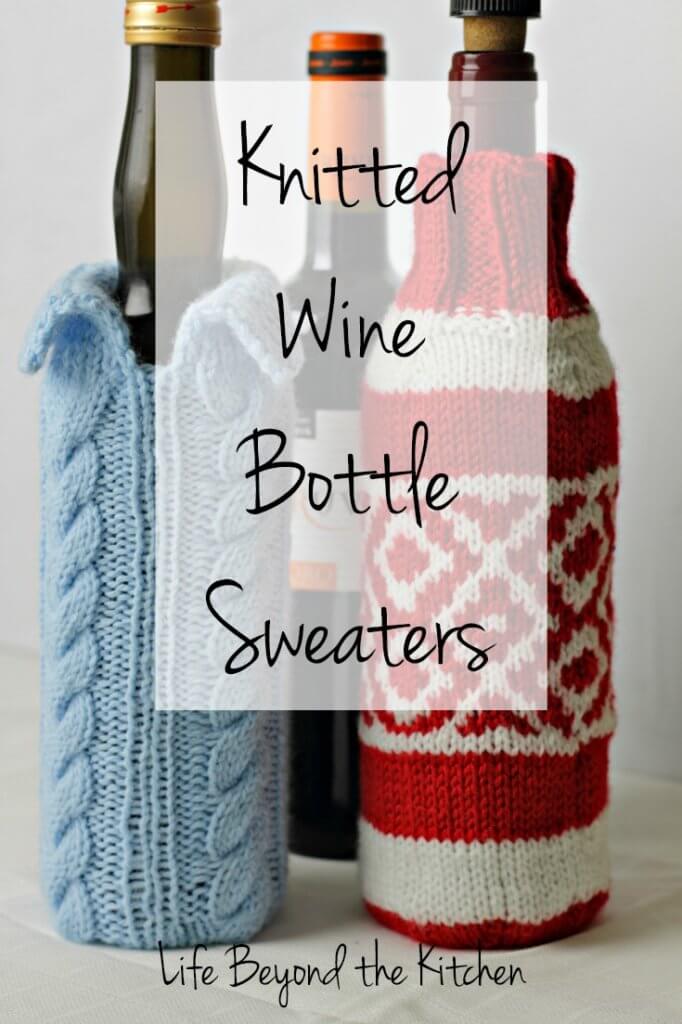
A while back I shared how to make wine bottle sweaters for Christmas gift giving. This time I’m going to share an easy, lacy pattern more suitable for warm weather.
Materials to make a wine bottle bag
- sock weight, lace weight or sport weight yarn (the choice of fiber is up to you)
- Double Pointed Needles suitable for the yarn
- 2 stitch markers, one should be the locking type
- scissors
- tapestry needle
- a length of ribbon to tie the bag closed around the neck of the bottle
Skills needed to make this project
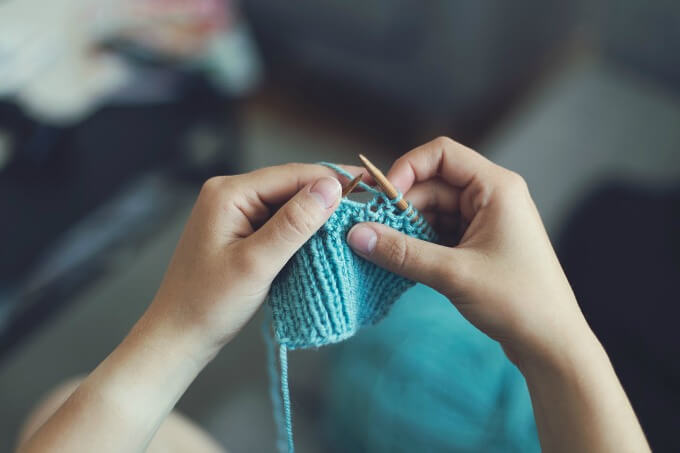
This is a relatively simple project, suitable for anyone with experience knitting in the round.
You only need to know how to:
- cast on in the round
- knit
- knit front and back for increases
- yarn over
- knit two together for decreases
- cast off loosely or a stretchy cast off
Begin with Emily Ocker’s Circular Cast On
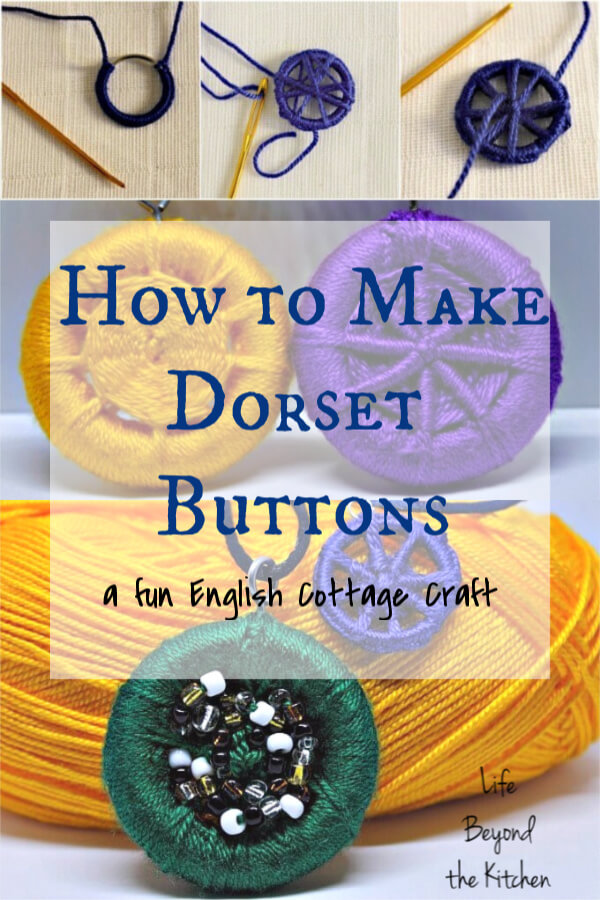
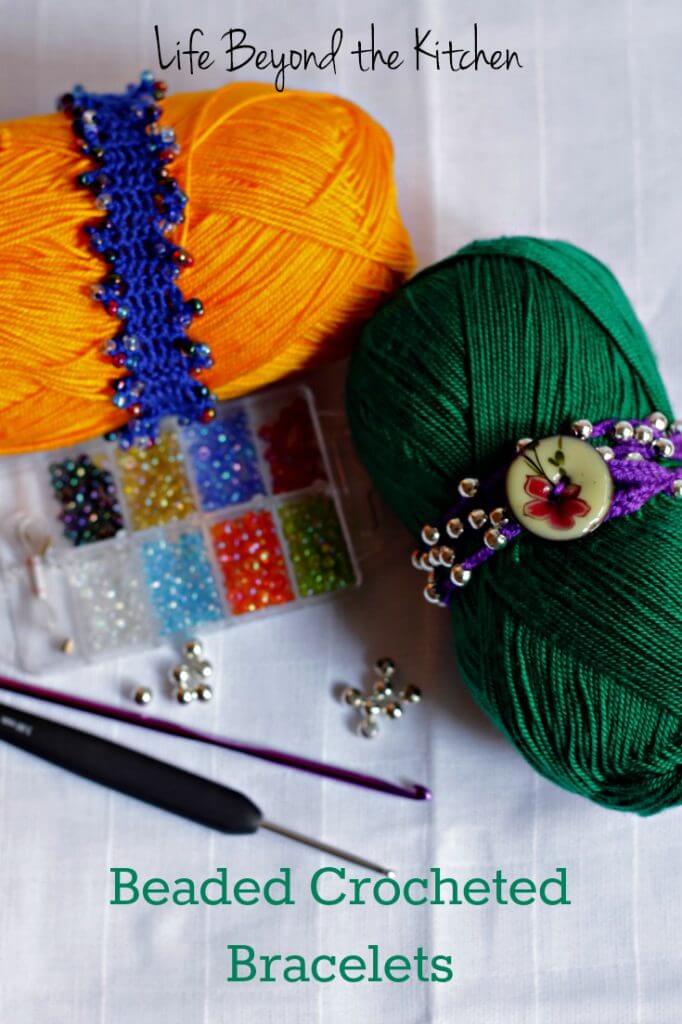
I used a mercerized cotton yarn I’ve had lying around since I tried my hand at Dorset Buttons and Crocheted Bracelets. It’s very fine and even with bamboo needles the first couple rounds tend to slip and slide in the most annoying manner. Emily Ocker’s Circular Cast On eliminates those problems and once you’ve done it a couple times, it’s less fiddly than juggling needles and stitches.
Of course you can cast on as normal if you prefer. Once you’ve cast on we will immediately begin making increases to make the base of the wine bottle bag.
Make the base of the bag
Cast on 8 stitches, divide over 4 needles and join to knit in the round. Place a marker to mark the beginning of the round and slip it when you come to it in each new round.
- Round 1: Knit front and back (kfb) in each stitch around. You’ll have 16 stitches total
- Round 2: Knit around
- Round 3: [kfb, knit 1, kfb knit 1] x 4 (Repeat the stitches in the brackets for each needle) You’ll have 24 stitches total.
- Round 4: Knit around
- Round 5: [kfb, knit 2, kfb, knit 2] x 4 (32 stitches total)
- Round 6: Knit around
- Round 7: [kfb, knit 3, kfb, knit 3] x 4 (40 stitches total)
- Round 8: Knit around
- Round 9: [kfb, knit 4, kfb, knit 4] x 4 (48 stitches total)
- Round 10: Knit around
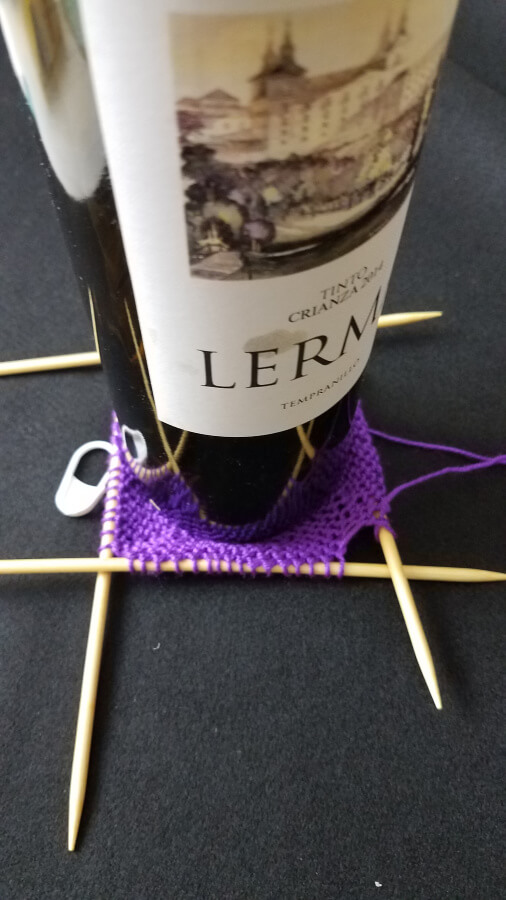
- Continue in this manner until you have enough stitches. 56 or 64 stitches will work for most bottles of wine. You can measure as you go. I ended up with 64 stitches. It’s loose on one bottle and fine on the other.
Knit the rest of the bag
Place a locking stitch marker around a stitch. This will mark where the base ends and the sides begin. You may have have seen this referred to as a progress keeper.
Knit every stitch for a couple inches. How far is up to you. I used the label on the wine bottle as an arbitrary measure.
Measure from the progress keeper to the needles to determine the height, or slip the bottle inside if you prefer to eyeball it. Take care not to pull the progress keeper up too high.
The lacy part
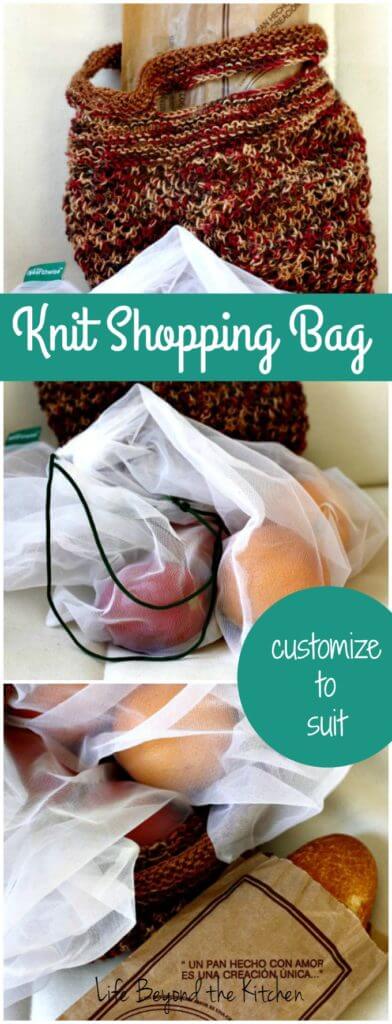
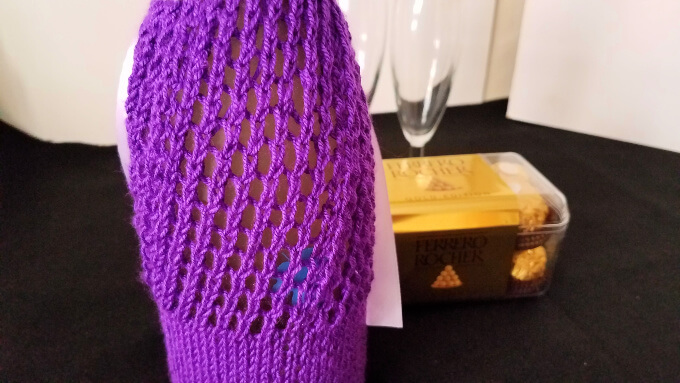
The lace is a simple Yarn Over, Knit Two Together pattern which forms an attractive web. It’s very stretchy and is often used to make bags like this Little Knit Shopping Bag.
- Round 1: Yarn Over, Knit Two Together all the way around. You’ll need to move the Beginning of the Round Marker the first time.
- Round 2: Knit around
- Continue these two rounds until the lace section is as tall as you need it to be.
Finishing the Knitted Wine Bottle Bag
When you’re satisfied with the height of the lace section, begin a rib stitch for a couple inches. I chose a 1×1 rib (K1, P1), but it’s up to you.
Cast off loosely or try Jeni’s Surprisingly Stretchy Cast Off You want the opening to be able to stretch over the shape of the bottle.
Be sure to weave in your ends.
For gifting, insert the bottle of wine and tie a ribbon around the neck to hold everything in place. The Rochers are optional, but welcome…trust me.
This post is part of a monthly challenge hosted by the Creative Crafter’s Group. Check out the linky to find other Hostess Gifts.

Projects mentioned in this post:
