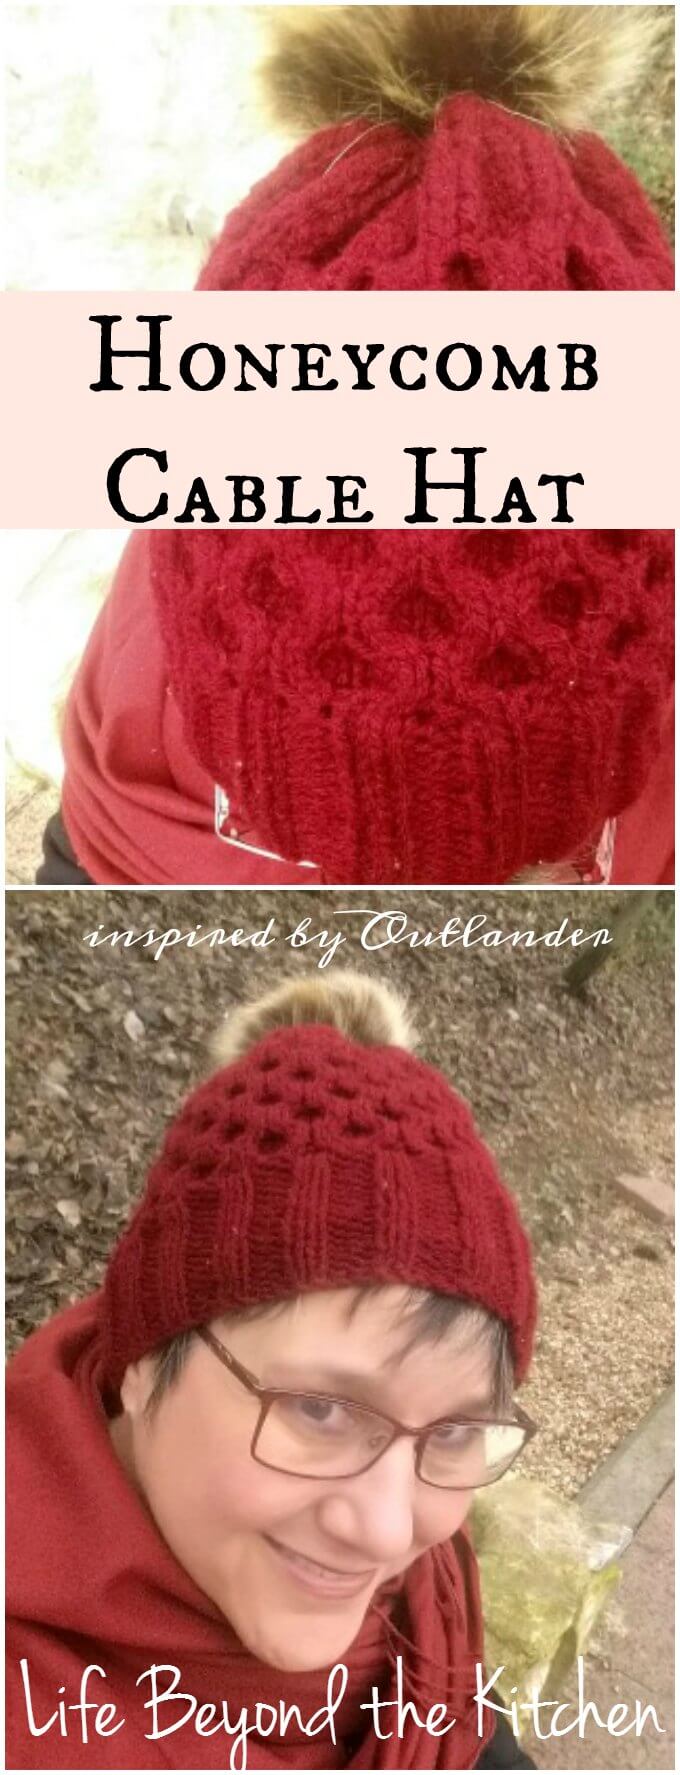
A Honeycomb Hat for Brianna
Last Updated on October 17, 2020 by lydiaf1963
Make a fun honeycomb hat to keep you warm this winter!

A hat inspired by Outlander
Have you seen Outlander, the wildly popular show based on the series of books by Diana Gabaldon? It’s part historical romance, part time travel fantasy and lots of adventure. I encourage you to watch the show if you haven’t seen it. It’s a visual delight with gorgeous sets, scenery and textiles.
There’s an Outlander patterns group on Facebook dedicated to reproducing some of the designs from the show. I’d hazard a guess that I wasn’t the only new knitter inspired to create something from the show. Part of Outlander is set in the 18th century, so there are a lot of shawls and mitts and such. However, the time travel element mentioned earlier means we also catch a glimpse of fashion knits from the 1940s and 1960s. It was the 60s fashion that inspired this hat.
One of the characters, Brianna, is a brash young woman attending Harvard University during a turbulent period of time. She’s highly intelligent, and her fashion sense leans towards mod and hip. One of the recognizable pieces is a camel colored honeycomb knit scarf.
I don’t need another scarf, but a lighter weight hat to go with my black coat is certainly welcome. I found a free pattern from Terry Matz over at In The Loop Knitting and used it as the base for mine.
The basics of the honeycomb cable
This vintage cable has an easy to remember pattern. You just need to know how to knit, purl and create left and right leaning cables. Depending on the size yarn and the rows of knitting between the cable crosses you can make a variety of designs.
To make the honeycomb cable stitch in the round:
- Round 1: Cable 4 Front (slip 2 stitches to a cable needle and hold to the front, knit two off the left hand needle and then the two stitches off the cable needle. This makes the stitches slant to the left.) Now do Cable 4 Back (slip 2 stitches to a cable needle and hold to the back, knit two off the left hand needle and then the two stitches off the cable needle. This makes the stitches slant to the right.) Continue in this manner *C4F, C4B* all the way around.
- Rounds 2, 3, 4: Knit around. You can vary the number of knitted rows to change the size of the honeycomb.
- Round 5: *C4B, C4F* around. This round completes the honeycomb shape.
To work a honeycomb cable flat (back and forth):
- Row 1 (front side): Cable 4 Front (slip 2 stitches to a cable needle and hold to the front, knit two off the left hand needle and then the two stitches off the cable needle. This makes the stitches slant to the left.) Now do Cable 4 Back (slip 2 stitches to a cable needle and hold to the back, knit two off the left hand needle and then the two stitches off the cable needle. This makes the stitches slant to the right.) Continue in this manner *C4F, C4B* to the end of the row.
- Row 2 (back side): Purl across.
- Row 3: Knit across.
- Row 4: Purl
- Row 5: Knit
- Row 6: Purl
- Row 7: Knit
- Row 8: Purl
- Row 9: *C4B, C4F* around to complete the honeycomb shape.
- Row 10: Purl
About Brianna’s Honeycomb Hat
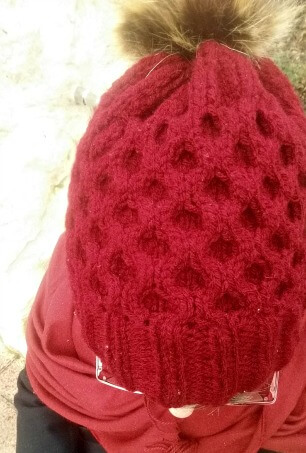
The only real difference between my hat and Terry’s pattern is the 2 x 2 ribbing for the hat band. It did require an increase round but once I figured out how to go from 84 to 136 stitches it was fine. I used the knitting calculator from World Knits.
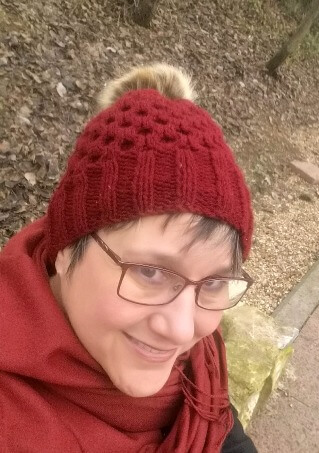
The number of stitches needed for the hat will depend on the yarn and needles you’re using. Just remember to use multiples of 8. Another consideration is the honeycomb cable tends to make a fabric with a tight gauge, tighter than a 2 x 2 rib. For that reason I increased to the 136 stitches recommended in Terry’s pattern.
For my hat I used light worsted weight yarn (also called DK weight) and 4.5mm needles. See this post if you need help figuring out how many stitches to use for your yarn.
The honeycomb cable is fun to knit. Be careful during the first round of cabling because it’s hard to see if you’ve made a mistake. After the first round it’s quickly obvious. Finishing the hat is accomplished with a simple set of decreases. I added a faux fur poof to the top of my hat. It’s very jaunty. Like Brianna.
Be sure to drop by In the Loop Knitting to pick up the pattern and browse around. Terry has a great collection of patterns. I think I might make a pair of honeycomb mittens to go with the hat, but that’s another post.

