Fall Wreath From Recycled Aluminum Cans
Last Updated on November 15, 2018 by lydiaf1963
There are so many ways to make a fall wreath from recycled aluminum cans. You can cut the shapes out by hand or use a die cutting machine. You could paint the leaves with spray paint, acrylic paint or even alcohol inks. It all depends on what’s available to you where you live. This tutorial will show you how to make a simple wreath sized for an apartment door that I hope will inspire you to make your own.
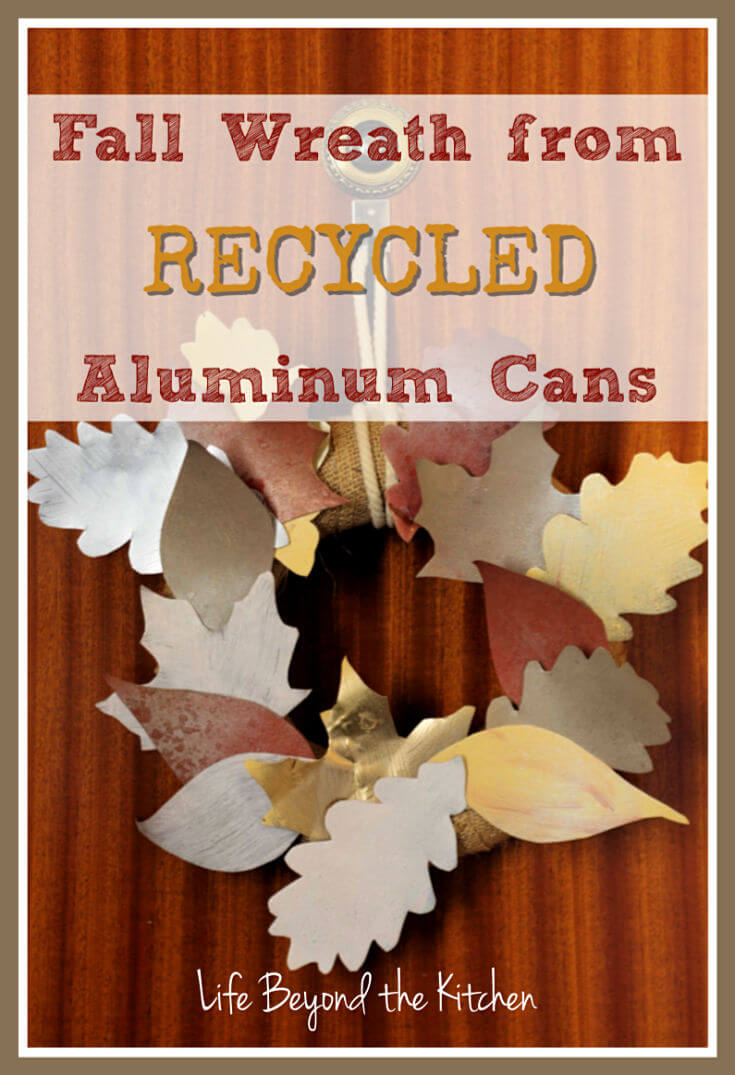
When I planned to do this project I’d hoped to use alcohol inks. I love the vibrant colors and glossy finish. When I couldn’t find them in Valladolid, I thought it would be cool to use some of the textured metallic spray paints instead of the few colors I had on hand. Guess what? Metallic colors were nowhere to be found in the city either. So Rick and I took a short bus trip to the mall where the local version of Lowe’s and Home Depot is located. This time, even though I couldn’t find exactly what I wanted, I was able to purchase some pretty chalk paints and some gold and silver metallic spray paints.
So even though my project didn’t turn out exactly the way I’d planned, I’m not unhappy with it. It doesn’t show up well in the photos but in the afternoon the leaves glow softly in the light. I’ll describe how I finished my leaves below.
Materials and Equipment Needed
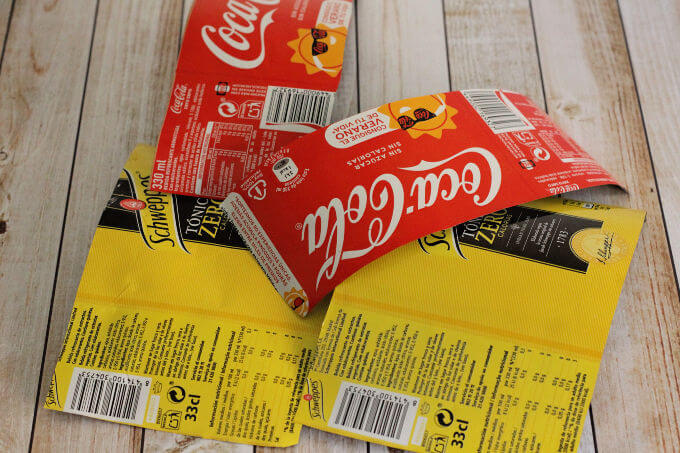
- aluminum cans of various sizes, rinsed with the tops and bottoms cut off (please be careful and watch out for the aluminum splinters!) I used 15 for this wreath. I wish I’d cut out a few more.
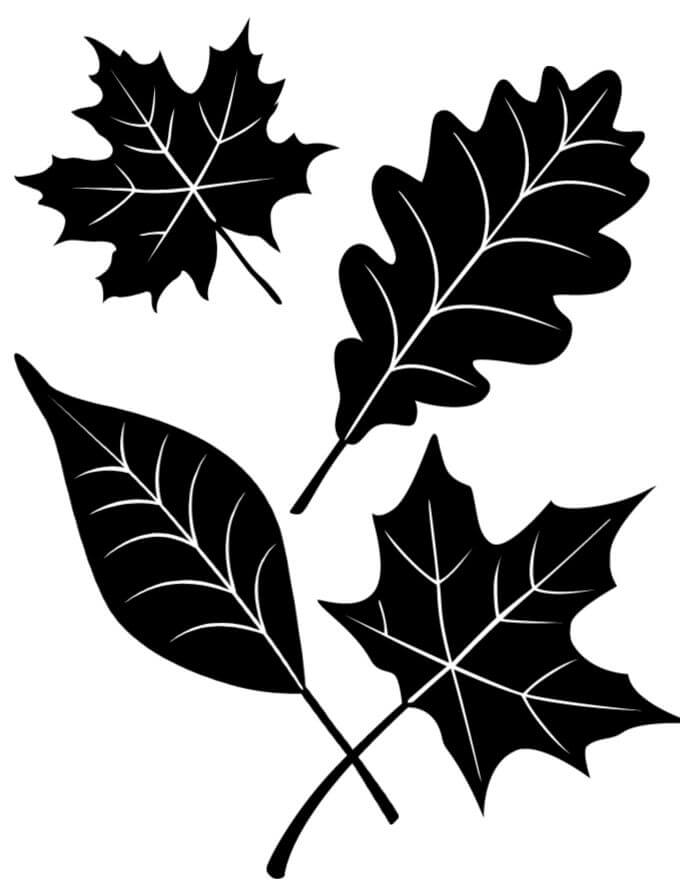
- leaf templates (draw your own or download clip art from online)
- scissors (use your least favorite pair to cut the cans)
- styrofoam ring (mine was 9 inches across)
- burlap ribbon or something similar to cover the ring
- length of cord to make a hanger
- glue gun and glue sticks
- paints in various fall colors (I used spray paints and chalk paints)
- paint brushes as needed
- sharpie marker to trace the leaf templates
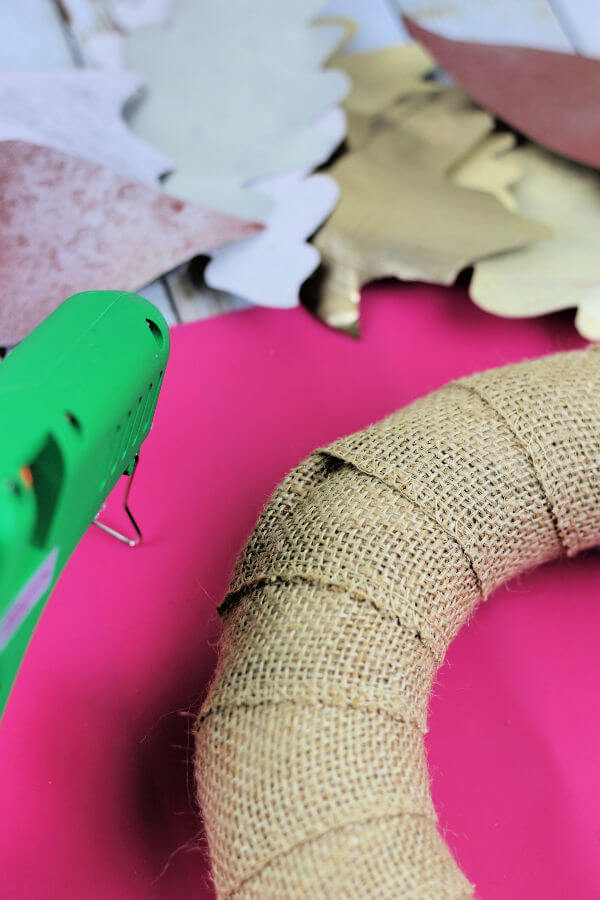
How to assemble the wreath
- Use the leaf templates to trace the shapes onto the aluminum. Carefully cut out with scissors.
- Prime the leaves (and cover the labels) with a coat of spray paint and allow to dry as directed.
- Paint individuals leaves as desired (see below where I describe what I did)
- Wrap the burlap ribbon around the styrofoam ring. Secure with hot glue.
- Add a hanger by tying a knot in a loop of cord and then fastening the cord to the ring.
- Work out an arrangement for the leaves before gluing them to the burlap. It’s easier, although you can still make changes if you don’t like the end result.
- Hang and enjoy!
How I painted my leaves
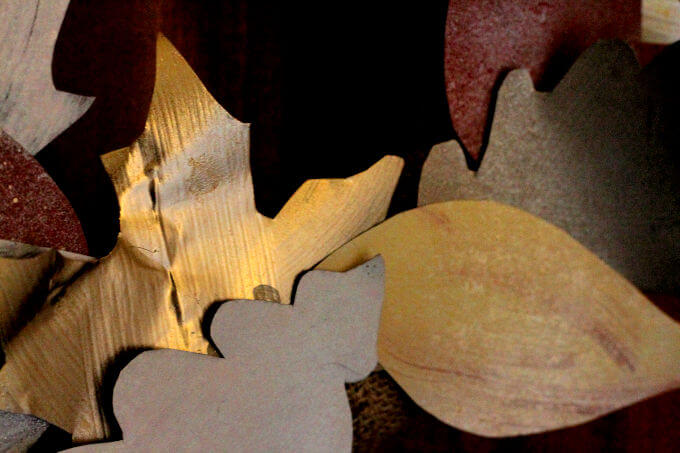
I ended up using chalk paints in muted colors so I primed the leaves with white on one side and brown on the other. When I painted the leaves I used both the dark and light sides as the base for my chalk paint. This, along with the brush strokes, gave the leaves some subtle differences between them.
After the chalk paints dried I decided to try overspraying with chrome and gold spray paints. Before doing this I lightly sprayed the leaves with water. Between the two, I got a splotchy speckled effect.
Other Notes
You’ll find lots of videos on YouTube which demonstrate how to cut the aluminum cans into sheets. Blogging friend Janet of Try It Like It made this video which demonstrates how to use scissors to get the job done. This gentleman uses his good steel knife (yes, I cringed, too) but his technique is quick and he assures the viewer that his steel is stronger than the aluminum.
This post is part of a monthly craft challenge hosted by the Creative Craft Bloggers Group on Facebook. We have a different theme every month. This time it was “Recycle/Upcycle.”


