
How to Make a Useful Set of DPN Holders
Last Updated on October 21, 2020 by lydiaf1963
It’s Pinterest Challenge time! For 2020 we’ve decided to have a theme for each month. January’s theme is Organization. For quite some time I’ve had an idea swirling around my head for organizing my knitting needles and crochet hooks and this month I’m going to put at least one of those ideas into action and make my own DPN Holders.
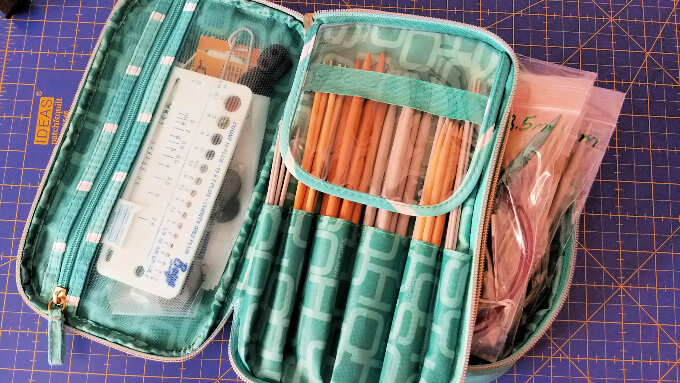
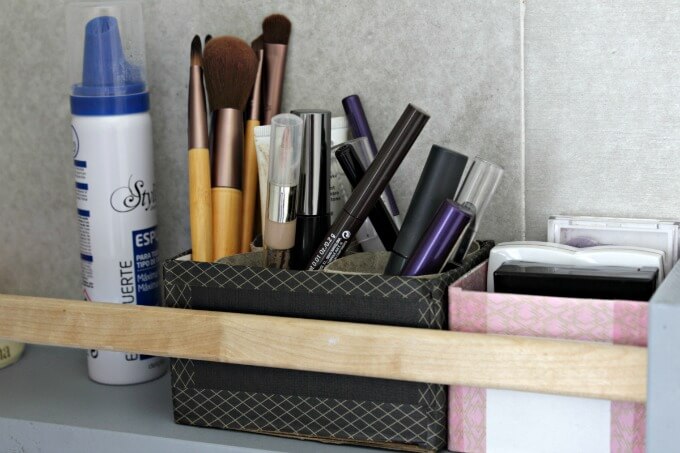
For the longest time I’ve used an old makeup kit to hold my knitting needles. It’s one of those with two zippered compartments stacked on top of each other. The top has pockets to hold the brushes and the bottom is an open space that’s useful for my circulars, which I’ve organized by size into zip top bags. Well, I’ve outgrown the bag and I’ve been looking for a new solution.
After searching Pinterest off and on for inspiration I finally came across a style of DPN holder I like.
Many of the ideas are for some sort of long pouch which opens from the top, often with lovely embroidery. I was sorely tempted but you have to open the pouch to see the needles. Yes, I could label the pouches but eventually the label will be ignored in favor of expedience.
Another type is also a pouch but it opens on the long side. The needles are held in place with snaps or elastic. The advantage to this style is the pouch can also be used as point protectors when working on a project. Plus, it would be a great way to use some cute quilting fabrics. Unfortunately, as with the other style, you have to open the pouch to see the needles when they are in storage.
Finally, I came across a very simple style that’s really just a piece of elastic with two fabric tabs to slip the points of the needles into. Even better, there’s a video pin to show how the DPN holders are constructed. The design allows you to hold a project AND see the needles at the same time. This is an advantage to me as I can eventually store both the needles and the holder together in my ideal (and so far imaginary) system.
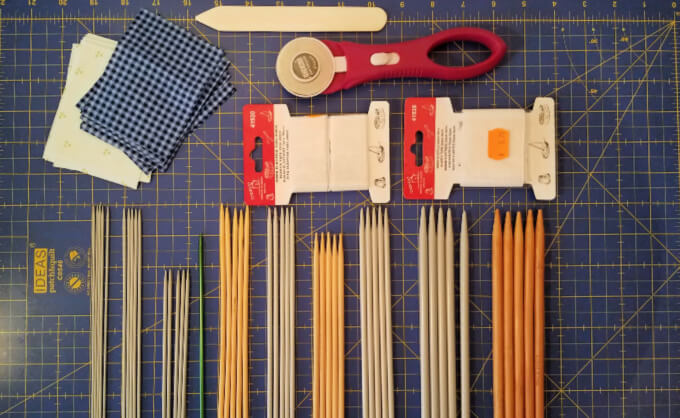
So I pulled out my double pointed needles and organized them by diameter from small to large as seen in the photo above. I also searched through my supplies to see what types of elastic I had on hand. I had 20, 30 and 50mm wide tape (a little over 3/4″, about 1 1/4″ and 2″ respectively). My needles are various lengths (6, 7 and 8 inches) and the sets placed side by side varied in width from about 1/2 inch to 2 inches wide. So far, so good.
Next, I selected some fabric and cut the elastic and tabs as instructed in the video. I made my fabric tabs a little wider than suggested because the demo worked with 2″ x 4″ rectangles of fabric and I needed more width for a couple sets. I figured I could trim off the excess for the other sizes.
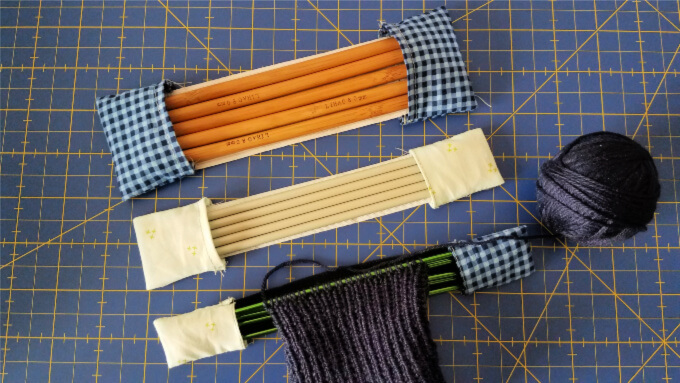
Following the instructions in the video I made one set of holders for each of the three sizes of elastic I planned to use. I really wasn’t that impressed with the results, even though the end result was perfectly functional. I don’t like the way one thickness of fabric looks and I would prefer the elastic to fit a big more snuggly on the needles.
So I made a few adjustments based on my experience making zippered pouches like these and came up with the tutorial below.
To make your own DPN Holders you will need:
Materials
- scrap fabric
- cut (2) 3″ x 7″ strips for each holder
- elastic tape
- cut 1/4″ shorter than length of DPNs
- sewing thread
Equipment
- ruler or tape measure
- scissors
- rotary cutter and mat
- sewing machine
- quilting foot (optional)
Let’s make DPN Holders
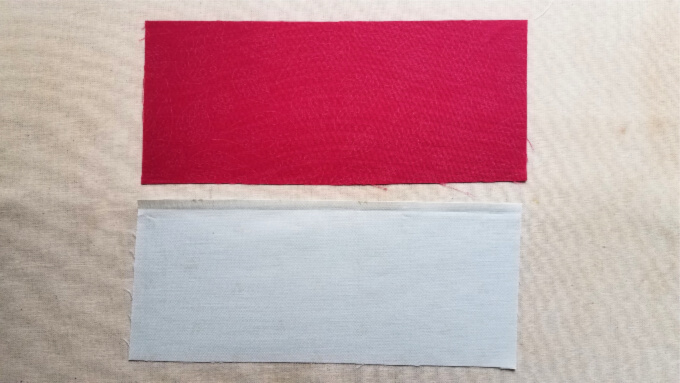
1. Cut the fabric and elastic as directed in the materials list. The fabrics don’t have to match unless you want them to. I cut all my strips to 3″ x 7″ (8 x 13 cm) even though my elastic strips varied in size. I found this size strip was easier to sew, even though I cut some of the seam allowance away.
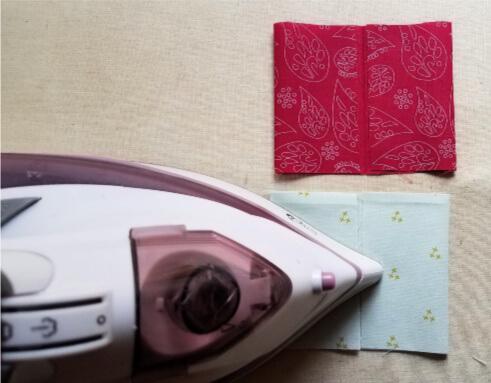
2. Iron the individual strips, then fold them in half to find the center mark. You can finger press or use the iron to make the mark easy to see.
3. Then fold each end into the center. This will be the “inside” of the tab.
4. Set up your sewing machine with your choice of thread and a quilting foot if you have one. Otherwise I would use the edge of my zigzag foot as a guide.
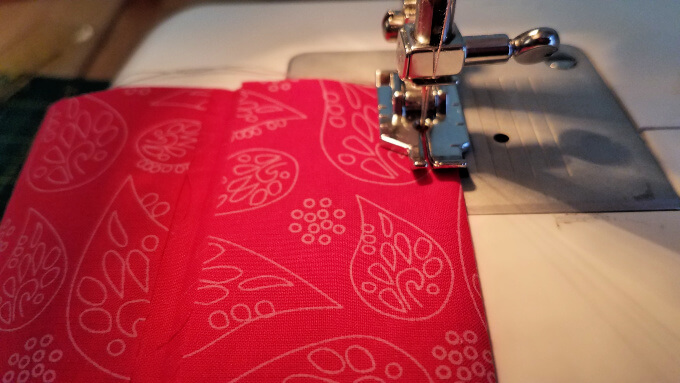
5. Next, sew a 1/4 inch (6.35mm) seam on both free ends of the tab. This is an opportunity to chain stitch the pieces if you’re making several DPN Holders.
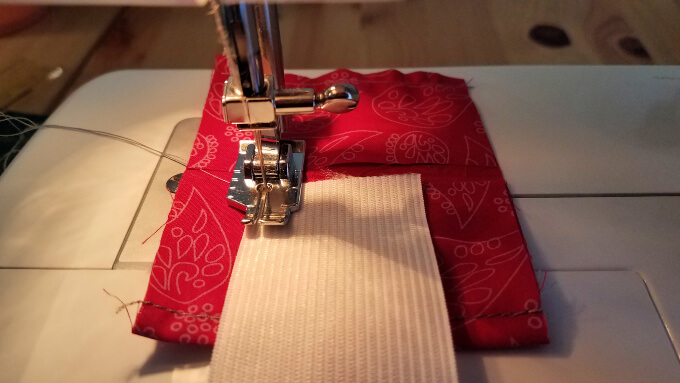
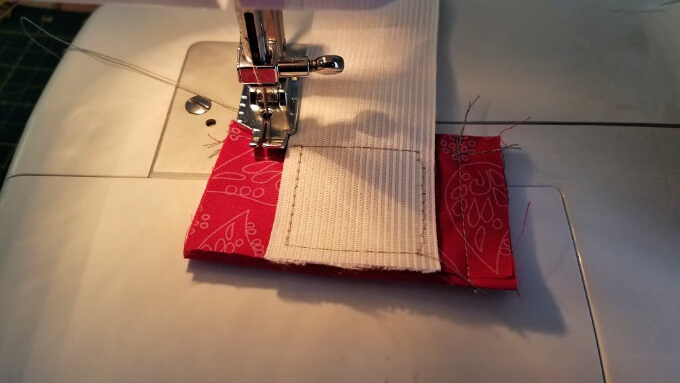
6. Open each tab and with the inside facing up, center the elastic. Then sew down. I used the 1/8″ (3.18mm) side of the quilting foot as a guide to sew a rectangle to hold the elastic in place.
7. Repeat with the other end of the elastic, taking care the tabs are oriented the same way.
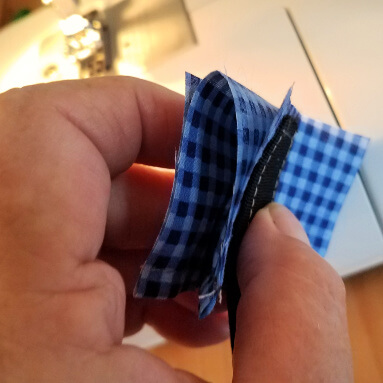
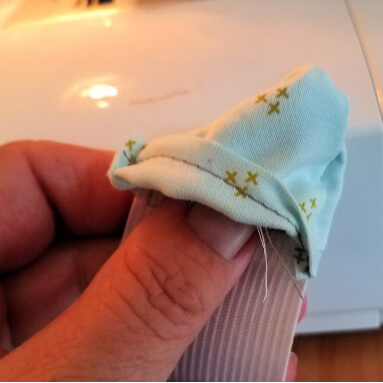
8. The tabs will be seamed on each side, then turned to form a pocket to hold the needle tips. To do this, turn the tab that’s not attached to the elastic down to form the pocket
9. Then, using the quilting foot as a guide, seam 1/4″ (6.35mm) on either side of the elastic. Back stitch at the open end to help prevent the seam from coming open.
You may find it easier to sew if you switch the orientation of the DPN Holder such that the elastic is always on the right of the quilting foot.
Trim the excess material from the seams, then turn the tab to form the pocket. A chopstick or turning tool is helpful to push out the corners.
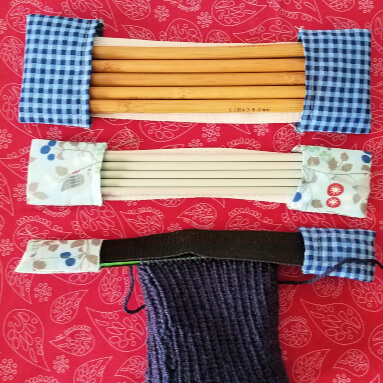
To use, place a set of DPNs in one pocket, then, while holding the tips in place, stretch the elastic over the other ends to hold the entire set in place.
Final Thoughts On These DPN Holders
I feel my design is a little more robust than the original. If I need to make more DPN holders I’d stick with the 1 1/4″ elastic and adjust the size of the tabs to accommodate the larger needles.
If your DPNs have very sharp tips thicker home decor fabric might work better to prevent holes.
TO JOIN NEXT MONTH’S #PINTERESTCHALLENGE, CLICK HERE TO SIGN-UP ⇒ February Pinterest Challenge
For more Pinterest inspired projects from this month’s Pinterest Challenge hosts, check out the links below ↓
 My Pinterventures • Domestic Deadline • Cookies Coffee and Crafts • Across the Boulevard • Slices of Life Teadoddles • Farm Girl Reformed • Purple Hues and Me Decorate and More with Tip • Sew Crafty Crochet • Life Beyond Kitchen Mom Home Guide • Intelligent Domestications • Eye Love Knots • My Family Thyme Create with Cynthia • Once Upon a Time and Happily Ever After Christine Faye Repurposed
Now, let’s see what the other hosts have created ⇓⇓


I have several items that I could use those for. I am going to pin to make me some. Thanks for sharing.
That’s great that you got everything organized! Great idea!
I like you version much better! They seem more functional that way. Pinned.
These are so cute. I am not a sewer so I had to look up “DPN” (my mom would kill me, she sews!). I am certainly going to pass this idea along to her!
I’ve never heard of one of these before, but this looks great. It will definitely help you stay organized.
Great idea and cute fabrics! I need to organize my knitting needles and crochet hooks.
What a great idea! I don’t knit or crochet, but they would probably work for a lot of crafting items!
Love that you were able to alter the original covers to better fit your needs. Looks like you improved the covers and solved a problem!