
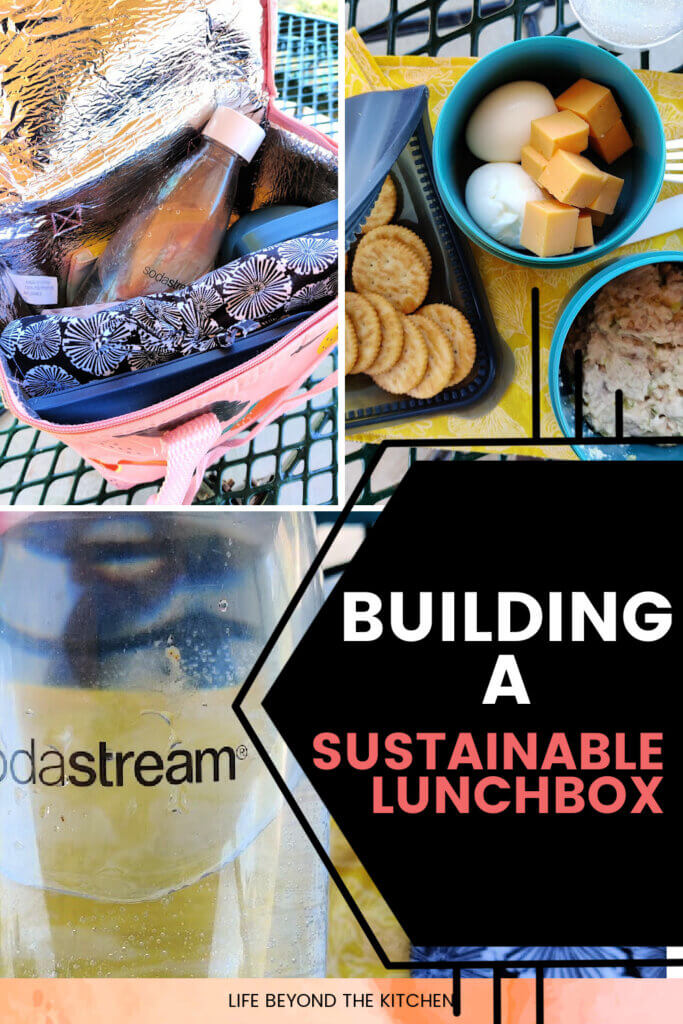
Creating a Sustainable Lunchbox
Check out these tips for creating a sustainable lunchbox that reduces the overall amount of trash you generate.
Breakfast may be the most important meal but…
Lunch is definitely my favorite. There are so many possibilities. Will it be leftovers? A sandwich and chips? Maybe a huge salad with all the fixins. At lunchtime, anything goes for me.
But lunch tends to be eaten in a hurry.
Gotta get back to work…
Gotta get out to the playground…
It’s easy to forget to take time to enjoy lunch. Unfortunately, the need to eat quickly and conveniently generates a lot of trash. Packaging, utensils, bottles, bags, napkins, etc.
In addition to the increase in trash, convenience also increases the cost.
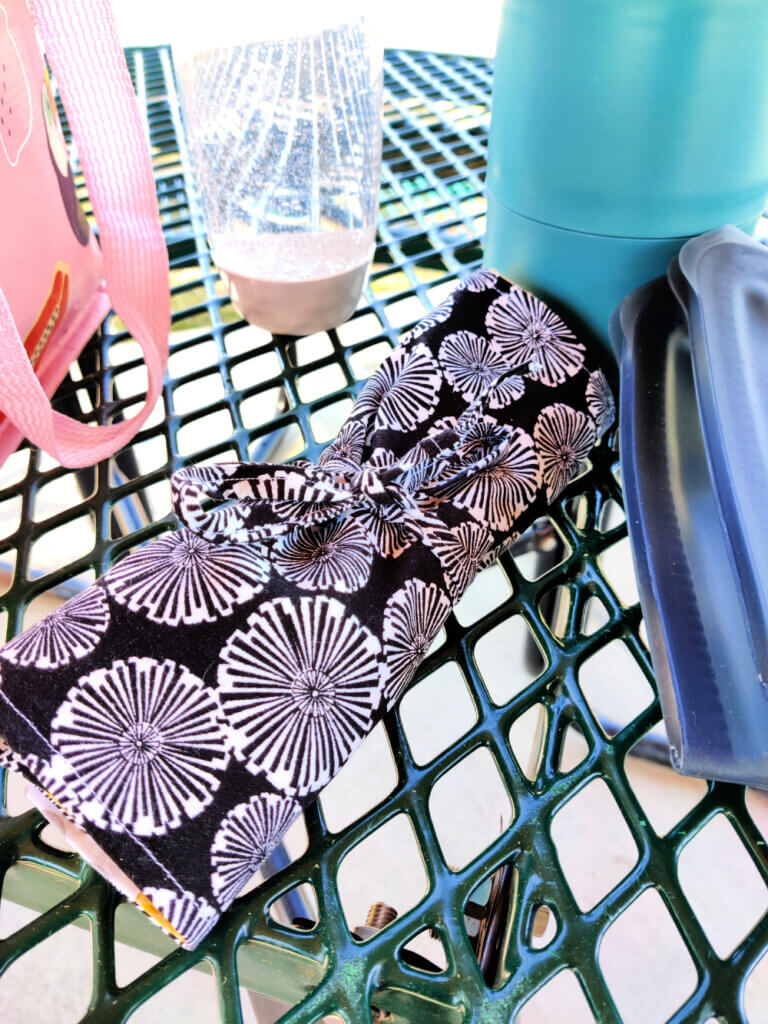
That’s why I like to pack my lunch as often as possible. It’s taken a while, but nowadays whatever I’m eating is packed in reusable items. I’ll talk about those items in a minute. First I want to demonstrate how to make a placemat that holds all your utensils and other odd bits.
It rolls up to fit easily in your lunchbox.
Make a reusable placemat and utensil set
I was on a plane the first time I saw one of these roll up placemats. I liked the idea so much I took mine home with me so I could recreate it. I also found a couple pins to help me figure out how to assemble my placemat.
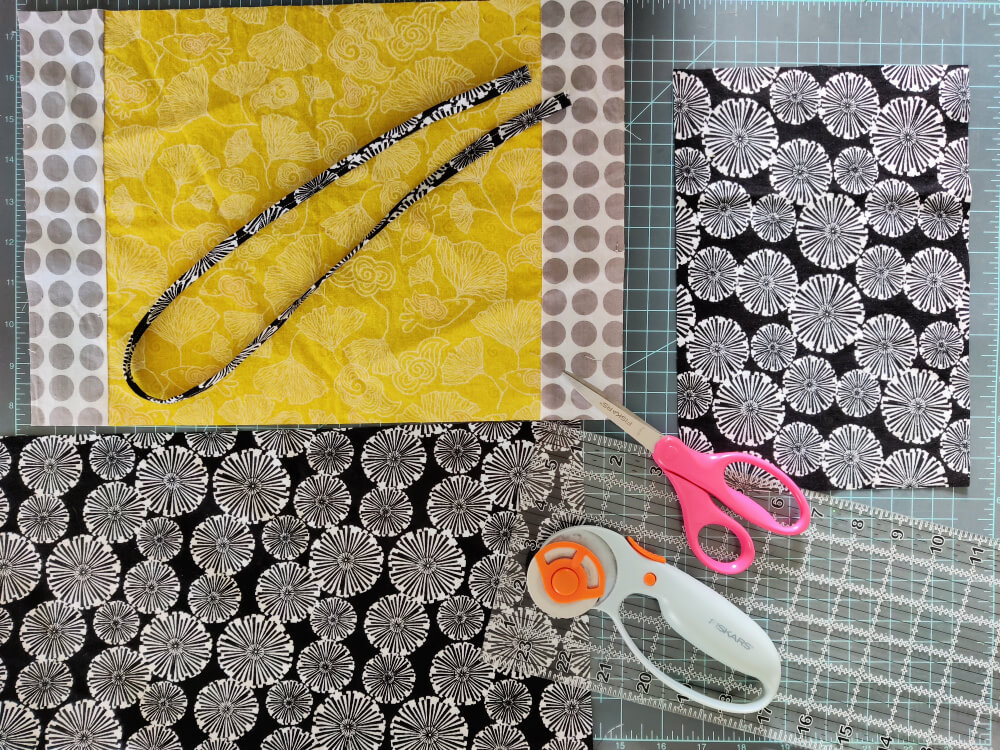
What you’ll need to make the placemat:
- 2 pieces cut 14 1/2 x 10 1/4 inches (37 x 26 cm) for the front and back
- 1 piece 7 x 10 1/4 inches (18 x 26 cm). This piece will be folded to create a 3 1/2 inch (9 cm) wide pocket
- 1 piece 2 x 25 inches (5 x 64 cm)
- Equipment
- rotary cutter and cutting mat
- pins or clips
- thread
- sewing machine
Feel free to go wild with the fabric. I reused some I had leftover from a previous placemat and napkin project (it’s been in my stash for a very long time!)
Assembling the placemat
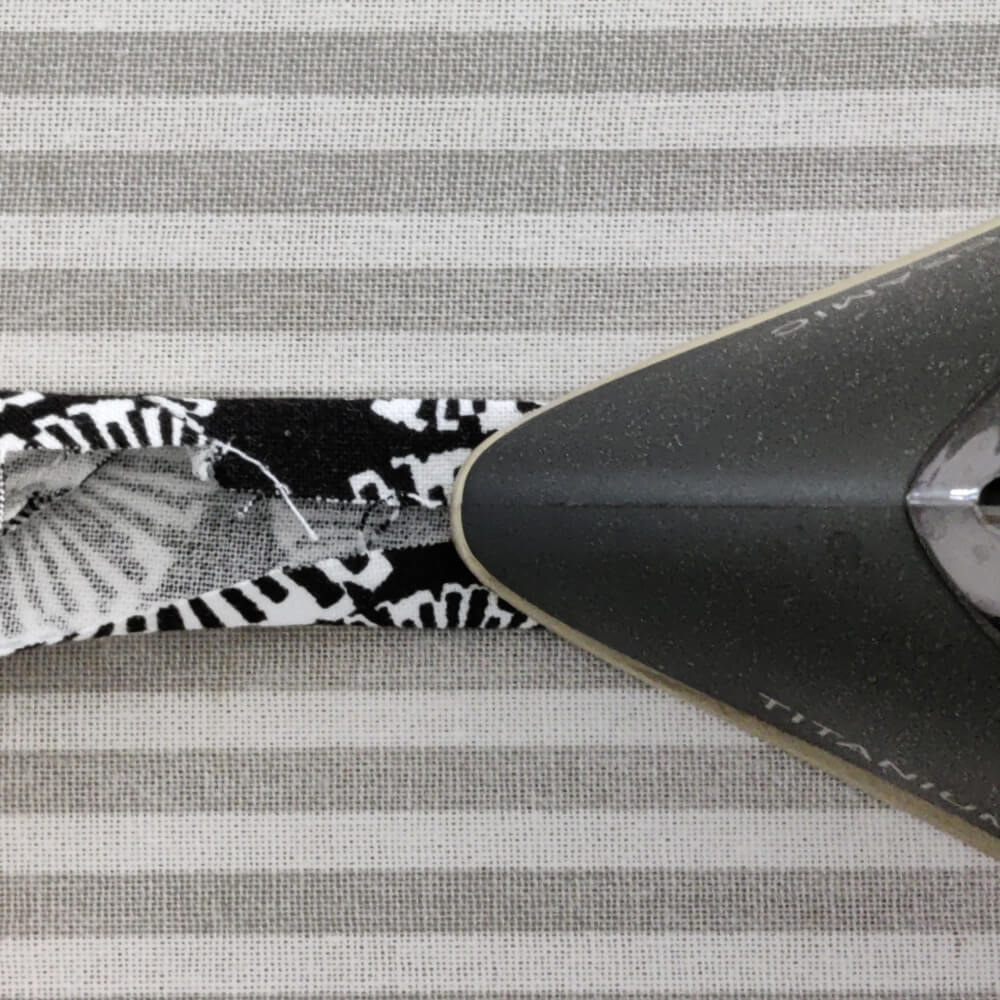
- First make the tie: Fold the piece of fabric in half the long way, giving it a press. Next, open the fabric and fold each raw edge in to meet the center line. Press. A bias tape maker makes this easy, but it’s not necessary. Top stitch as close to the open edge as you can.
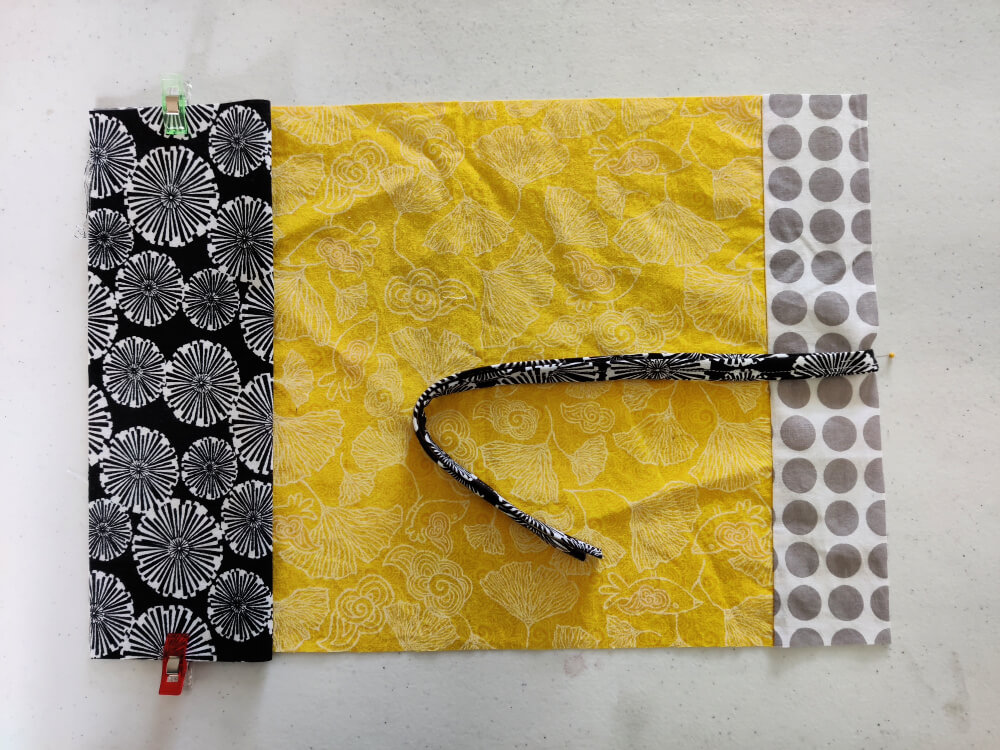
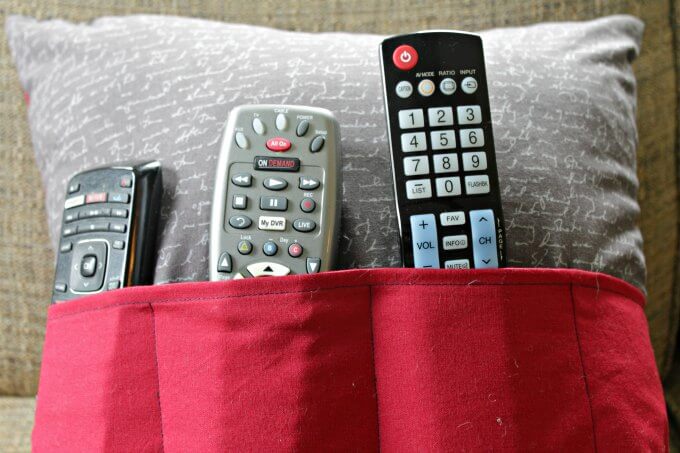
- Next, assemble the top of the placemat. Place the top piece on your work area face up. Then, fold the pocket piece in half and press. Match the raw edges to edges of the top and pin in place. On the opposite side, find the center line and pin the folded tie in place. The free ends of the tie should be in the center of the placemat. Make sure to place the pin so you can remove it easily as you’re sewing (see the photo),
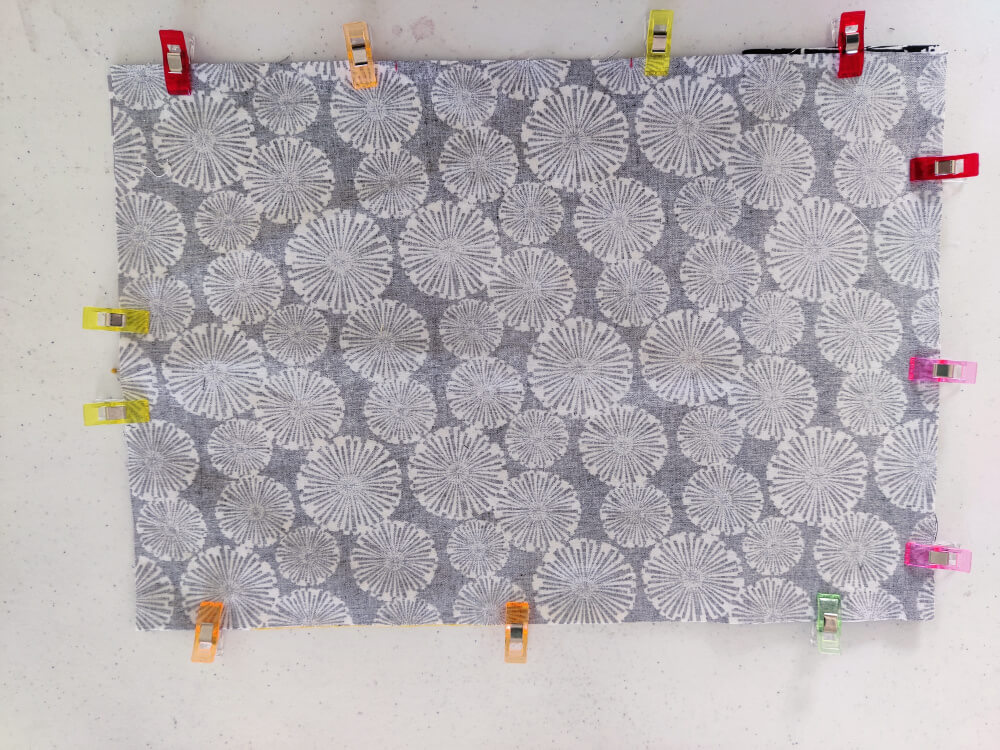
- Place the back piece, face down, over top everything, be sure to match the edges. Reinforce the tie by placing a couple clips to either side of the pin. Plan to leave space to turn the placemat right side out.
- Sew around with a 1/4 inch seam allowance. Be sure to back stitch on either side of the opening. Also, back stitch the tie.
- Turn the piece, paying attention to the corners and give the whole thing a press. Tuck the edges of the opening inside. Topstitch around the entire placemat with an 1/8 inch seam allowance. Tie a couple knots in the ends of the tie.
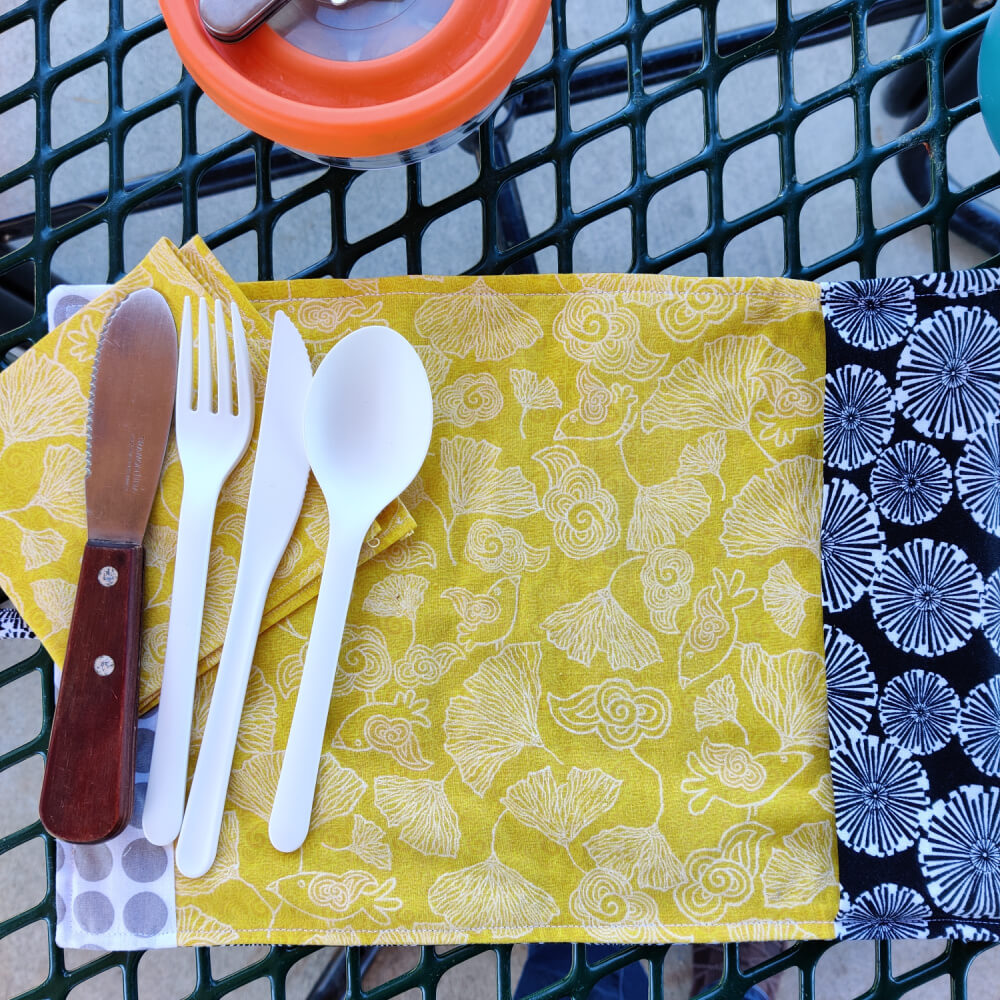
The pocket is deep enough to hold a set of reusable utensils. I bought mine at Walmart. My salt and pepper set came from Amazon.
What else is in my lunchbox?
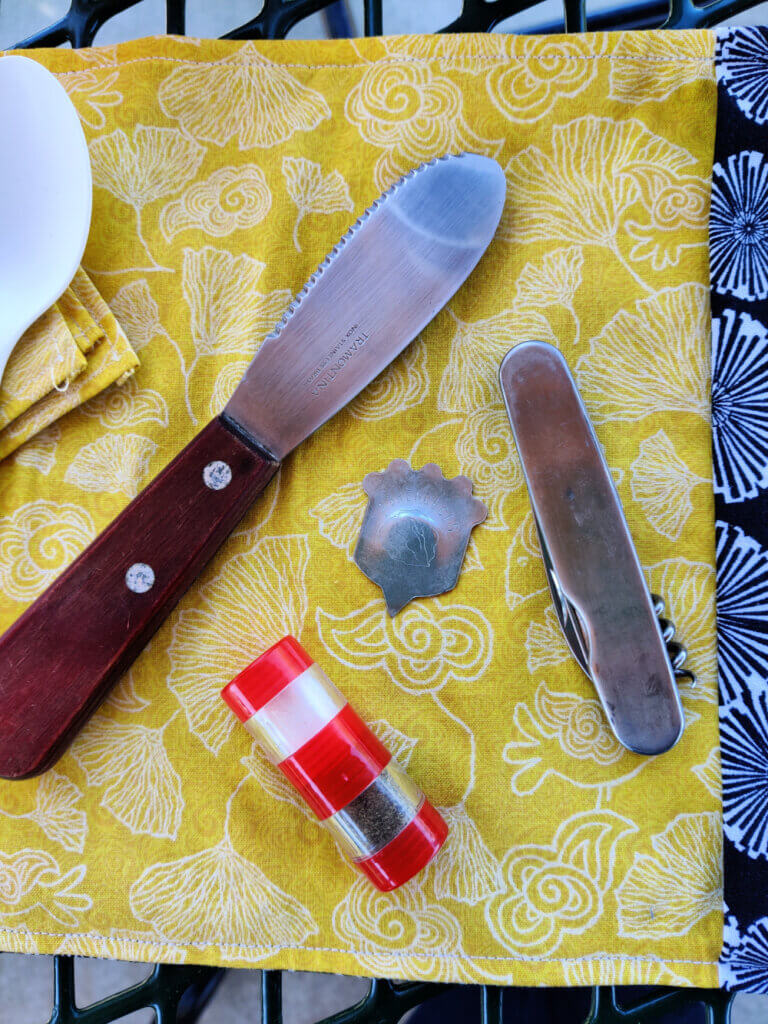
On occasion I’ll also pack a spreader, a pocket knife (complete with corkscrew) and my walnut opening tool for snacks.
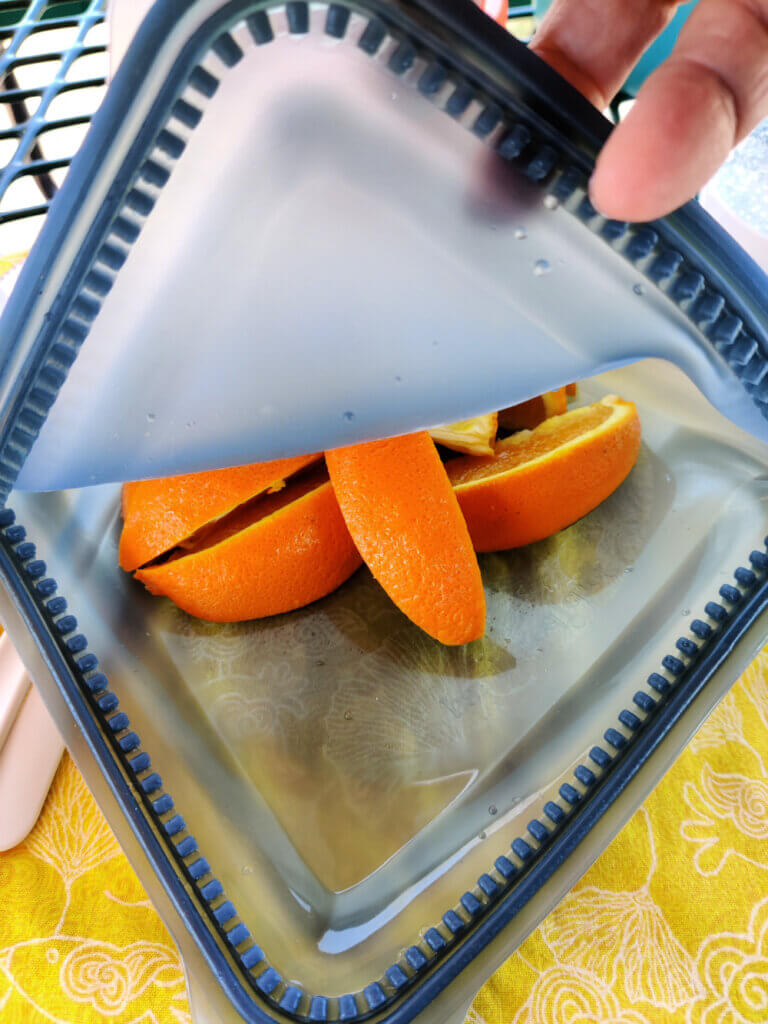
I picked up these reusable silicon bags from a Pampered Chef party. I have to admit, I like them better than the sandwich wraps I made earlier, particularly when I can’t eat right away. These are nice products and the price point just keeps dropping. There are even gallon sized bags available.
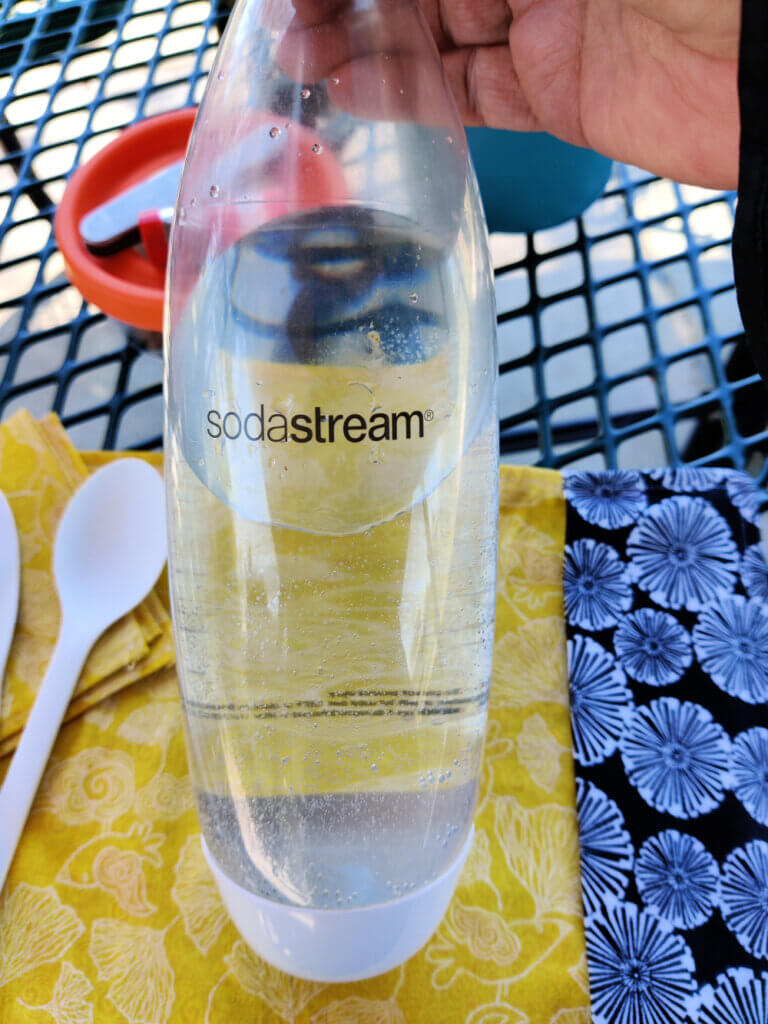
I have nothing but good things to say about my SodaStream and my stackable “lunch pod” thermos.
Drinking seltzer water helped me break a years long diet soda habit. It’s something about the bubbles. Unfortunately, fizzy water is much more expensive to buy in the US than in Spain. I bought a no frills SodaStream Fizzi bundle that’s paid for itself since I bought it on sale last August. Keep your eye out for a sale.
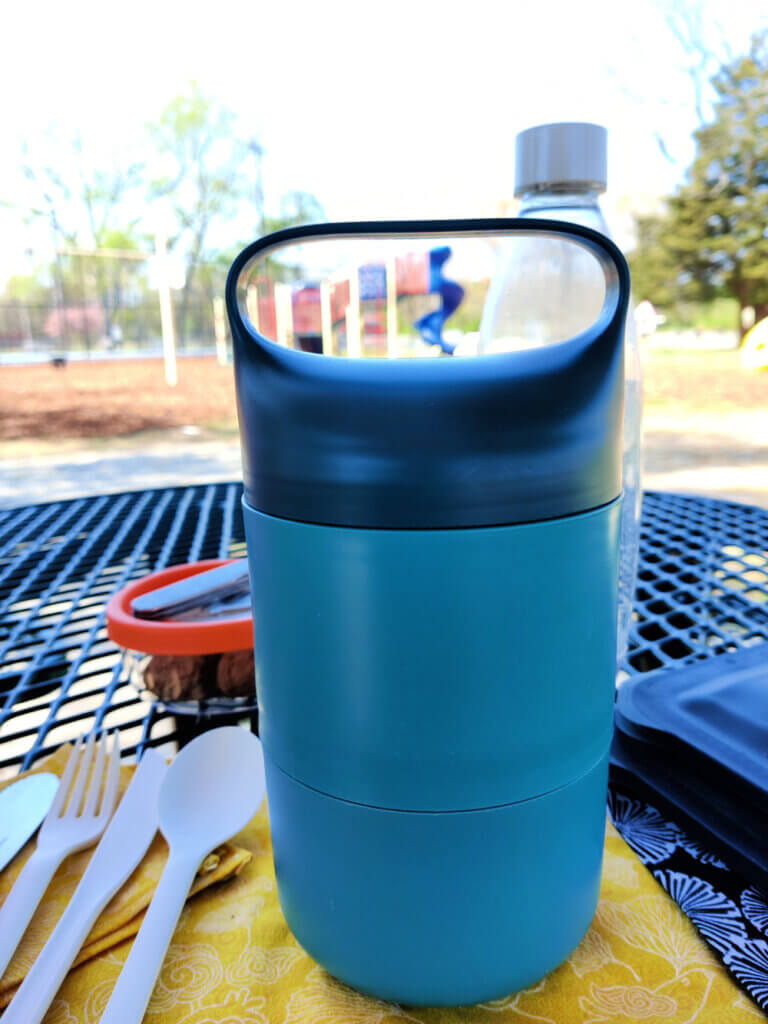
The lunch pod is made from recycled plastics by HIP Products, LLC. It reminds me of a tiffin box with the different compartments. Both pieces can be heated in the microwave (you have to separate the pieces unless you want a mess). It’s great for leftovers. I bought mine at the local Marshall’s discount store and have also seen their products in Home Goods.
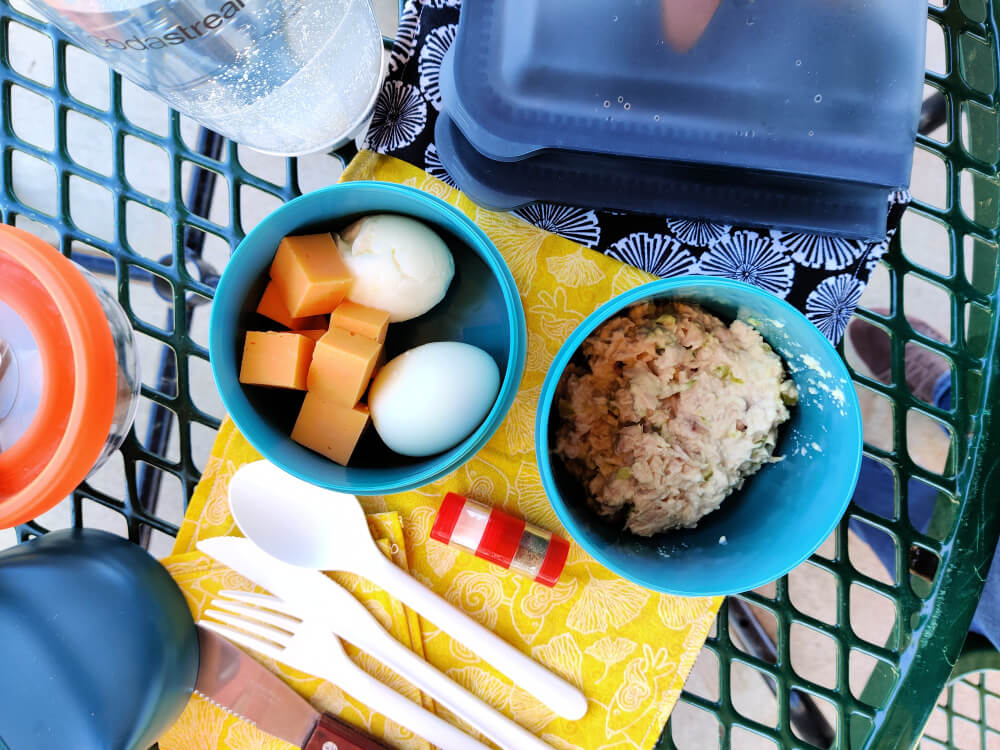
So that’s my sustainable lunchbox. When I finish eating my meal, all I have to do is wash my utensils and containers. Nothing is thrown away unless I splurge on something from the vending machine. The napkin and placemat get thrown in the laundry on an as needed basis or once a week, depending. I am planning to make another set so I can rotate them.
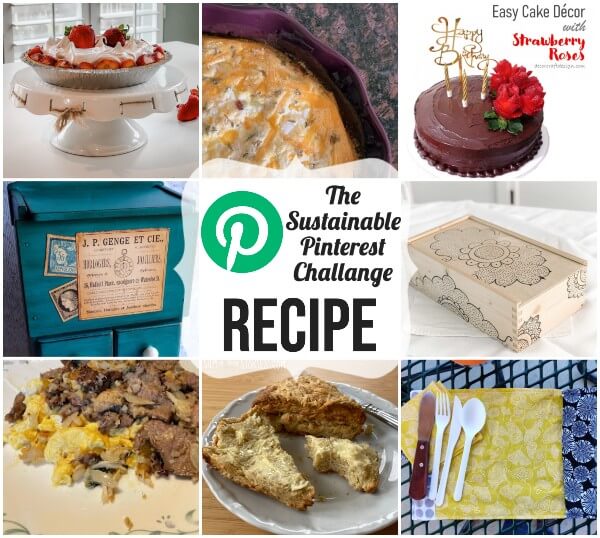
This month’s Sustainable Pinterest Challenge topic is recipe. We are free to interpret the topic however we like. I hope you enjoyed my recipe for a sustainable lunchbox.
Thanks to Julie of Sum of Their Stories who hosts the party and keeps us organized each month. Be sure to drop by to visit the other bloggers who participate in the challenge:
Julie | Sum of their Stories
Gail | Purple Hues and Me
Terri | A Good Life
Lydia | Life Beyond the Kitchen
Marianne | Songbird
Julie | Just Winging It
Ann | The Apple Street Cottage
Mel | Decor Craft Design


All of your ideas are a great way to be a little more environmentally friendly when packing lunch! Great for picnics, too! Thanks for sharing!
That thermos does a decent job keeping warmed food warm. Nice for days when there’s a line at the microwave, too!
I love your sustainable lunchbox. When I was still teaching, I always brought my lunch in reusable containers, but I didn’t have your pretty placemat, Lydia. Such a nice touch!
I’d love to make a couple more in colors and prints that match my toucan lunch bag. Eventually I’ll find time to go through my stash to see if I have anything that works.
Brilliant! We really don’t need to use lots of plastic wrap and disposables do we? If we all did this think of the reduction in waste – and litter! I made a little mat like that a while ago , with a pocket for knives and forks as I didn’t know how clean the surface I was sitting at always was when in an office! I don’t want to be paranoid but I’m not sure the office cleaners are especially thorough!!
That looks like a great set up for take-with-me lunches. Thanks for the tutorial on how to sew the roll up placemat.
I like the idea of using reusable napkins and placements.