Macrame Backpack Charms {#CCBG Challenge}
Last Updated on August 2, 2017 by lydiaf1963
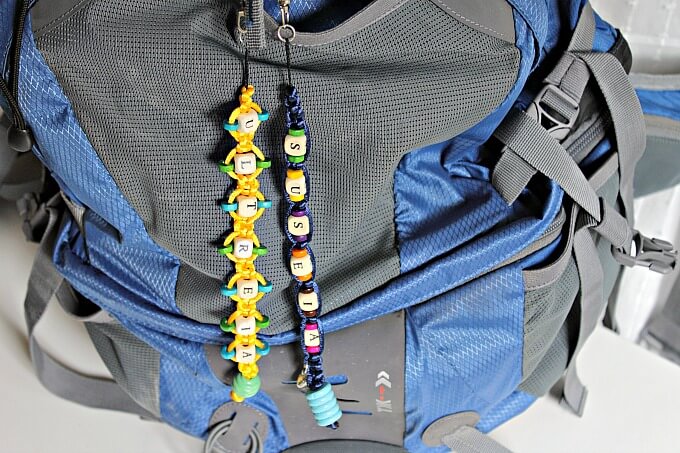
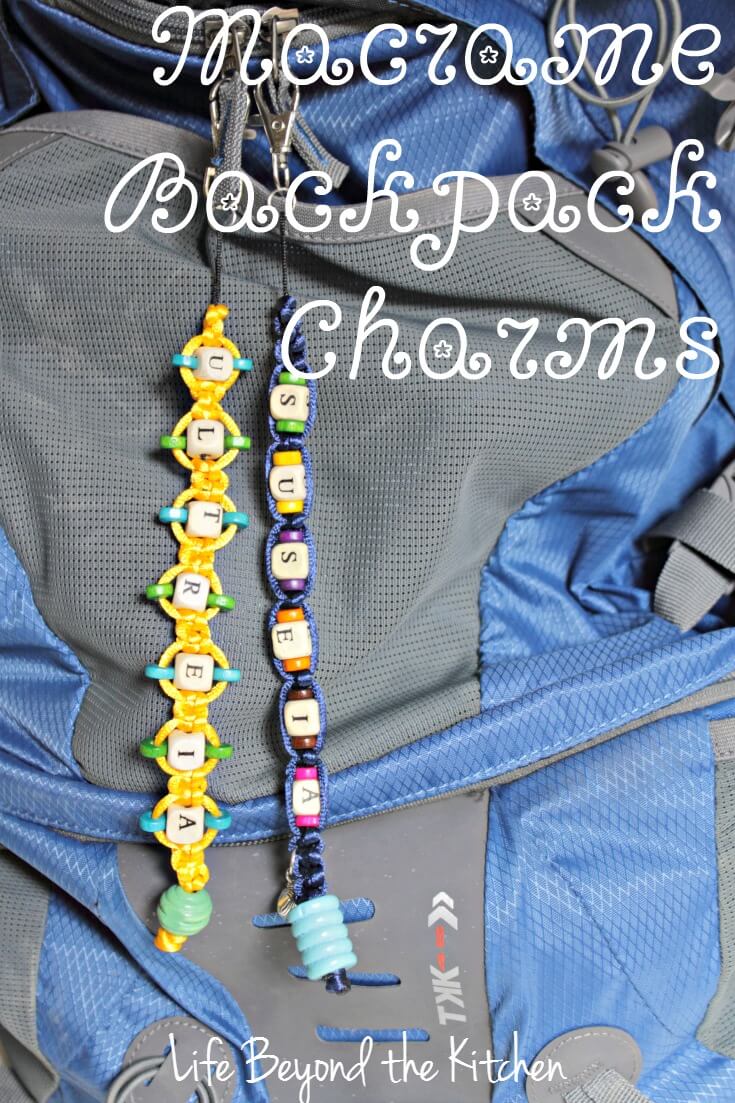
This month’s Creative Craft Blogger’s Theme is Camping/Outdoors. I haven’t been camping since my children were in middle school. Once I had all of the equipment it was a cheap way to get away for a weekend. Rick hates camping. He says he got plenty of that in the army, hahaha. So the most outdoorsy thing I’ve done in the last few years was to walk the Camino Frances in Spain where all of my belongings were carried in my backpack. Since I plan to walk another portion this year, I thought I’d add a little bling in the form of these macrame backpack charms.
I’ve mentioned before how it can be a challenge to find materials for crafting in Spain but for those who missed it; there are no stores like Michael’s or Hobby Lobby here, at least not in my city. I had to go to several shops to collect all of the materials I needed. The cord in one place, the beads in another, the hardware in a third. Even if you find a specialty store, it’s unlikely they’ll have the same type of selection as the box stores. In the long run, that may be a good thing. For example, to make my purchases I had to do a little research on the internet to learn the Spanish vocabulary for macrame and beading. I was able to make do in the general type stores but when I finally found a shop devoted to the craft, I was able to ask for what I needed.
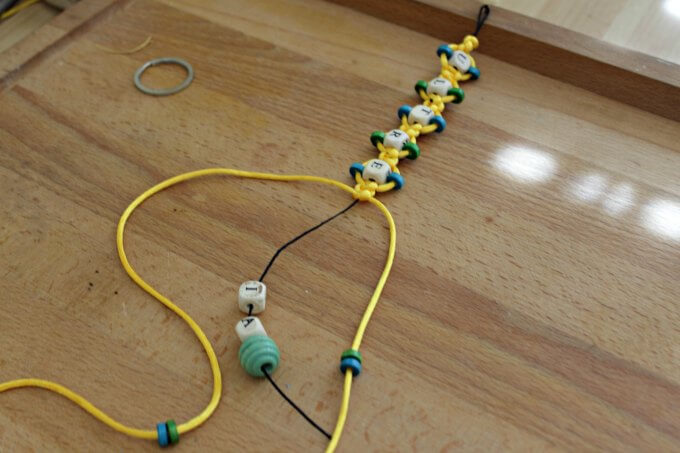
The first time I made a macrame bracelet was in Summer Camp between 6th and 7th grade. I had an armful and so did my friends. I’m willing to bet you’ve had a similar experience. The style I used is called shamballa. This video gives the essentials if you need a refresher. I only needed basic supplies:
This section will contain affiliate links.
- nylon cord (1 and 2mm) (like this)
- wooden beads with holes large enough to accommodate the cord (like these)
- charms if you like
- jump rings (like these)
- lobster clasp (like these)
- lighter or glue to prevent fraying on the cut ends
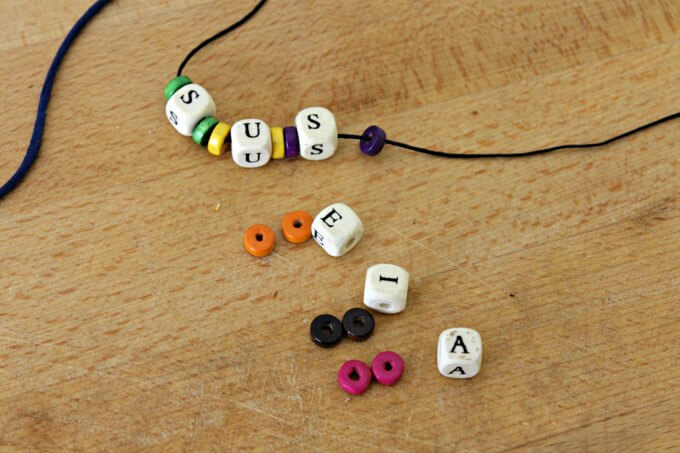
When I set out to make my backpack charms I didn’t know what type of beads I was going to find so I grabbed a couple packs of wooden beads when I saw them. I liked the look of the alphabet beads and decided to recreate a couple of common phrases heard on the Camino. For the cord I chose the blue and gold of the signposts which mark the Way. Right now I have them hanging from a zipper on my backpack. They haven’t been field tested, so I might move them.
Ultreia and Suseia
The usual pilgrim greeting is “Buen Camino!” but eventually you start to hear “Ultreia” and “Suseia.” The two terms have survived from medieval French and Latin and roughly translate to “go further” and “keep climbing.” Onwards and upwards! For the pilgrim there are spiritual connotations as well and I suspect everyone has their own interpretation.
All in all I’ve enjoyed this project and doing the research (mostly YouTube videos). Now I’m interested in making more pretty things. We’ll see where it goes.

This post was part of a larger blogging challenge. Please visit the blogs listed below for more outdoor and camping ideas.
Ann from Al Things Beautiful ~ Let’s Take It Outside
Try it – Like it ~ Summer Camp Workbook
