Decoupage Styrofoam Head Art
Last Updated on December 16, 2018 by lydiaf1963
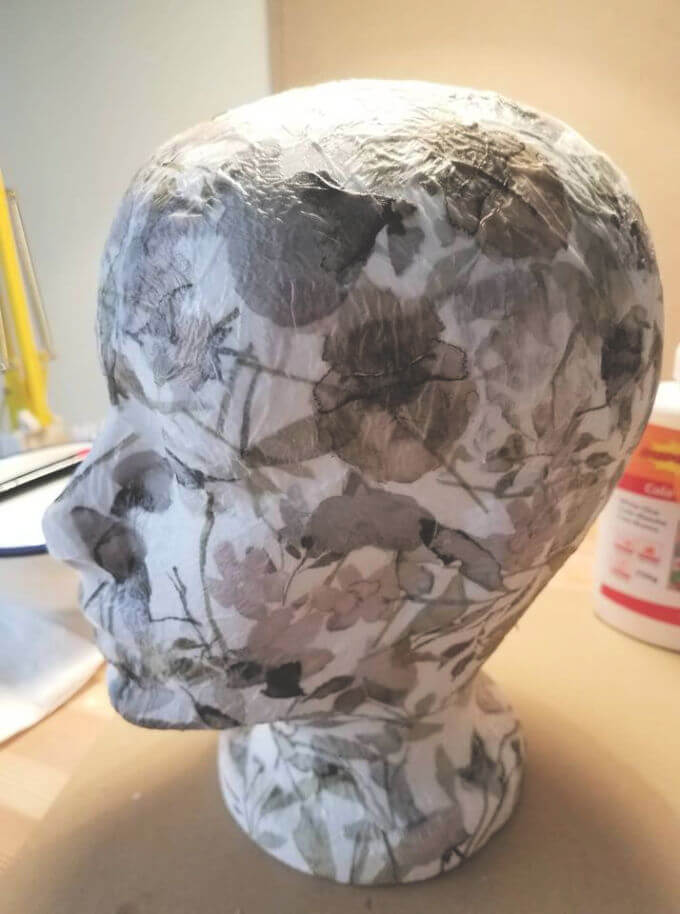
This is the story of Vanessa, the foam head who transformed from a plain jane into a swan. Well, not quite a swan. But she definitely looks more interesting than she used to. Now she’s a piece of decoupage styrofoam head art. Check her out before her transformation:
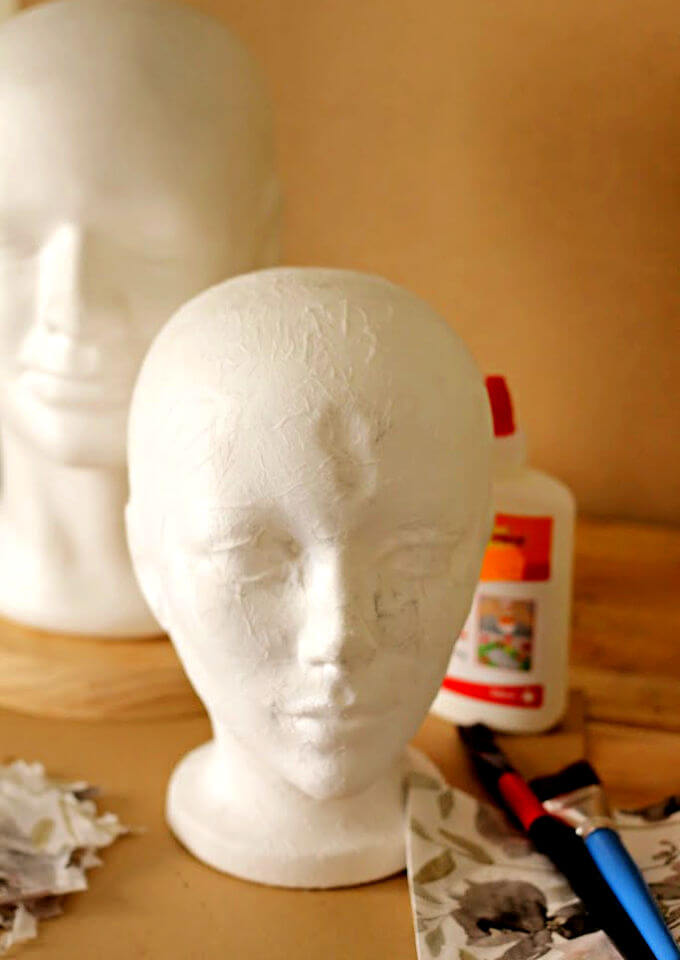
Poor Vanessa suffered an injury when we moved.
So I thought decoupage would be a fun way to cover her up and make her pretty again.
What you’ll need to decoupage a styrofoam head
- a foam head — I have both a male and a female head
- napkins with a pattern you like You could also choose a decoupage tissue paper
- artists brushes or foam brushes
- white glue or decoupage medium
- water
- sealer to protect the final piece (I used a spray similar to this one)
Let’s Begin the Transformation
First I took a piece of sandpaper and levelled out the seam around Vanessa’s head and smoothed the edges of her injury. Then I gave her a wash with a little soap and let her dry.
To make decoupage medium I mixed 3 parts glue with 1 part water. I made a half cup and had plenty left over.
Next, I separated the plies in the napkins and tore the plain piece into randomly shaped bits. Then I covered Vanessa with the white part of the napkin. First I painted a small section with glue, then added a piece of paper, and smoothed the whole thing down with a little more glue.
- My first lesson was not to get glue happy because that causes the napkin to wrinkle.
- The second lesson was don’t use too large a piece, as that will also cause wrinkles.
- The third lesson was that I didn’t need to decoupage a “base coat.”
I worked my way around Vanessa’s head until she was covered. I used the edge of the brush to smooth the paper around the details of the eyes, ears, nose and lips.
She was a bit wrinkly when I finished, but not in an unattractive way. You can see it in the before photo.
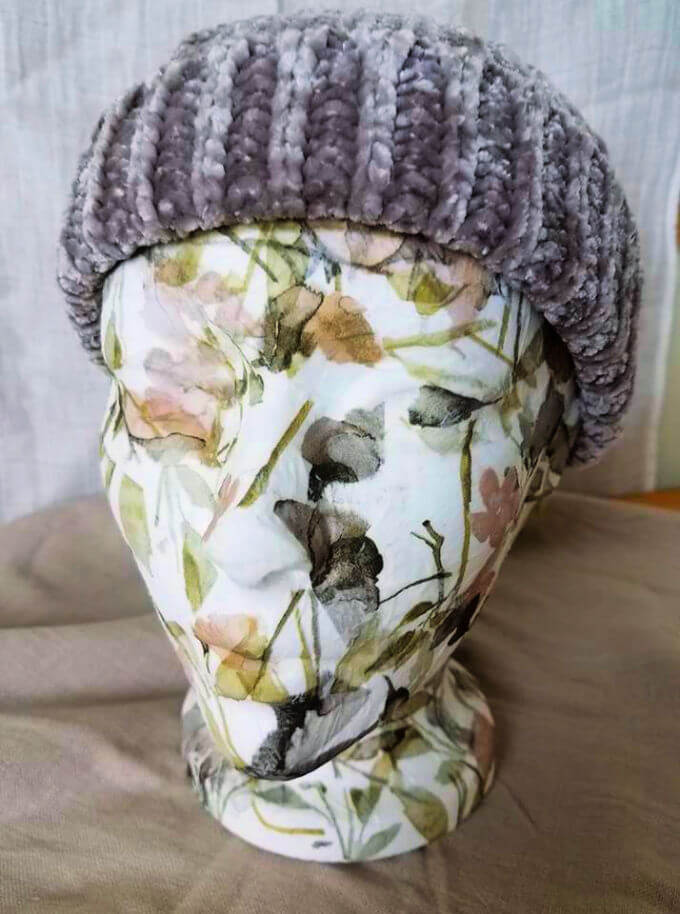
I took my lessons to heart when putting the patterned pieces on for the second coat. I think it turned out better although now that I’m finished I wish I’d put more thought into selecting parts of the pattern to emphasize her facial features. (Rick says she looks like a member of the Borg Collection!)
The larger flowers were carefully torn and put in place as a single piece while the vines and the leaves were applied in a more random fashion.
To cover the big hole on Vanessa’s forehead I applied several pieces of napkin. I wonder now if I couldn’t have used some sort of filler like a putty.
When she was completely dry, I covered Vanessa with a couple coats of spray varnish. She will be used to wet block knitted hats and I don’t want to risk transferring glue or color to my knits OR ruining the surface putting a hat on her head.
Vanessa has a boyfriend, Roberto, who will be the next victimproject in my decoupage adventures. I will try using saran wrap as demonstrated in this video on PatioElf’s YouTube Channel.

This post is part of a craft challenge sponsored by the Creative Craft Bloggers group. This month we worked with paper.


