Moroccan Tile Inspired Perler Bead Box
Last Updated on August 2, 2017 by lydiaf1963
Got a minute? I want to tell the story of how my Moroccan inspired Perler bead box came into being. It adds a bit of color to my space and it earns its keep by holding my pocket change. It was almost a victim of the recent decluttering activity… 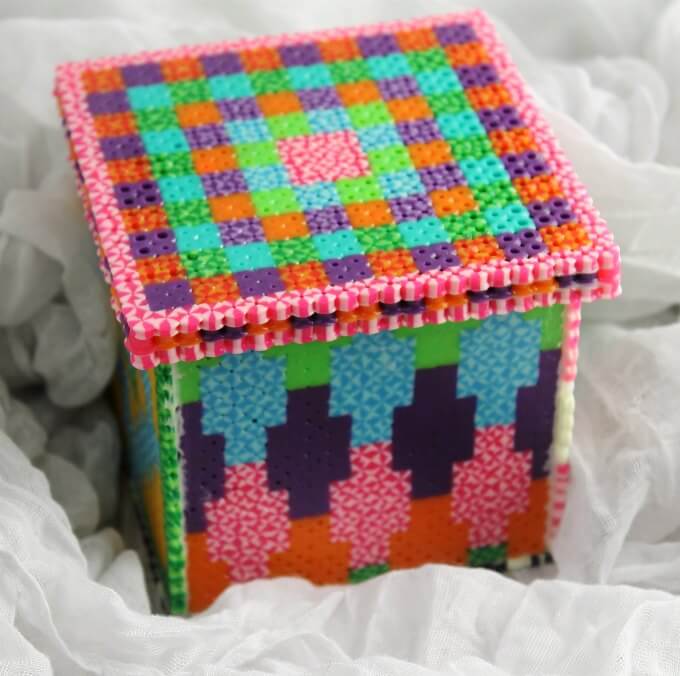 Let’s go back about 8 months ago when I saw a post on Facebook for making these adorable perler bead objects designed to store a set of earbuds. How cute! I thought…Christmas presents for everyone! Perler beads are really popular here in Spain. They’re cheap and easy to find, so I purchased a couple variety packs to make my project. The end result turned out to be a bit of a bust as it kept falling apart. So there I was with several thousand of these beads and no idea what to do with them except store them in a couple recycled jars until I was inspired.
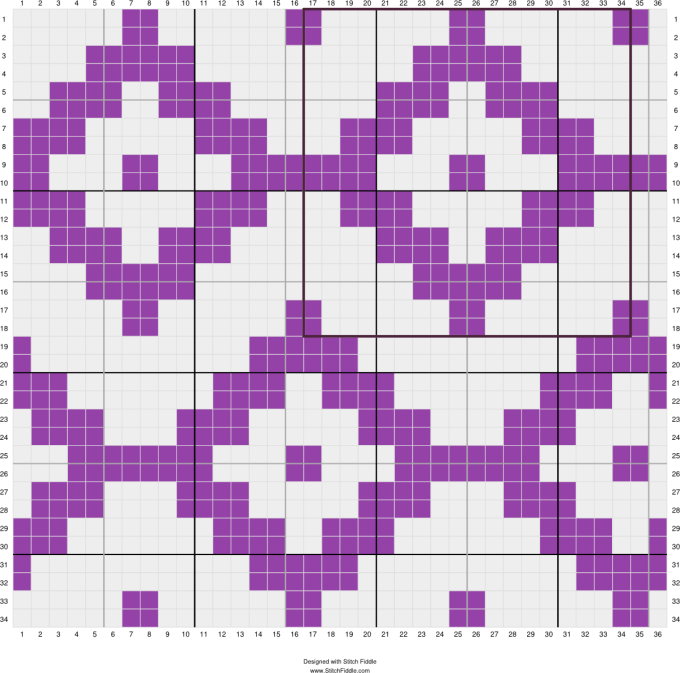
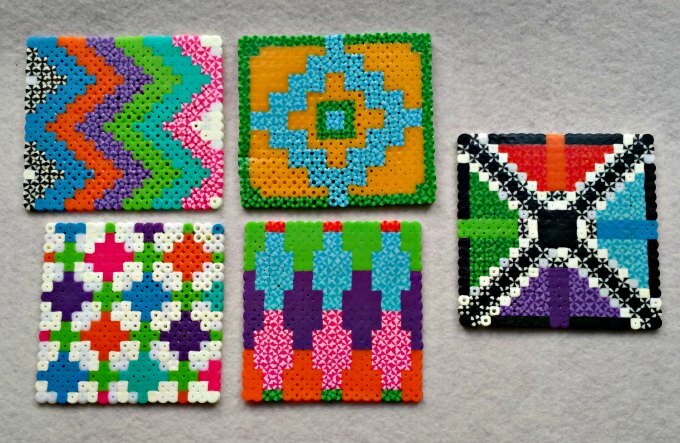
Here’s where the decluttering challenge comes in. As you may have read, I have been culling and organizing my items. At some point I came across the jars of perler beads. Now, I have moved those jars a couple times and I was ready to just throw them away when I remembered a Minecraft Perler Bead Coin Box by Red Ted Art that came across my Facebook feed and decided to adapt a knitting pattern I’d been working on. I have need for a box to collect my daily change. The inspiration piece was 18 x 18 beads on each side, plus tabs for assembling the final cube. All I had to do was find the area that repeated in my pattern, you can see the outline in the illustration above. 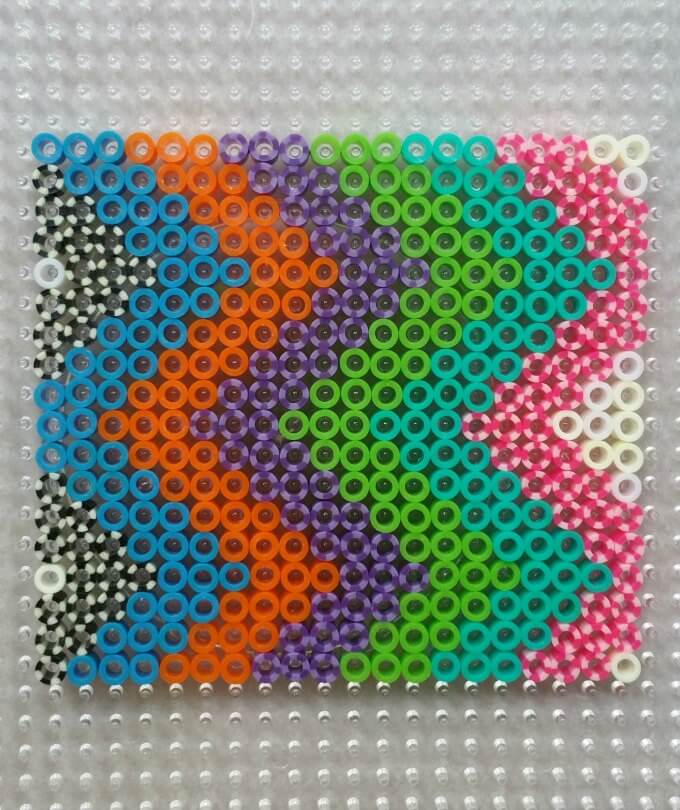 Perler beads for those who don’t know, are assembled on a grid to form a pattern and then, after protecting the beads with a piece of parchment paper, an iron is applied to melt them into the final shape. My first two sides worked out great except I couldn’t get them to fit together and one of the tabs broke off when I tried to persuade it to cooperate. I finally decided to cut the tabs off and use them as coasters.
  After that, I realized I didn’t have enough black and white beads left to make an entire box so I decided to just wing it and use the colors I had available. It became a challenge as I started running out of certain colors! This was a great project for learning about repeatable design. I can see a few things I would do differently now that the project is completed. I’ve created a document of the patterns I used to make the box. CLICK HERE TO DOWNLOAD and use them as inspiration for your own project.
 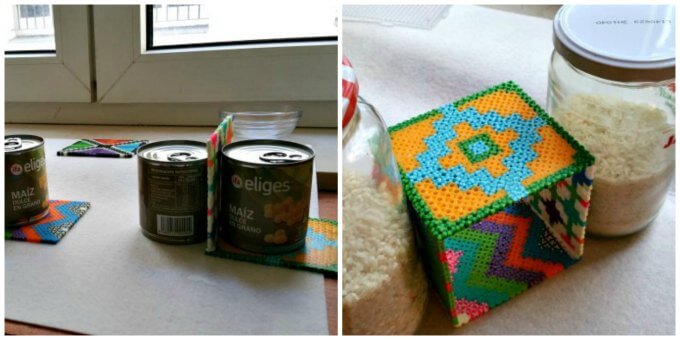 Thanks to my decluttering efforts I had room to work by my bedroom window. It made a nice place for assembling my box. As you can see I had to be creative to hold the pieces in place while the glue was setting. I used a white/carpenter’s glue but something like Gorilla glue would have worked better. It took a few days to make all the pieces and another day to allow the glue to cure before the final assembly.
 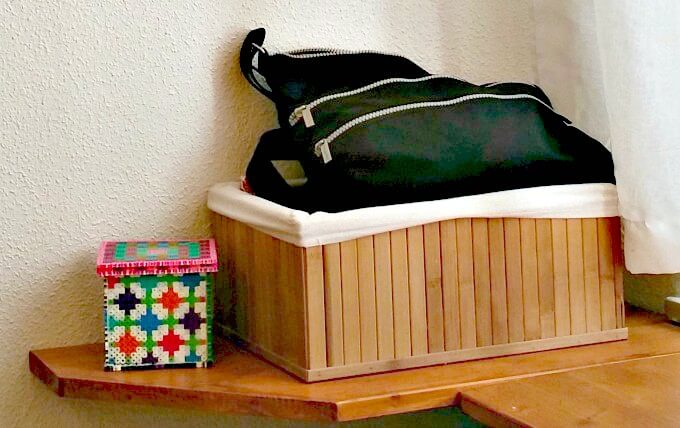 It took over 2200 beads to make the box shown… and I still had some left over! I made a couple more coasters reminiscent of the log cabin quilting pattern and recycled anything leftover. Check out my pattern inspiration board for ideas to make your own box!
Lydia, I love this idea. I am going to have to do this with my daughter. She love perler beads and I love little boxes.
I enjoy this type of project. I had to “wing” most of it, but it worked out in the end, and next time I’ll do things a little bit differently 🙂 Thanks!
I remember these from when I was a little girl… brought back wonderful memories. Oh the little box is just so cute!! And I like the retro vibe of the coasters. Adding to my ‘to try’ list for sure xo
I didn’t do this craft with my kids, we would have had a lot of fun with it. I’d love to see a photo of your project when it’s finished 🙂
I love this so much. We might even have enough beads to do it. 🙂
Sarah, I’m looking forward to a photo of your end result 🙂