Make Bathroom Vanity Storage for Next to Nothing! {#CraftyDestash}
Last Updated on September 8, 2017 by lydiaf1963
It’s time for a new #CraftyDestash challenge where a group of craft bloggers makes use of supplies they already have on hand. This month I’m going to share how I created custom vanity storage in my newly redecorated bathroom for next to nothing in cost!
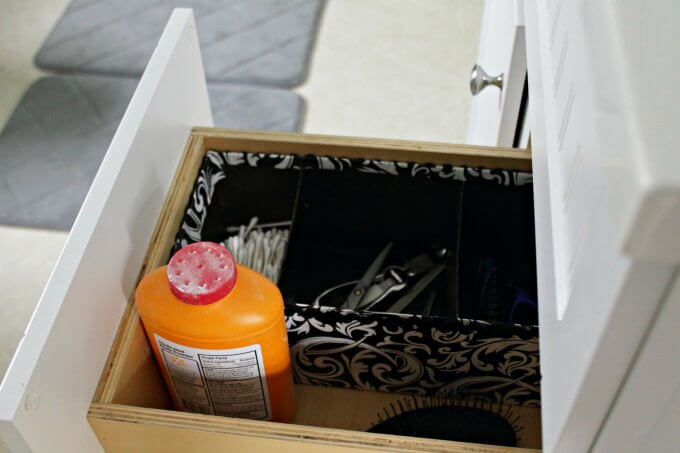
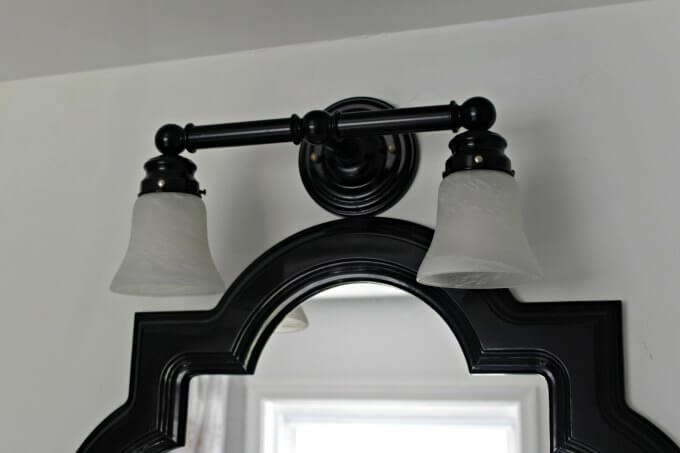
One of the items on my “to do” list was to replace our bathroom vanity. I found a pretty white one with a bead board finish which really updated the look in the bath. To complement the vanity I went with a black and white theme. The first step was to paint the room. Then I purchased a gorgeous mirror to hang over the vanity. Rather than purchase a new light fixture, I updated the brushed nickel finish of the current one with a few coats of glossy black spray paint that had been hanging out in the garage.
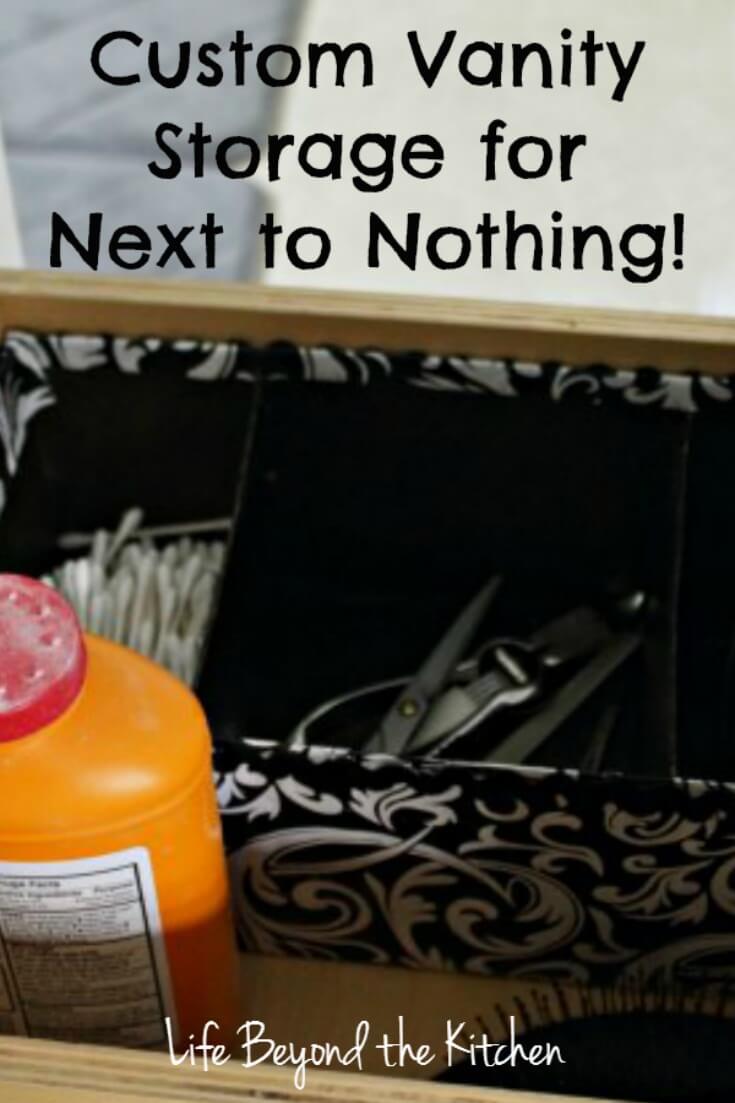
The next project was to create vanity storage to hold all of the lotions, potions, pills and odd bits that need a home in the bathroom and are used on a regular basis. The vanity itself is pretty standard with two drawers and some under sink space. I cut down a couple boxes and covered them with black and white print wrapping paper. I’ve held onto that paper for at least five years. I’d bought it to wrap a gift for a co-worker’s wedding.
What crafty creations could you make today from YOUR craft stash?! #CraftRoomDestashChallengeClick To Tweet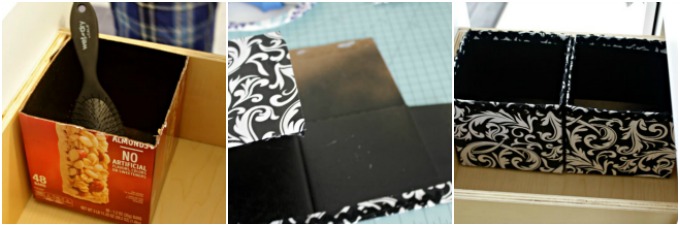
I measured the boxes and cut them down to fit the space and cut some pieces to act as partitions for the shoe box. These were all painted with more of the same black spray paint. The smaller boxes were disassembled and glued back together at the end, like in this post. After covering the boxes with the paper I hot glued some rick rack I’ve had since my children were small to the edges. I think white or gray would have been a better choice, but the idea is to use stuff we have on hand. Besides, the boxes will hold Q Tips and dental floss…no need to be too fancy!
With just about everything placed in the vanity storage, there’s still room on the sides of the boxes to hold odd shaped items. The undersink area holds a bottle of window cleaner for quick sink and mirror clean ups.
I’m very pleased with how this project turned out. We were able to save a little bit of money by repainting the light fixture plus we have attractive, custom made vanity storage that will keep the drawers organized.
I’ll bet you have almost everything you need to make these boxes yourself and if you don’t the supplies are easy enough to purchase.
If you’d like to join in the Craft Room De-Stash Challenge, you can request to join our Facebook group here!
It’s time for a Monthly Craft De-Stash, hosted by C’mon Get Crafty!




This is such a great storage solution! Our cabinets and drawers are out of control in our bathrooms.
These really help! Nothing is worse than having a pounding headache and having to scrounge for painkillers 🙂
What a pretty idea to stay organized. It can be so frustrating when you can’t find something. This solution takes care of that and is stylish.
Such a great craft project. I am always looking for inexpensive storage ideas!
Love this idea! The perfect way to keep those bathroom drawers all neat and tidy!
It can be difficult to find something that fits the way you’d like it to, but it’s so much better when the stuff is contained. 🙂
This is a great idea! They turned out really pretty! I love your bathroom mirror or what I could see of it in the pic.
Thank you! I found the mirror at Hobby Lobby for a reasonable price and the 40% off coupon made me even happier! 🙂
I totally need to do this! Of course, I want to redo our bathrooms too, lol
A new vanity and fresh paint on the walls made a big difference. Good luck with your redo! 🙂
I love the idea of making customizable storage for cheap. We move every few years so we have different storage challenges in each house. I’m also glad to hear that I’m not the only one who hoards wrapping paper, lol.
It’s under control now, but for a few years I didn’t buy any Christmas wrap, bows or labels. 🙂
I love the classic black and white look, so pretty! I’d have never guessed these were simple boxes covered in wrapping paper. Great use of your destash items. I think I actually have everything I’d need to make something like this too. I need to do some updates in my craft room, this would be perfect. Thanks for sharing your idea!
Thanks, Molly! Good luck with your craft room update!
Wonderful idea, Lydia – love the paper, too. Oh, and your bathroom mirror and light fixture look great, too!
I was impressed with how the spray paint covered up the little spots of rust and really updated the light fixture. Thanks, Emily 🙂
Black and white is such a classy color combo, perfect choice! I don’t know anyone who DOESN’T need more bathroom storage! 🙂
Thanks! We’ve been enjoying it 🙂
What a great idea! That is seriously hilarious that you’ve have that paper that long, haha! Proves that craft supply hording is really worth it, hehe.
LOL I could probably find enough change in the couch cushions to buy a new roll. Strange the things we hang on to! Thanks for dropping by, Chelsea 🙂