Fun Decor Eggs from Supplies You Already Have
Last Updated on February 16, 2021 by lydiaf1963
I used to love to dye eggs for Easter, almost as much as eating the rainbow colored egg salad afterwards. That’s not an option for us anymore. It’s almost too much trouble to dye eggs just a few eggs and Rick doesn’t care for egg salad. So this year, instead of having an empty basket, I decided to decorate some wooden eggs I found in the local craft store using stuff that’s been sitting in my stash.
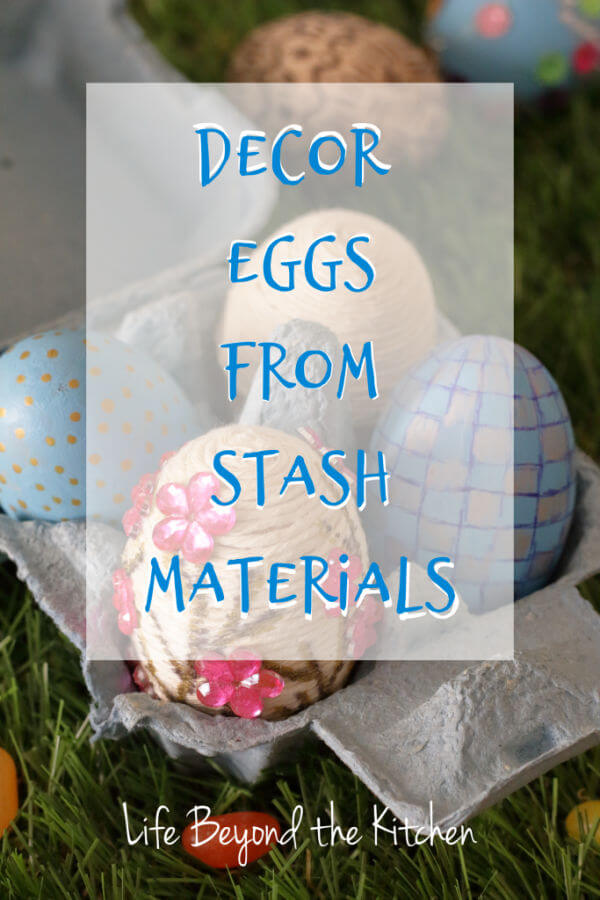
It didn’t take long to find some pretty examples on the internet. I started with a set of ten wooden eggs and did a few of each kind based on the supplies I had on hand.
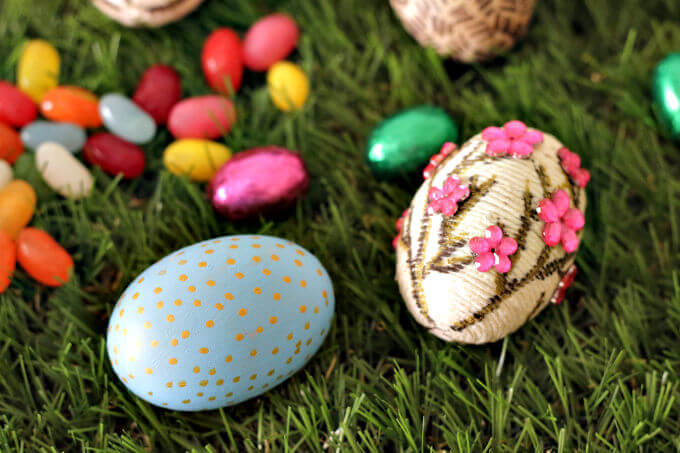
The blue egg was inspired by painted robin’s eggs by Just a Little Creativity. While the cherry blossoms came from a round up of 12 Easter Egg Ideas for Adults that are Next Level.
I mixed white and blue acrylic paint along with a touch of green to get the color I wanted then painted three of the ten wooden eggs. While the paint was drying I worked on another type of egg.
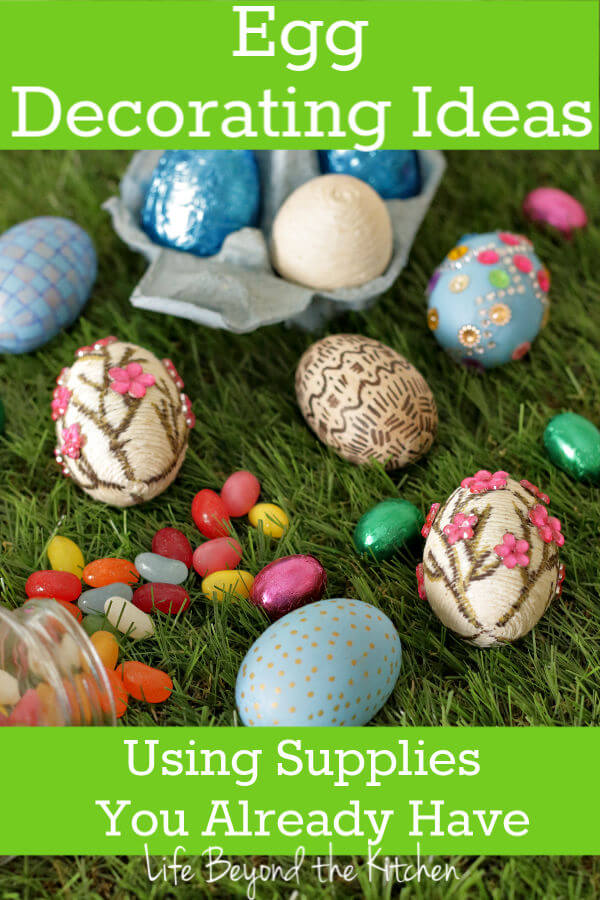
For the cherry blossoms it was a matter of wrapping the egg with cord, which sounds easier than it is. I started out using an E6000 type glue which worked well to secure the cord at the top and the bottom and used school glue for the middle. After it dried I used paint pens to draw the branches and added the floral embellishments.
I like the look of the plain cord wrapped egg, too.
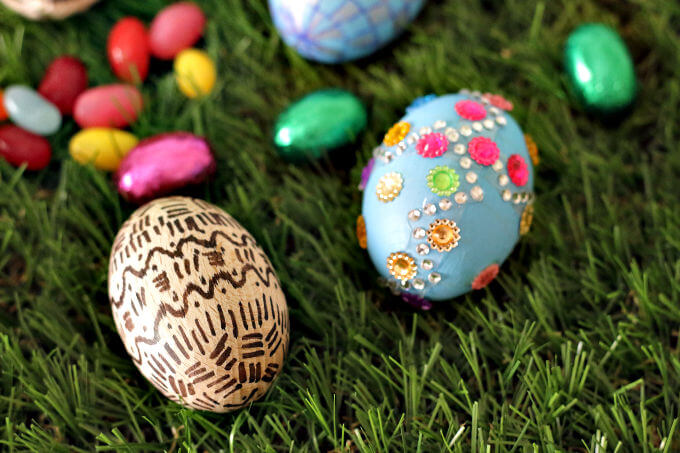
The was inspired to make the “mud cloth” egg on the left by Alice and Lois’s designs in this post. I chose a brown pen because I also liked these wood burned eggs by The House of Wood. This was the only one I made and I’d like to make some more. I’ll plan the pattern a little more carefully next time.
The blue egg has been wrapped with a bling filled washi tape. I also picked some of the larger jewels off of the tape and glued them to the egg. I like the idea of a rhinestone or sequin covered egg. I think that would be better for a Styrofoam egg. It seems to me it would be easier to pin the sequins (like Christmas ornaments) instead of gluing each sequin separately.
I had some other washi tapes and lace trim in my stash but they were all a little too wide. I would have only been able to wrap them around the middle of the eggs. They’d be fun to use on larger eggs, though.
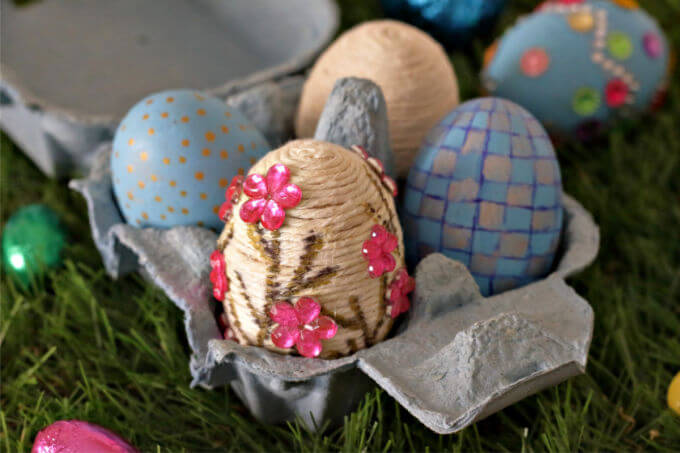
The checkerboard egg was created when I used a fine line blue paint pen to draw the grid and filled in the boxes with a silver paint pen.
All in all I had a fun time making the different eggs. My favorites are the cord covered eggs. I would also like to work more with the plain eggs because the wood itself is attractive. I’ll have to buy another set of eggs and find out!
This post is part of an Easter Craft Challenge sponsored by the Creative Crafters Facebook Group. Visit the links below for more Easter themed inspiration.


They’re all beautiful Lydia, but the little mud cloth one makes my African heart smile. It’s perfect
Your eggs look beautiful! I’m always looking for new ways to decorate eggs.
A long time ago I tried to make Ukrainian style eggs. They were nowhere near as detailed, but I had a good time painting on the wax resist and dipping in the different colored dyes. These are much more my thing nowadays.
I love the elegant, precise details in each of the eggs. What I love even more is that you used materials you already had. They’re beautiful!
Thank you, Emily. I’m not sure where all of this stuff came from, to be honest. Other craft projects, obviously, but I’m don’t remember using these particular things…hahaha
Love the colors and what a great idea! Even my grandkids love using decoupage.
It’s can be messy! What’s not to like when you’re a kid? hahaha
Wow! These are beautiful! Nice work.
Thanks! I wish now I’d done just one type of egg for display purposes, but I can always to that later.
Beautiful eggs I am inspired to try to make some pretty ones too. Happy Spring, Kippi #kippiathome
They are beautiful! Thank you for sharing such great ideas!