Easy Decorated Votives
As far as crafting goes, it doesn’t get much easier than winding some glittery cord around a glass votive holder. It probably took me longer to assemble the materials than it did to make these easy decorated votives.
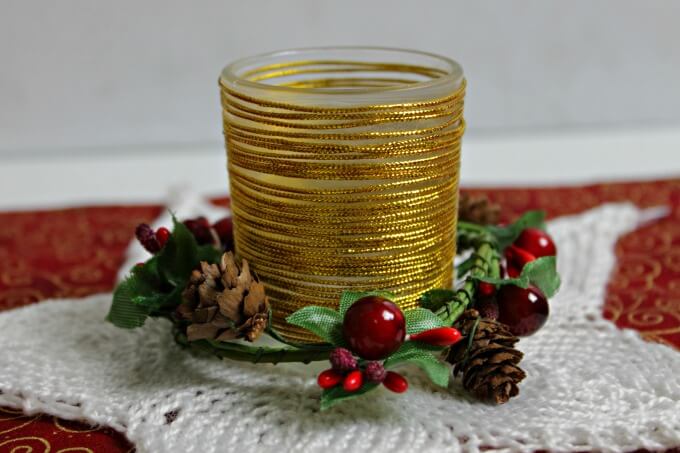
I was inspired by a set of votive holders on display at a new home decor shop called Høsten. They weren’t very expensive but I knew I had plenty of decorative cord at the house and the Crafty Room Destash Challenge was coming up. I figured I could handle these guys.
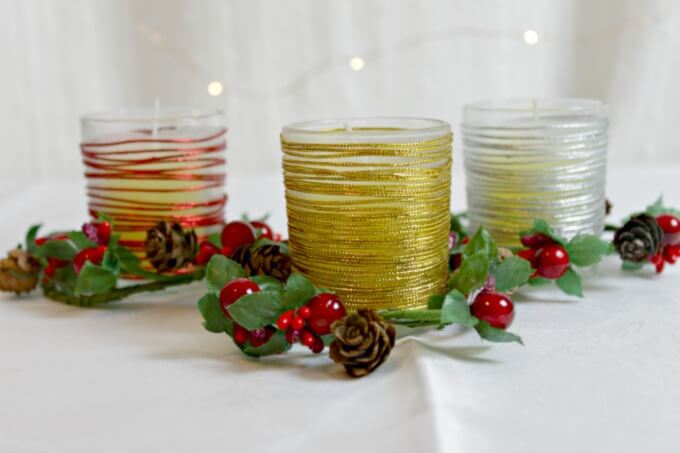
As a bonus I found an unopened pack of votive holders and candles when I was searching for the cord. (So that’s where I tucked them last year…along with the little candle wreaths…) My cost for this month’s challenge is 0.00.
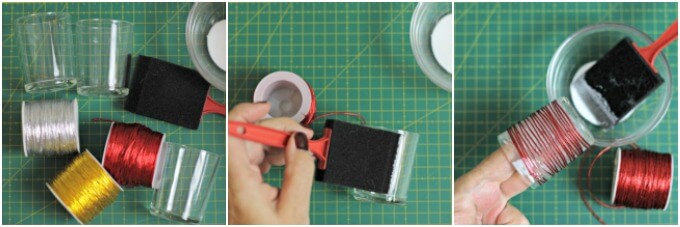
To make the easy decorated votive holders you’ll need:
- votive holders, clear or frosted glass
- votive candles
- white glue, preferably one that dries clear
- brush
- decorative cord…get creative with ribbon and lace, too
How to make easy decorated votive holders:
- Remove the candles and give the glass a nice wash and dry to remove any dirt or fingerprints.
- Pour a small amount of glue into a small bowl and brush it onto the votive holder. My sponge brush was as wide as the votive holder was tall, so it was pretty easy to get a nice, even coat.
- Wrap the cord around the votive holder in a manner that best pleases you. In the end I preferred the dense look of the gold candle over the more free style red one.
- Brush another coat of glue over the wrapped cord to secure the ends and the threads.
- Experiment with pretty ribbons, lace, sequins and beads for a different look.
- Allow the glue to dry and cure for 24 hours before adding a candle and lighting it.
I’ve seen other tutorials where the thread was dipped into the glue and wrapped around the votive holder. That seemed like overkill for this simple project, but it’s another technique if you want to give it a try.


As mentioned this post is part of the monthly Craft Room Destash Challenge which was set up to encourage us to create something from supplies we already have on hand. We’re allowed $10 to purchase items like glue and such. I didn’t have to buy any supplies this month. I’ll bet the dollar store has everything needed to make this project.

Every month a group of bloggers are challenged by C’mon Get Crafty to create a new craft or project from their own stash of goodies! Check out some awesome creations you might be able to make from your own stash! #CraftRoomDestashChallenge.
If you’d like to join in the Craft Room De-Stash Challenge, you can request to join our Facebook group here!




This is so pretty and easy. I can see these being used in so many different ways. Plus what a nice personalized hostess gift.
The cord really adds a beautiful touch!
I love this idea and so easy too! I always have a ton of cords and ribbon, so this would be a quick project for the holidays. Pinned.
What pretty votives! I love this simple project! -Marci @ Stone Cottage Adventures
This is very eye-catching, and I’m with you….I like the denser look of the cord. Like others have said, you could use other things to decorate the votives with, but I like the cording a lot. Pinned.
Florence…visiting from the Challenge
Very pretty votives! I love the cording you used to create them!
Simple, yet stunning. That is a craft I love! Thank you for sharing.
Your votives are just gorgeous! I love the idea of the red wire. Have a Merry Christmas!