Wash Your Worries Away With Easy Bathroom Updates
Last Updated on May 2, 2022 by lydiaf1963
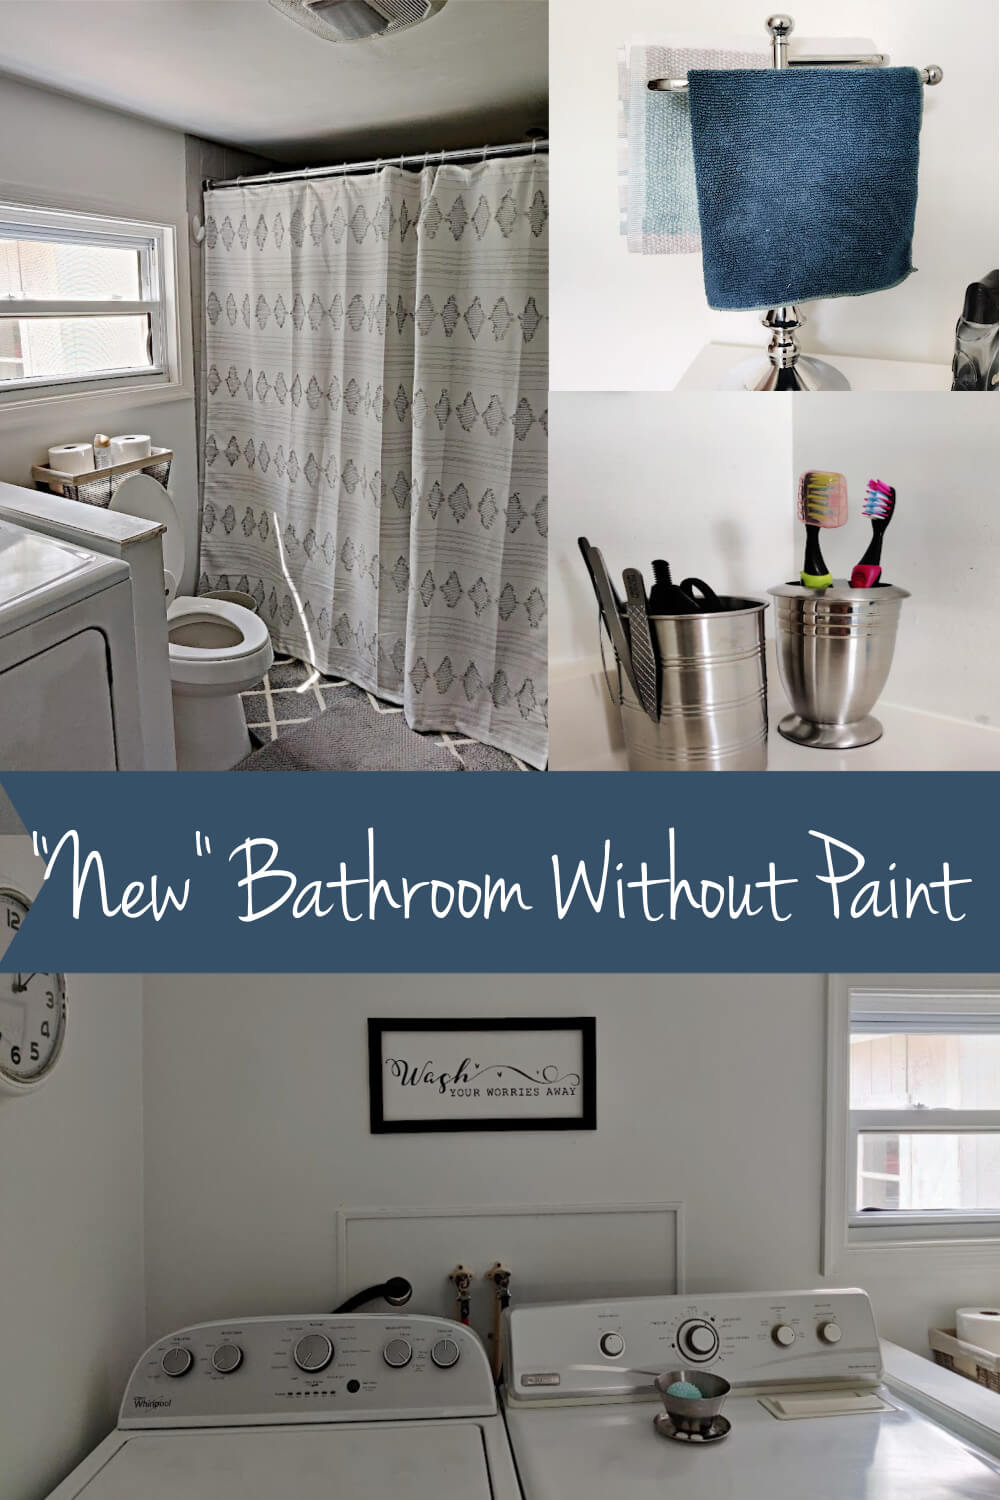
It’s been a couple– ok, FIVE– years since I painted my bathroom. My toilet and shower share space with the washer and dryer. Between dryer lint, hair (people and pet) and humidity my original pristine paint job needs to be upgraded. At some point washing the walls just isn’t enough anymore.
Updating Starts With A Good Clean
The thing is, we have a ton of other projects to do. My son did a good job looking after the house while we lived in Spain, but he left the big projects to us when we came home on our annual visits.
Now that we’re back in the US permanently, we have a list of more pressing items to tend to. Painting the bathroom isn’t likely this year. Instead, I’ve opted to go for a series of easy bathroom updates that will at least change my view while sitting on the throne.
First I wiped the walls and woodwork down with my go to mixture of water and ammonia. Ceiling, too, since I only need a step stool to reach it. My habit is to start by the doorway and work my way around the room.
Then I followed with my usual bathroom cleaning routine. Just that little bit helped tremendously! But the view was the same…there was still more work to do!
Next comes new décor
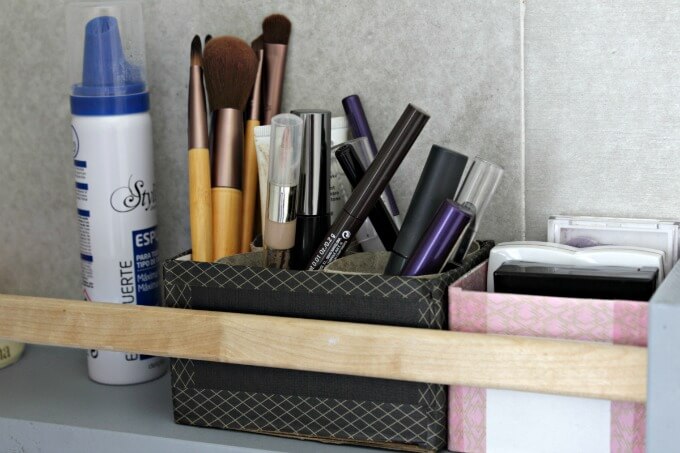
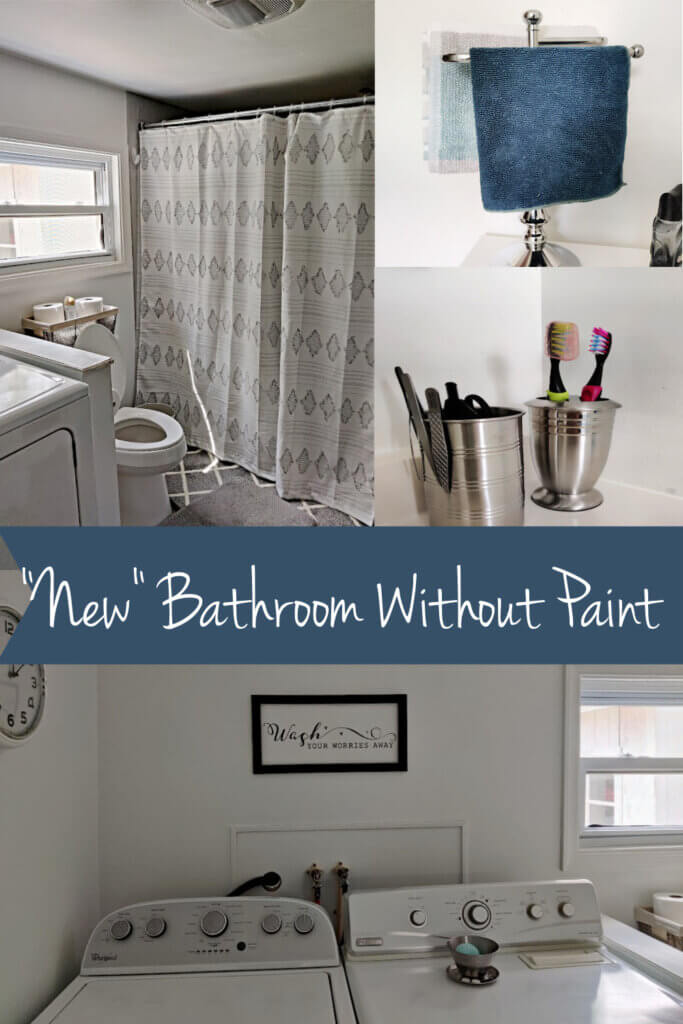
We treated ourselves to new bathroom accessories. Shower curtain/liner, new toilet brush, sink accessories and a washcloth/towel stand for near the sink. I think I have about $40 in all the items.
My biggest concern was the blank wall above the washer and dryer. My son and his girlfriend took the wall art that used to be there when they moved.
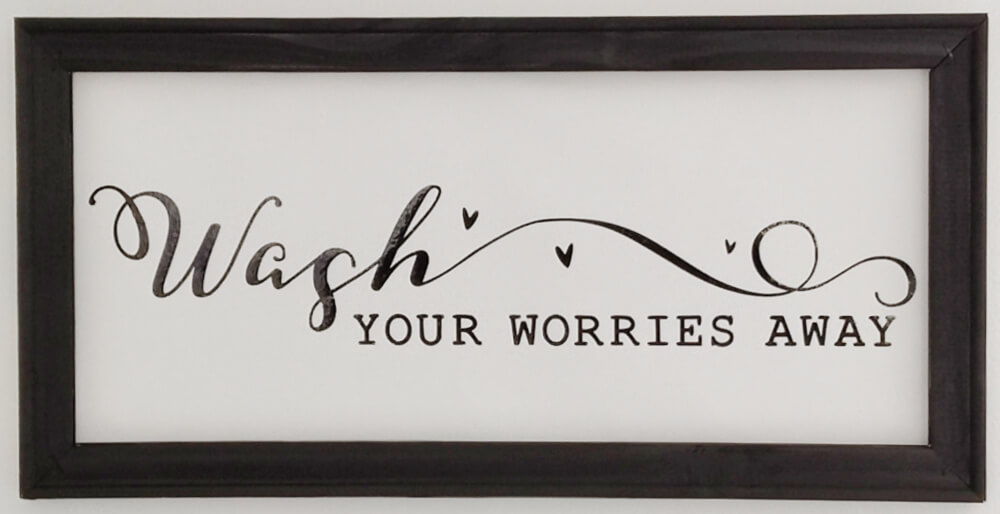
For the moment I went with a reverse canvas. I felt the sentiment, “Wash your worries away” worked for the dual uses of the space. I bought the SVG from The Charmed Farm on Etsy.
It’s difficult to tell in the photos but the white of the canvas is yellowish while the walls are a cool white. Rest assured the frame is level even though the walls, ceilings and floors of my 100 year old home are NOT!
Reverse canvasses are fun to make. They can be inexpensive, too, once the initial equipment and materials have been purchased. I had a couple 10 x 20 canvasses plus vinyl left from from other projects. I share a Cricut Explore Air with my daughter and sister. It paid for itself a long time ago.
A reverse canvas is a fun touch in any room and can be an easy seasonal update.
A quick tutorial on making a reverse canvas
First, remove the canvas from the frame. Turn the canvas staple side up and use an x-acto knife to cut the canvas from the frame. Set the large piece aside for later.
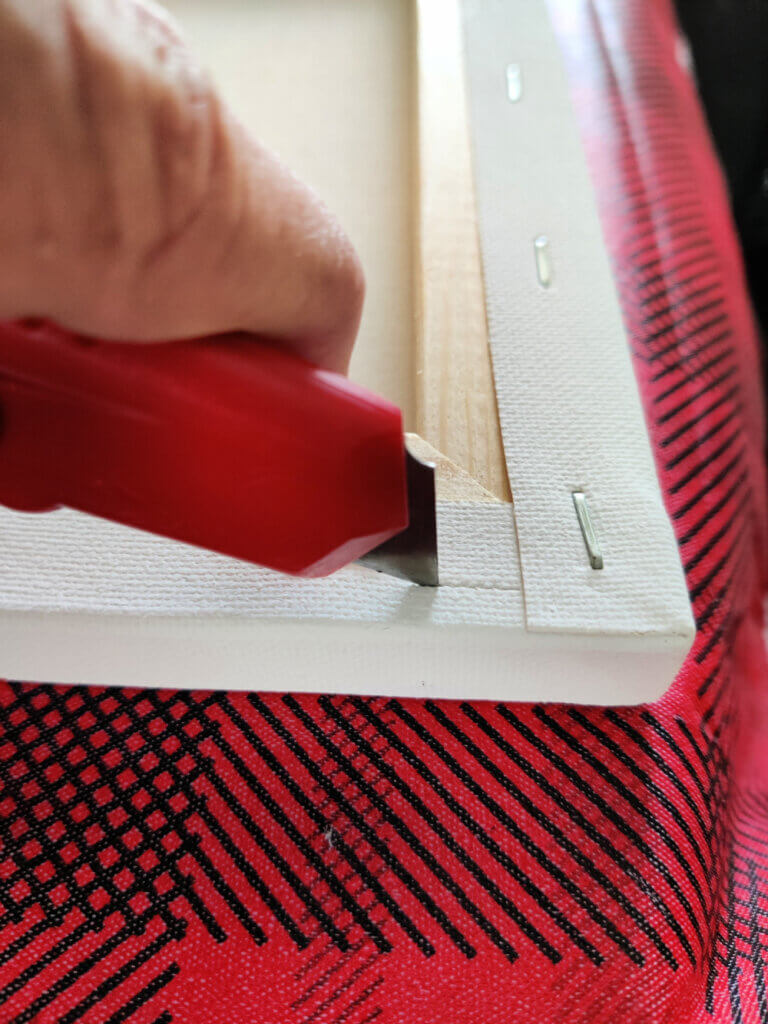
If you want, remove the remaining strips of canvas and staples. They won’t be seen in the finished project.
Finish the frame in any manner you please. I used acrylic paint (again, I had it on hand) but for other projects I used gel stain (the kind you wipe off) and milk paint. You don’t have to sand the wood unless it’s really bad.
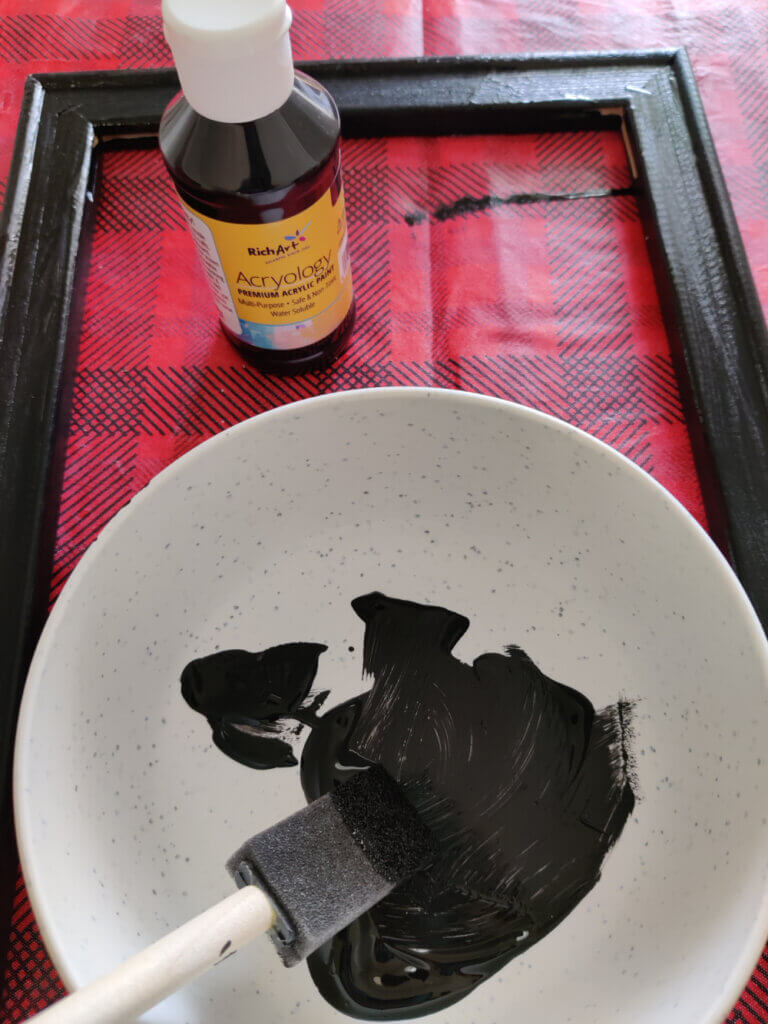
Once painted leave the frame to dry while you create the design elements.
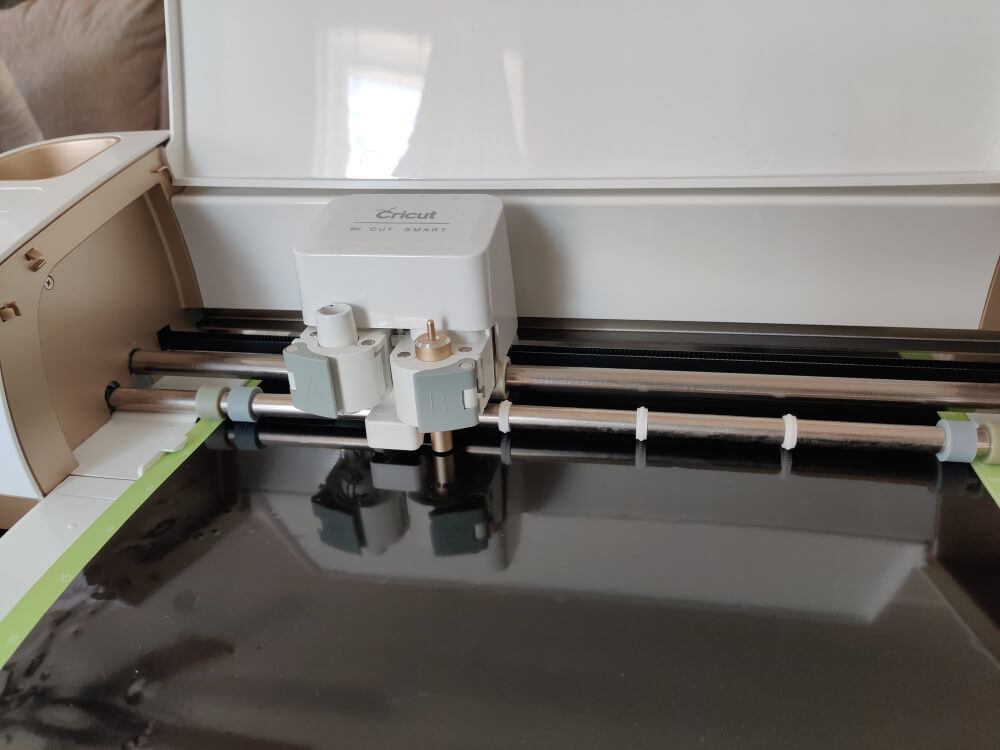
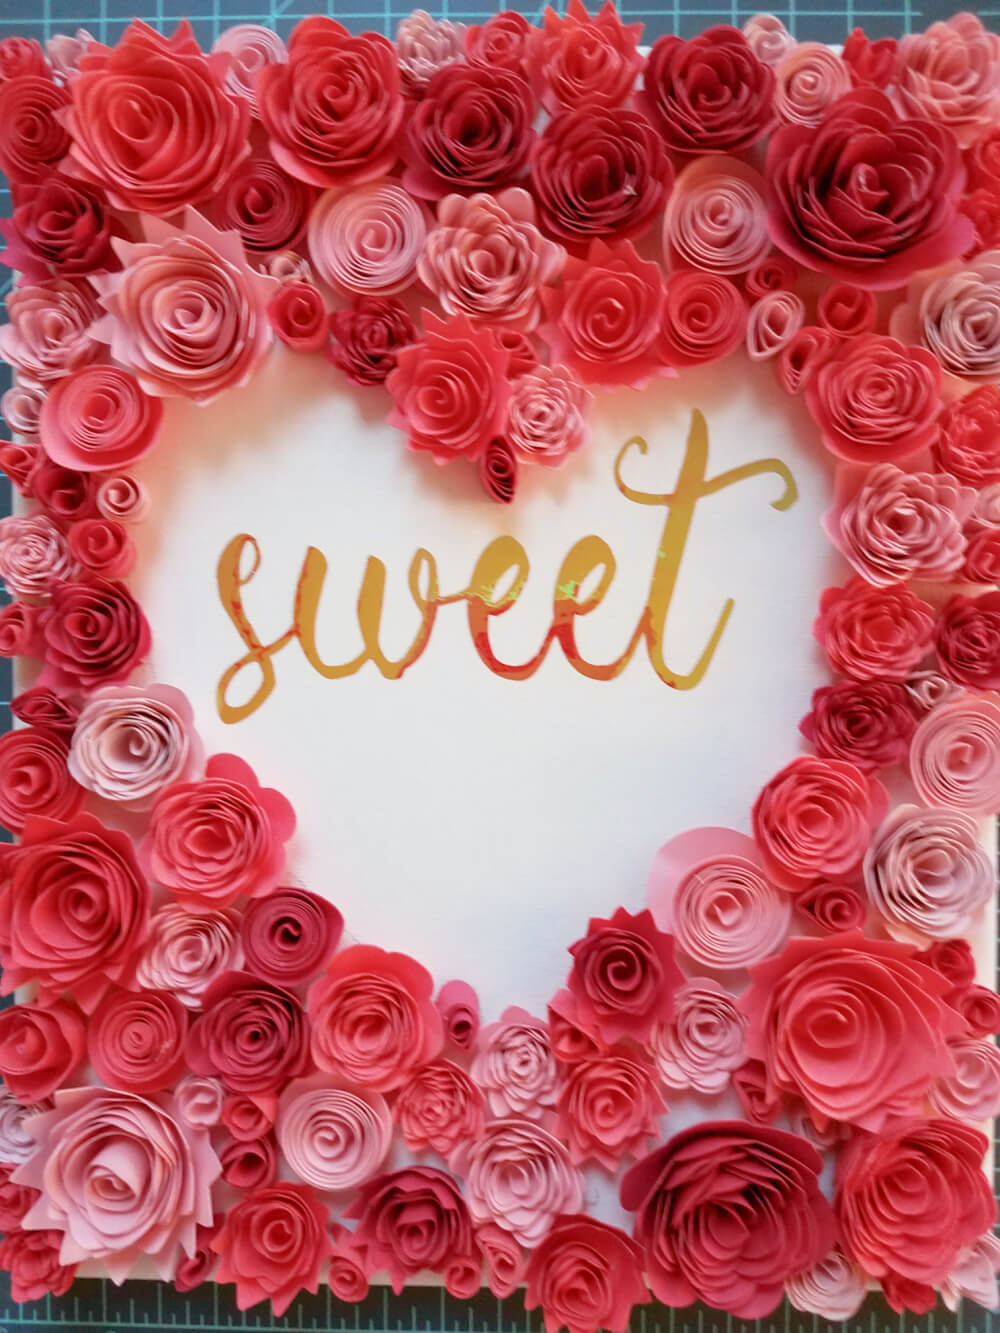
You can make your own SVG, or download a file you’ve purchased or were given. My favorite projects have a 3D element combined with a vinyl sentiment, like my rolled flower valentine heart.
Once your vinyl has been cut, weed the image and transfer the vinyl to the canvas.
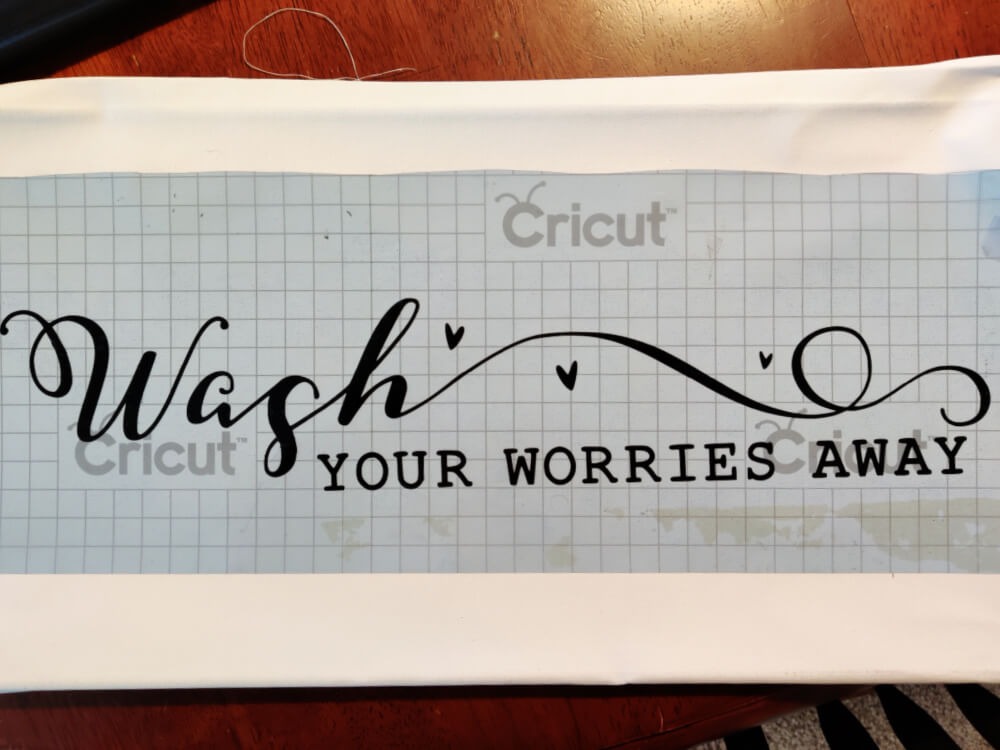
After that, it’s just a matter of centering the image in the frame and attaching the canvas to the back with thumb tacks and/or hot glue. I like to add a saw tooth hanger, too.
Take a look at this video for more tips. I did not use heat transfer vinyl because my project was relatively simple and I was using scrap materials. If you haven’t worked with HTV just remember you’ll need to mirror the image before printing so any letters will be oriented correctly on the canvas.
Again, because I chose to use permanent vinyl it was possible to cut the design and transfer it directly without mirroring the image.
There’s more I need to do in the bathroom, but I’m content with the easy bathroom updates I’ve made for now.
This is my first post in a regular blog party hosted by Tarah of Grandmas House DIY. Each month features a different DIY theme. This month’s theme was the bathroom. Check out the posts below for more bathroom DIYs and come back on the first Sunday of each month for another DIY.

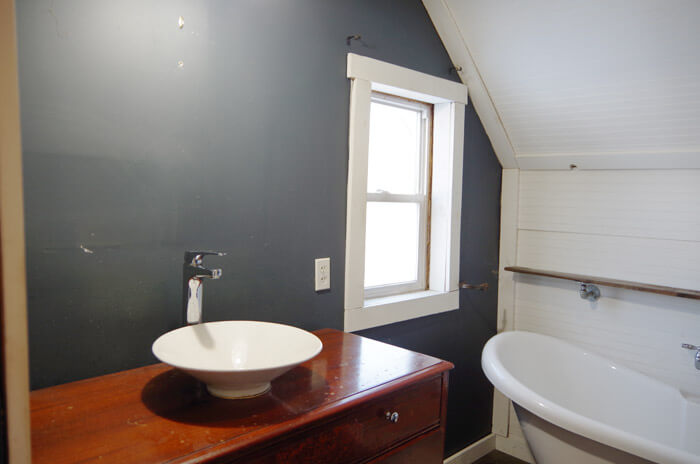
Closet and Bathroom Repainting, finishing out our Master Suite
- Tarah – Grandma’s House DIY
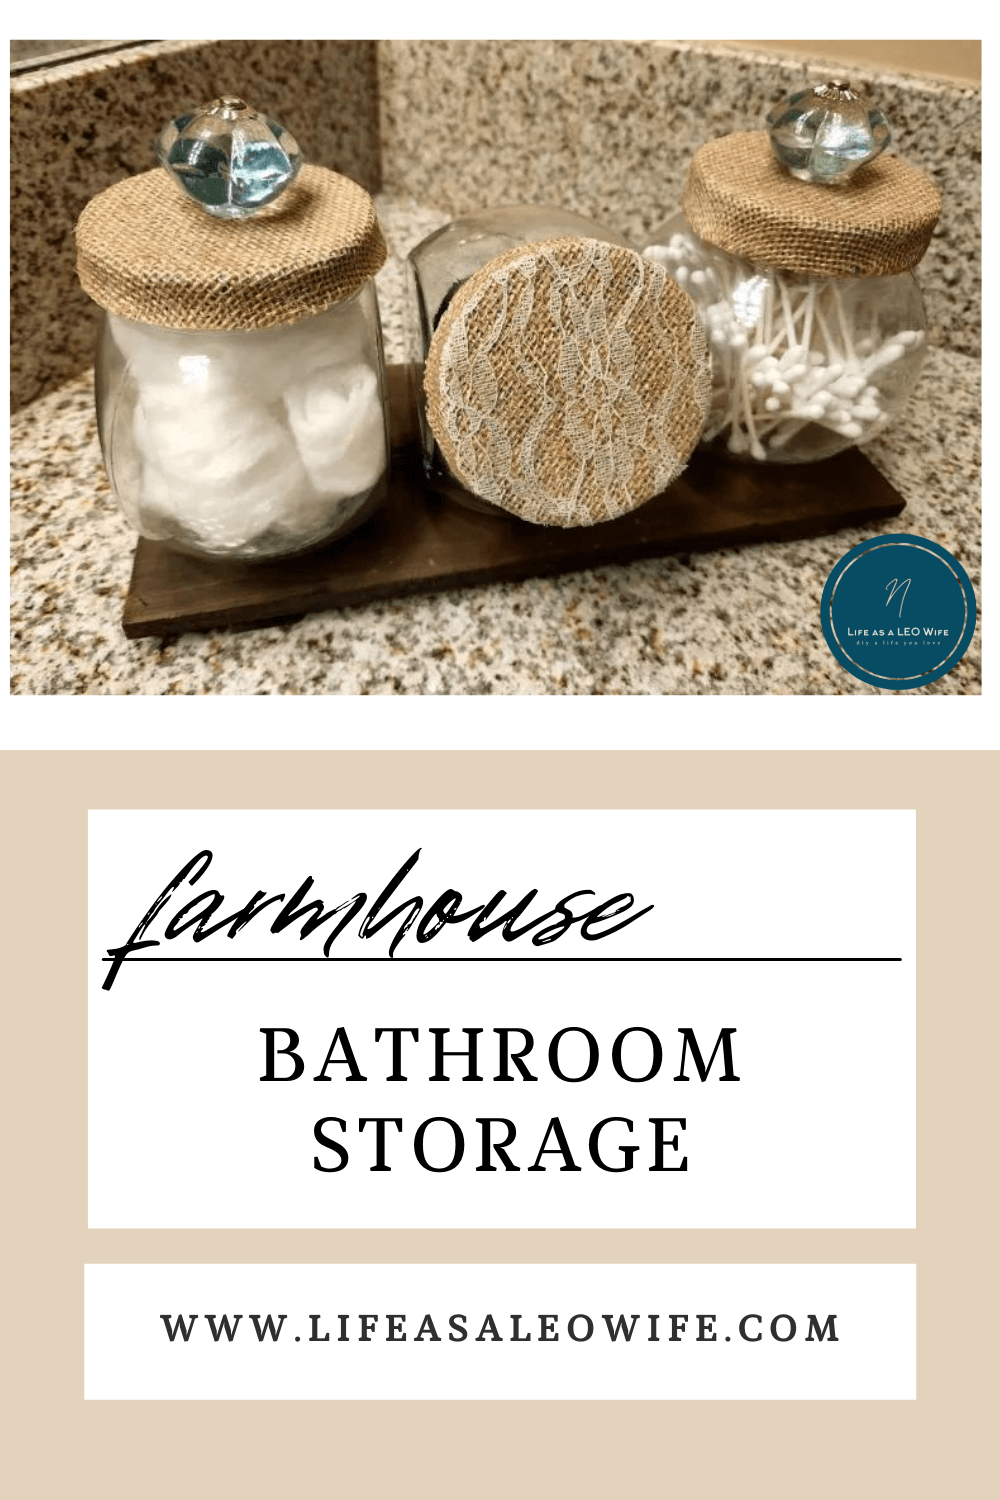
Farmhouse Bathroom Storage on a Budget
- Niki – Life As A LEO Wife
