An Easy Overhead Camera Mount for Video
Last Updated on July 17, 2017 by lydiaf1963
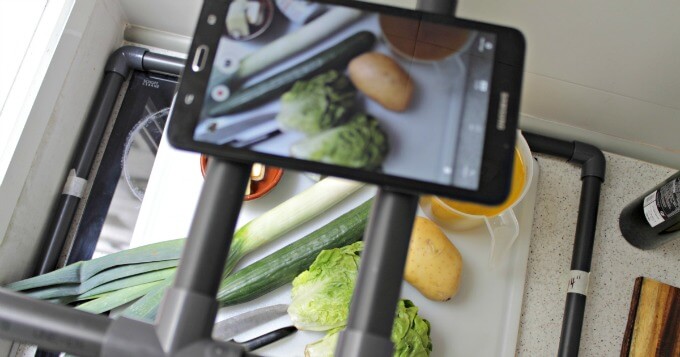
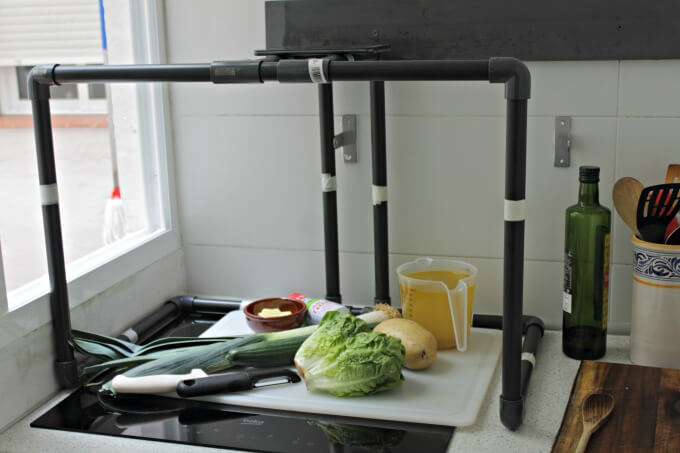
Want to make videos but aren’t quite sure where to start? I made an overhead mount that’s perfect for a phone or tablet following directions from Angel at DIY Video for Bloggers. So far it’s been great for making top down, hands only videos.

This post contains affiliate links for your convenience. If you click on them and make a purchase I’ll receive a commision at no extra charge to you. For more information, see my disclosure here.
Not for bloggers only
I know not all of you are bloggers, but anyone who’d like to try their hand at making a video would benefit from building this rig. Wouldn’t it be fun to make a stop action video for a Scouting or homeschool project?
For whatever reason, other designs I’ve tried just didn’t work for me. This rig is sturdy and portable and as mentioned, it’s not expensive and the plans are free.
What you’ll need:
- 1″ PVC pipe (25mm) You can use smaller diameter but I found 1/2″ PVC to be too flimsy and wobbly.
- elbow and T-fittings for the diameter PVC you choose
- a measuring tape
- a way to cut the pipe to length.
On Angel’s recommendation I purchased LED tape lights in the daylight spectrum for lighting my project space. You’ll need to make sure you buy the tape lights and the transformer. (I was able to find a set with the lights and the transformer in the local Leroy Merlin a store similar to Lowe’s and Home Depot). The frame is sturdy enough to secure other types of lamps if you prefer. Any color emitted by the bulb is more important than the actual light source. Look on the label for the temperature and buy bulbs 5000 degrees Kelvin or higher.
You’ll find a detailed materials list in the blog post. Consider them to be guidelines. I sized mine to fit over my cooktop as well as on the table I use for crafts. If you cut the depth and height to different measurements you can choose which orientation you want to use. Taller for a wide angle, a little closer for tight shots.

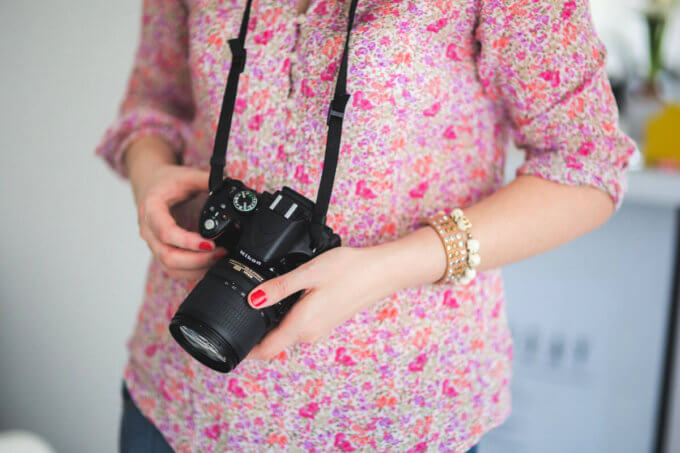
The width between the two parallel bars can be adjusted to accommodate the lens of your DSLR camera if it has video capabilities. I’ve found I need to add a little padding to support my camera body, and it works fine, although I had to do some experimentation to figure out the best height to use for my lenses. If you’re not comfortable using your camera a tablet or even your phone will get the job done.
Using the camera mount takes a little getting used to. I found it’s best to frame my work surface in the shot and use the editing software to zoom in or crop what’s not needed. It also takes a little time to get used to speaking naturally (and not cringing at the sound of your own voice, ha!).
Here’s a very raw sample video of how to make spicy herbed croutons. I did very little editing just rotated the video, cropped it and sped it up. You can see the reflection of the tablet in the oil and hear my neighbor’s favorite flamenco song in the background.
I’m planning to remake the video as I didn’t add enough oil in the beginning and I ended up with some well done croutons, hahaha. The overhead camera mount helped me film the action. The logistics of actually making the video is another topic! You’ll find lots of information on the process at DIY Video for Bloggers. (NOTE: I am not an affiliate of the site. I find her teaching style to be very approachable)


I’ve been thinking lately that I wanted to get into making short videos for specific points in my tutorials that are kind of hard or too wordy to describe when writing. I didn’t know how to suspend my camera though! This will be a lifesaver! So glad I found your link up at the Creative Craft Bloggers link-up.
I think you’ll get a lot of use out of this rig or use it as a starting point to build one that suits your unique situation. Let me know how it works 🙂